Every lab needs at least one good variable bench power supply. There are so many important features that few manufacturers get all of them right. I have quite a few bench supplies, but the best moderately priced supply I own is the GPP-3323 from GW Instek.
The key features for me are:
Dual variable outputs 0-32V, 3A max each
Third limited output meant for digital logic: 1.8/2.5/3.3/5.0V at up to 5A
Very low-noise output (<= 350uV)
Outputs can be paralleled for higher current or put in series for higher voltage
Over-voltage/current/power/temperature protection
No overshoot on power on/off or load transients
Intuitive display/user interface
Keypad for numeric entry of all values
Individual output enables and also all-output control
Minimal fan noise
Programmable via USB and LAN interfaces
Can generate configurable output waveforms
However, what really distinguishes this power supply from others is that one of the power supplies can be used as an electronic load (up to 50W). This makes this supply unusually useful for developing DC-DC converters and generally characterizing power supplies.
I bought it from TEquipment which I highly recommend as a vendor.
My oldest laptop is a Lenovo Thinkpad Carbon X1 (6th-gen Type 20KH). I still use this because it is solid, light, significantly smaller than my standard laptop (LG Gram 16), and I have a couple of handy docks for it. I use the Gram if I’m going to be doing significant writing/development because I need the larger screen, but the 14″ X1 is perfect for non-work travel when I only need light/occasional internet access. So I plan to keep it in service for a while.
Because Windows 10 will be end-of-life next year (October 2025), I wanted to upgrade the X1 to Windows 11. The good news is that it supports Win11 (and is now running it). The bad news is that the instructions for upgrade on the Lenovo website are atrocious. If you follow them, in many cases, your laptop will be rendered temporarily un-bootable.
The underlying problem is that the hard drive on many X1s is formatted using the old MBR (master boot record) partition style which is what’s used by the legacy BIOS mode. Windows 11 security requires secure boot UEFI instead of legacy BIOS. UEFI in turn requires booting from a hard drive formatted with GPT rather than MBR. As long as your X1 is set to boot in legacy BIOS mode from a drive with MBR partition table, Windows Update will indicate that your X1 is not able to run Win11. Microsoft’s PC Health Check program (download here) will tell you why.
The good news is that Microsoft provides tools for converting your MBR formatted drive to GPT in place. The bad news is that the process is tricky and the instructions are scattered across the internet…hopefully this post helps. (Note: even though the conversion preserves all data, back everything up before you start this process just in case). You will want to do the following:
If you haven’t already created one (and most folks won’t have), you need to create a local password for your user account on your X1. This password is different from the Microsoft online account you are probably using with Windows 10. The local password will be required in the next step. Unfortunately, I didn’t note exactly how I did this, but some instructions that may be useful are here.
Check your hard drive to see whether it uses the MBR partition table and, if so, whether it can be converted to GPT (and then convert it). The instructions for this are here. Note that this will require you to boot to a command prompt in a special mode which will require the local password you created in step 1.
If the conversion goes well, you can now reboot your X1, enter the BIOS setup and enable Secure Boot under the Security tab. This will likely enable some other things in your settings like the Trusted Platform Module (TPM) which are required by Windows 11 secure boot.
If that has gone well, you should be able to boot into Windows 10 again and PC Health Check should indicate that your X1 is suitable for Windows 11. Unfortunately, the Windows Update screen in Settings will still say your X1 doesn’t support Windows 11 so you can’t use the automatic updates to upgrade to Win11.
So the last step is to download the Windows 11 Installation Assistant here. When you run the assistant, it should take care of updating your X1 from Win10 to Win11.
My X1 is now running Windows 11 so I can confirm that this works.
A lot of useful information was found on the Lenovo Community Forum here.
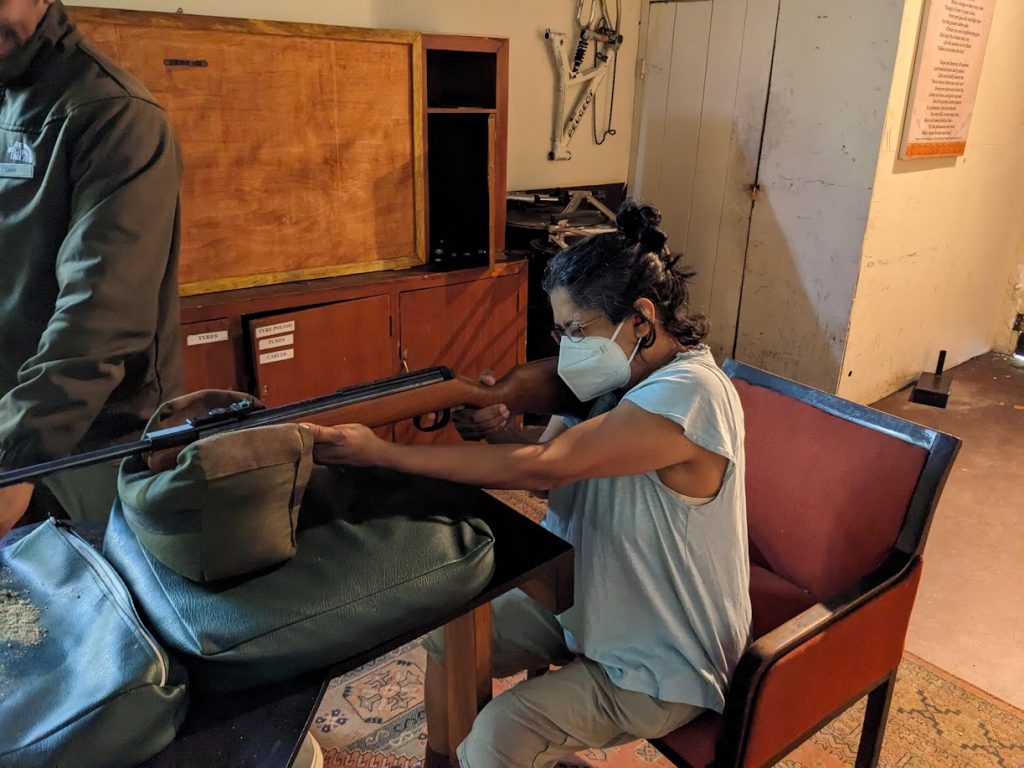
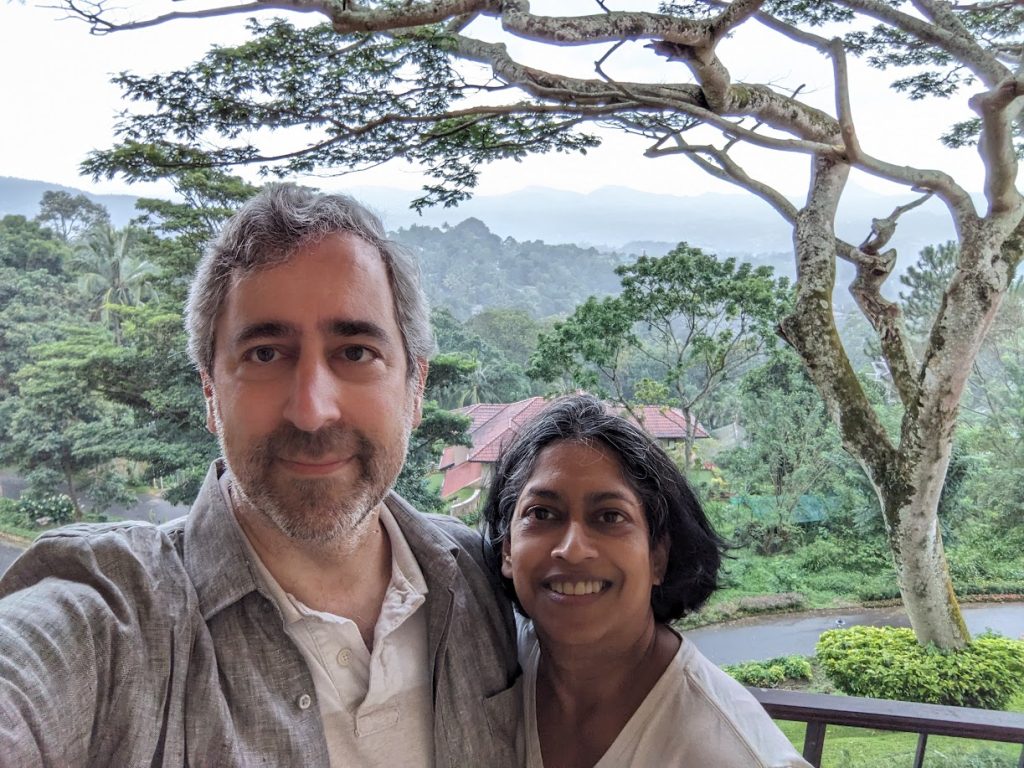
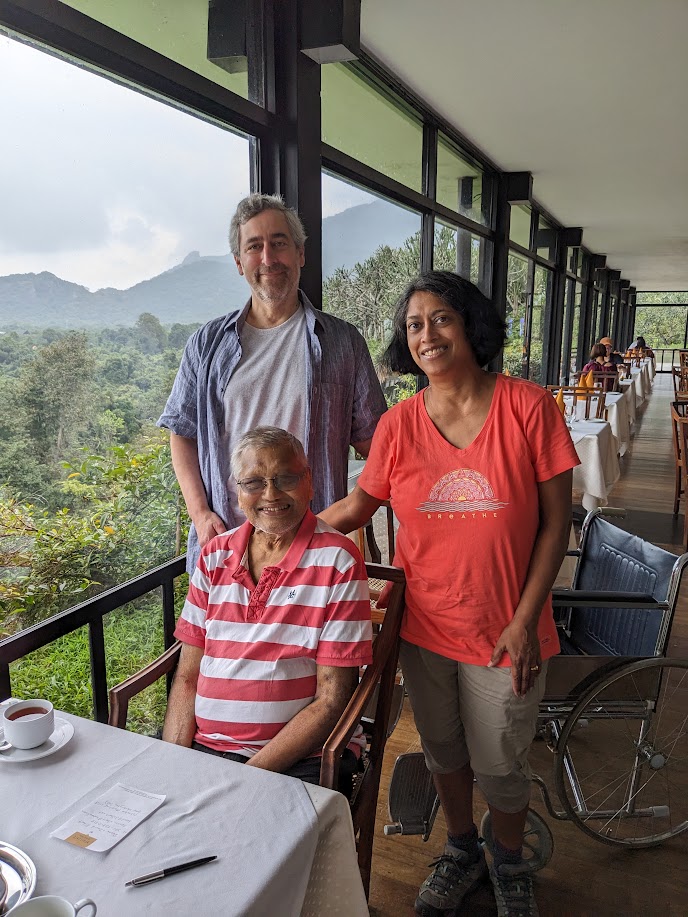
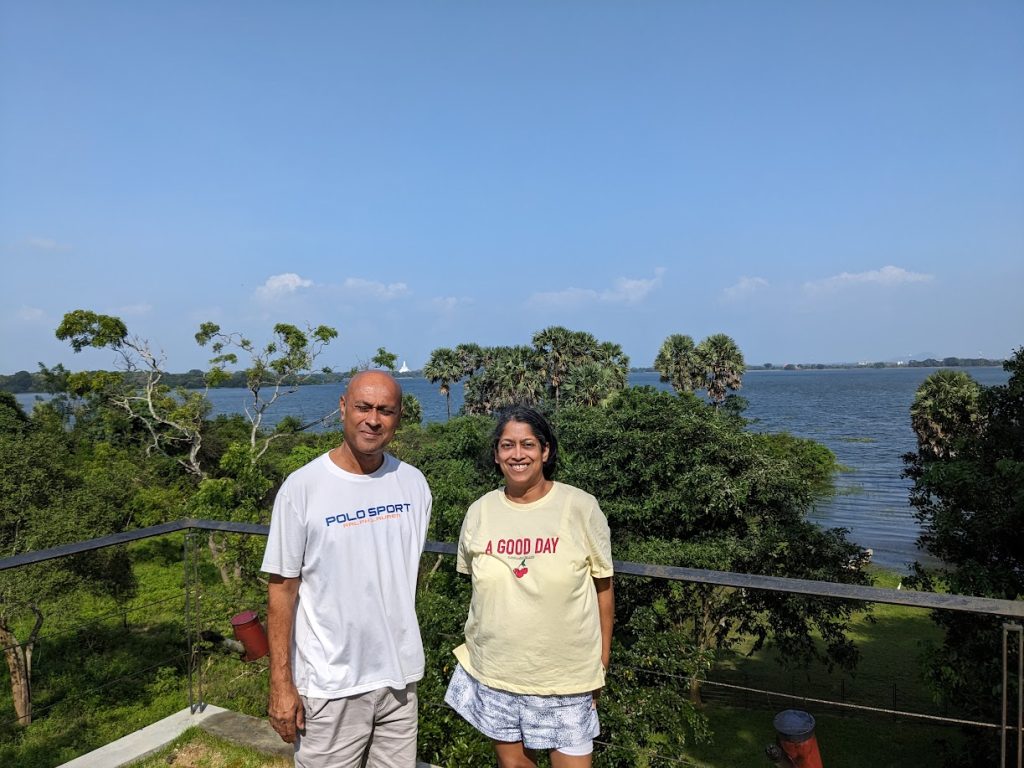
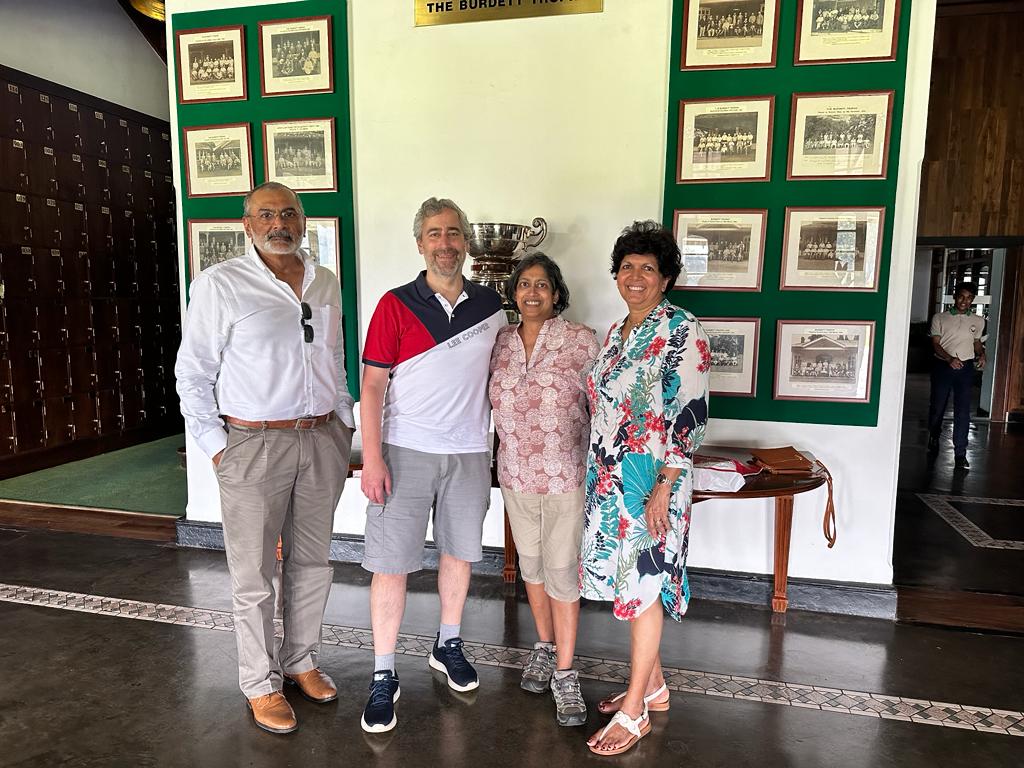
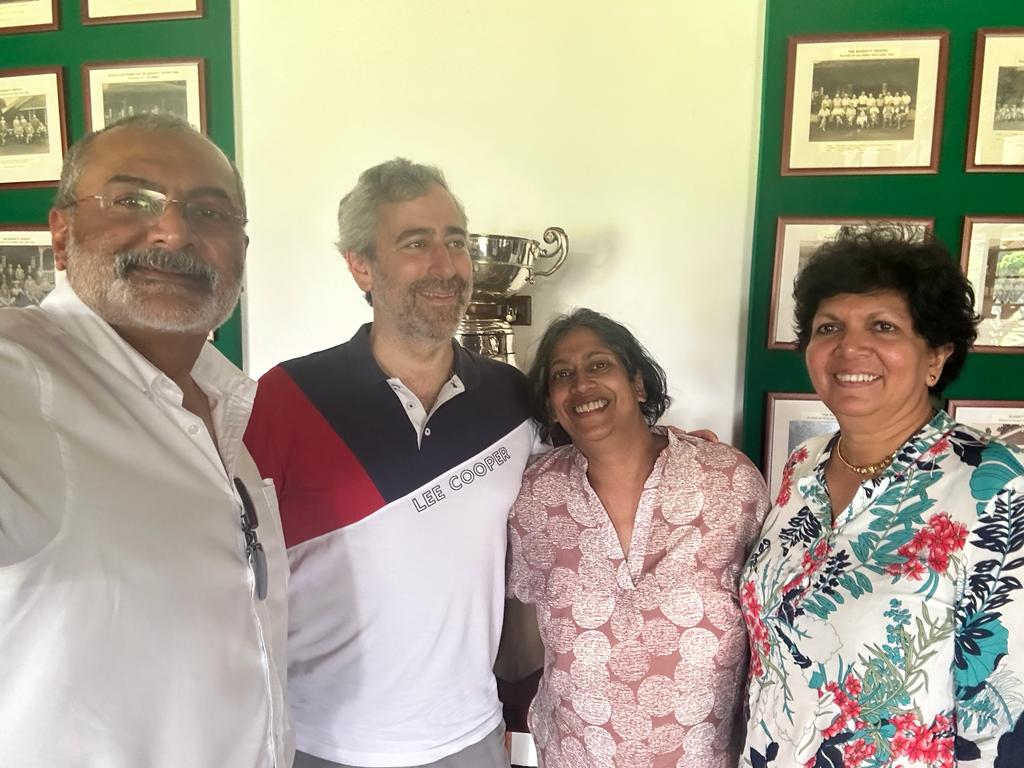
We took our first vacation since the pandemic this month (January 2024) and traveled to Sri Lanka. It was a wonderful trip. After roughly 24 hours of total travel, with a stop in Istanbul, we started in Colombo (the capital).
Sanjiv Gunasekera and his new wife Sumudu
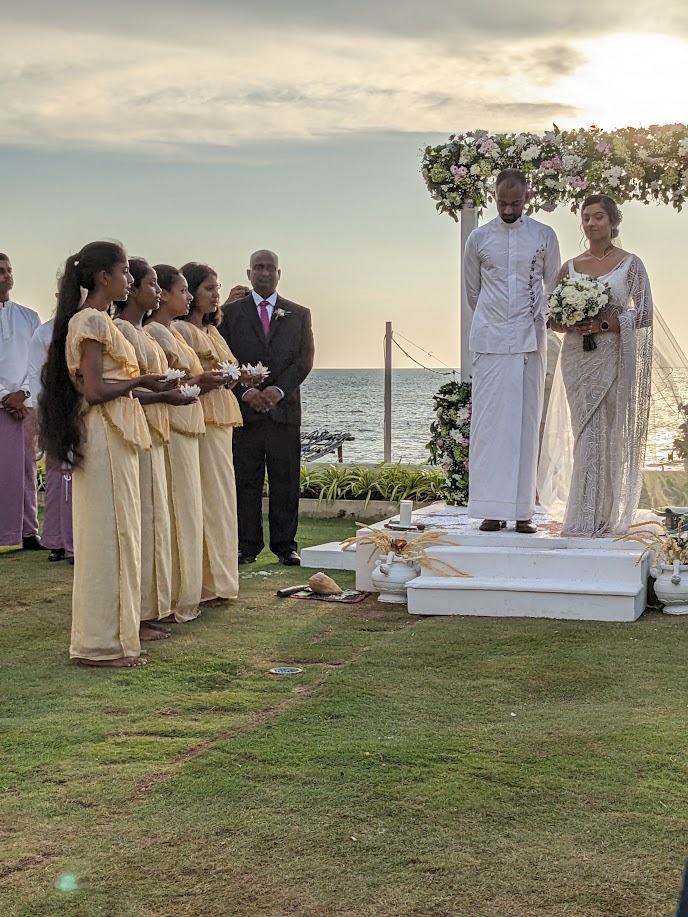
The impetus for our trip was the wedding. of Sanjiv and Sumudu (Deana’s cousin Janthy and her husband Dehan’s son and new daughter-in-law). The wedding was held on the beach behind The Galle Face Hotel. and the setting was incredibly picturesque. It was my first Buddhist wedding and it was filled with symbolism, and ceremony including Kandyan traditional dancers.
We stayed at the Galle Face which is a venerable and impressive 5-star colonial-era hotel. It has been kept up-to-date; the rooms, hotels, restaurants are modern and classy, but it still conveys the history and gravitas of a hotel that’s been in service since the mid-1800s.
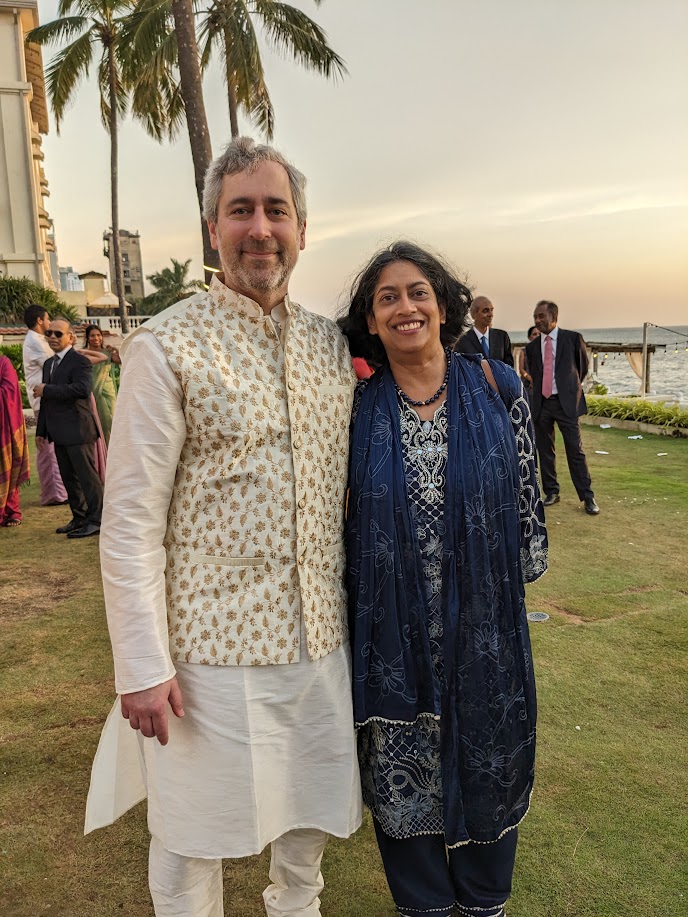
Sri Lanka sits on the equator and can be pretty hot. Although we visited in January, the temperature in Colombo stays in the mid-80s and humid year round. One of the many bizarre legacies of British colonialism is that men in Sri Lanka generally wear western suits. Nothing is more miserable in hot weather than a wool suit, high collar, and tie. Linen is a bit better, but still awful. What makes this even more mysterious is that South Asia has extraordinarily beautiful fashion that is meant for the climate. Deana and I visited an Indian store in Ellicott City (India in Style); they have a huge selection, the owner is wonderful and patient, and for better (Deana’s case) or worse (mine), we bought South Asian formal outfits for the wedding. A Kurta is definitely cooler and more comfortable than a suit although in retrospect I would have preferred linen over silk.
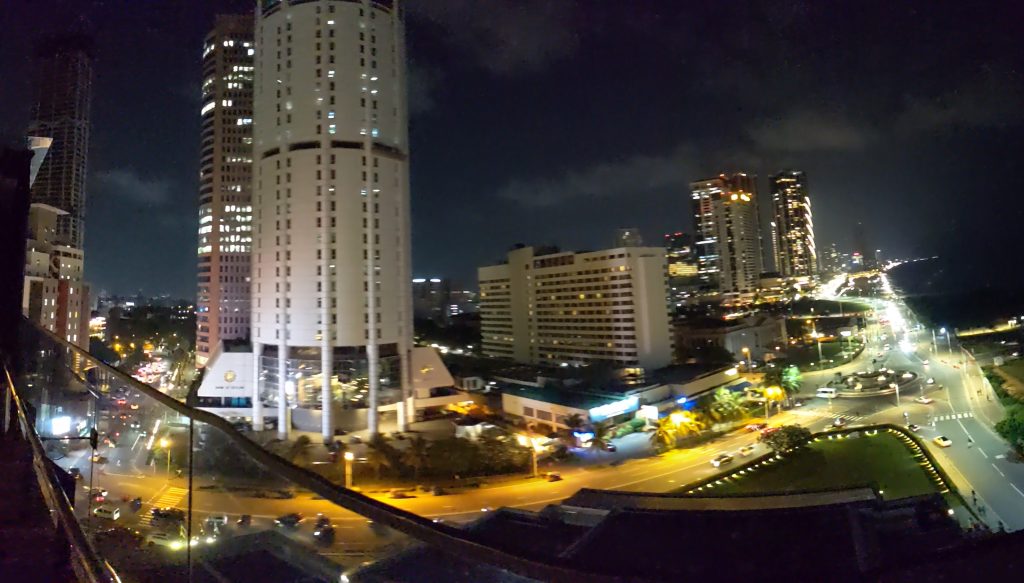
Colombo is a large metropolis with heavy traffic, skyscrapers, and diverse neighborhoods. Like many major metropolises, it is also very fashionable and Deana and I quickly realized our American-tourist clothing needed an upgrade. After several visits to House of Fashion (a popular department store that focuses on clothing) we acquired enough warm-weather, but semi-fashionable clothing (and another suitcase to hold it).
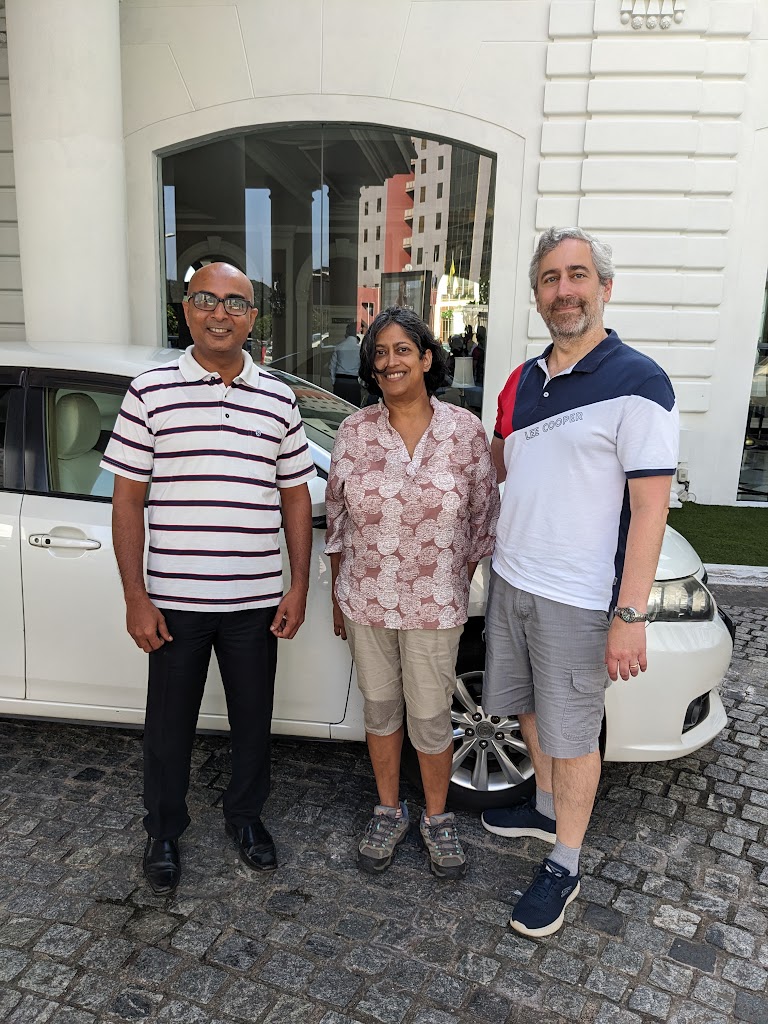
We also realized how essential our driver (Amal) was. Driving in Colombo makes driving in New York City look trivial. Aside from the fact that Sri Lankans drive on the left (UK-style), driving anywhere in Sri Lanka is not for the faint of heart whether in dense urban settings or narrow mountain switchbacks. Even in rural areas, overtaking (passing) is an art-form and there are novel road hazards (like elephants) one may not be accustomed to. If you go to Sri Lanka, get a private driver; it is the single best thing you can do. If you can get Amal, you should do so; he is a gem. You can reach him on WhatsApp (the calling app everyone in Sri Lanka uses) or on his website. I’ll talk more about this later in this post.
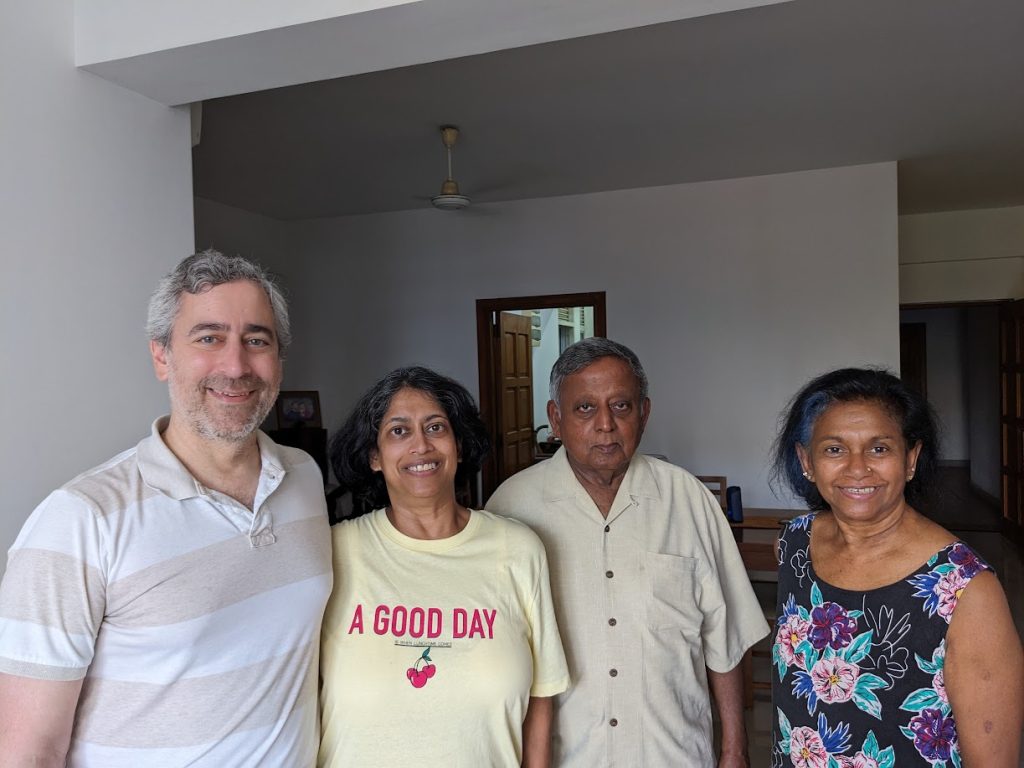
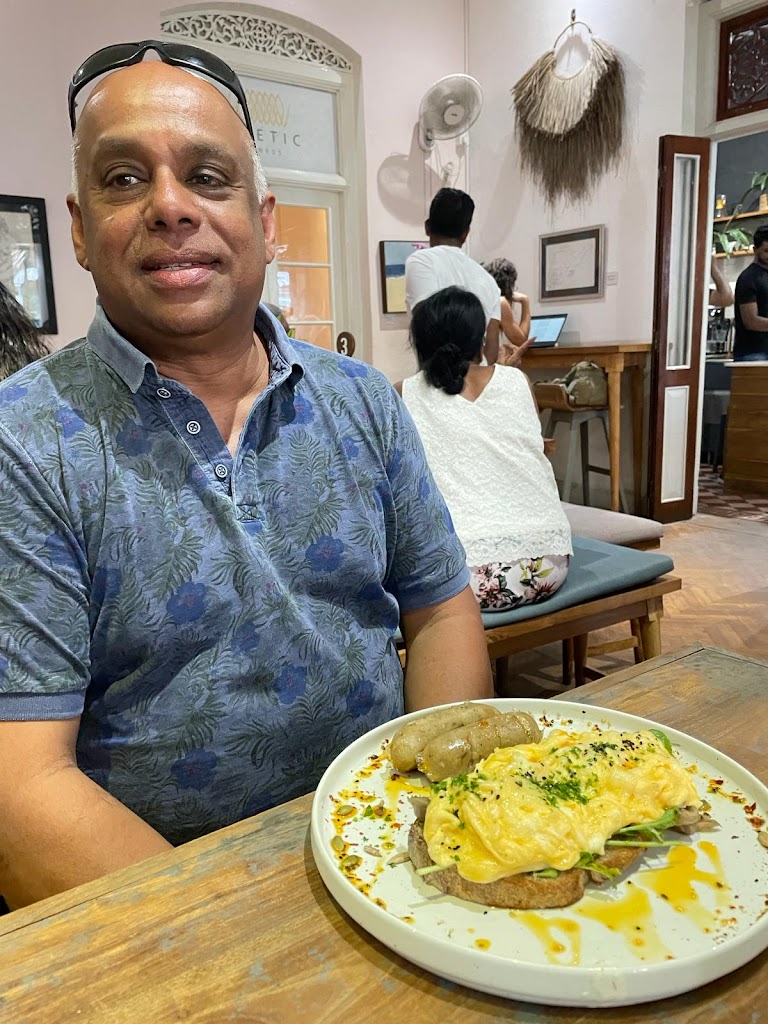
While in Colombo, we spent time with Deana’s family members including her cousins Lakshman (who lives in Australia), Lakshme (who lives near us), and Dev (who lives in the UK), her mother’s brother: Uncle Rasa and his wife Jaya, her relatives Somes (Colombo), Subo (UK), and Subo’s brother Ram and his wife Kala (Toronto). Lakshman entertained at his condo where I made my one and only mistake of having a drink with ice – Mr. Montezuma made me pay for that drink for about a week. Really really really don’t drink tap water or use ice in Sri Lanka. Anything you drink must come from a sealed bottle or be boiled. Dev took us to the charming Barefoot Cafe (where by coincidence we again saw Lakshme and Lakshman)
Cousin LakshmanLakshme and SomesCousin DevCousin LakshmeRasa Uncle and Jaya Auntie
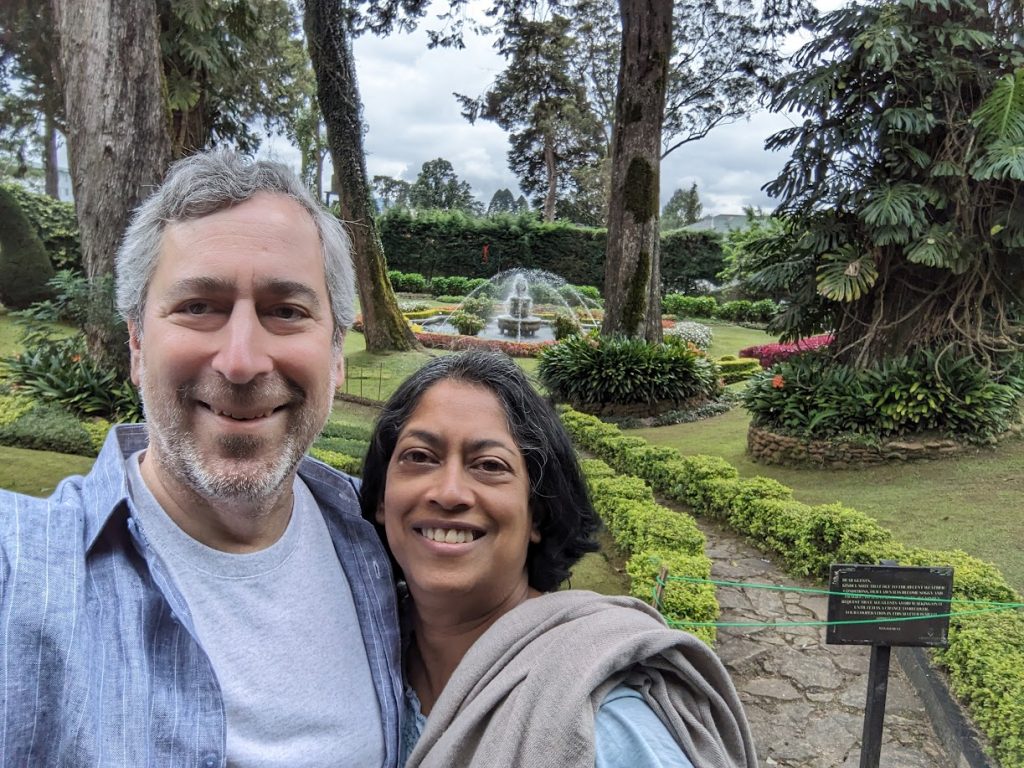
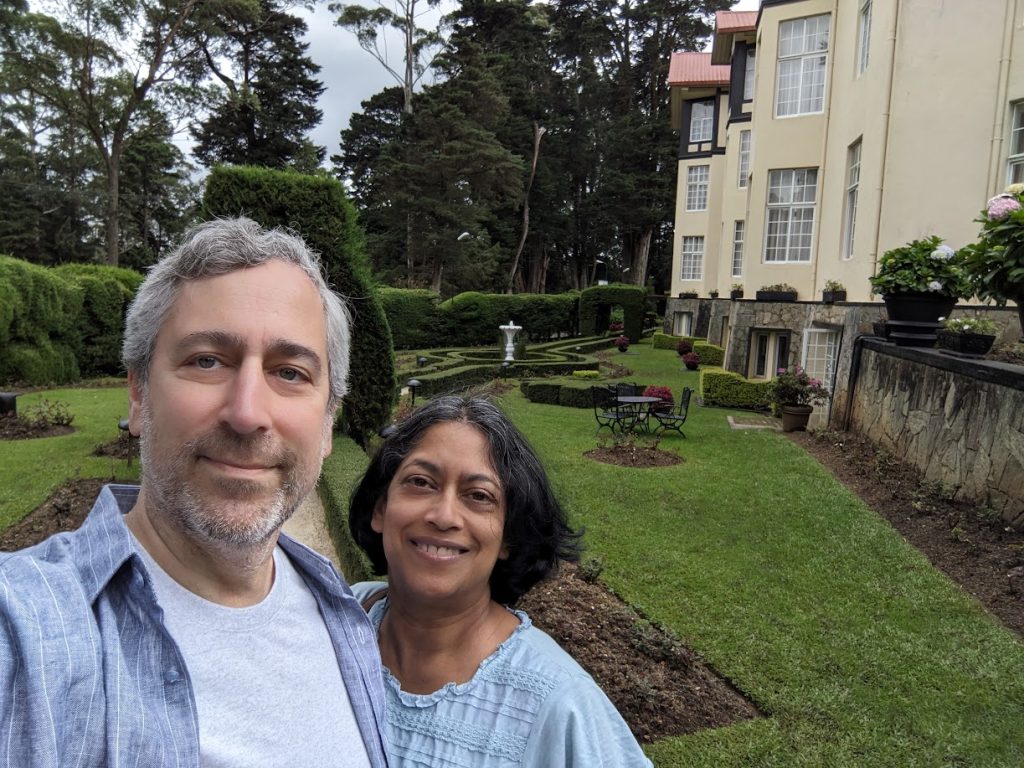
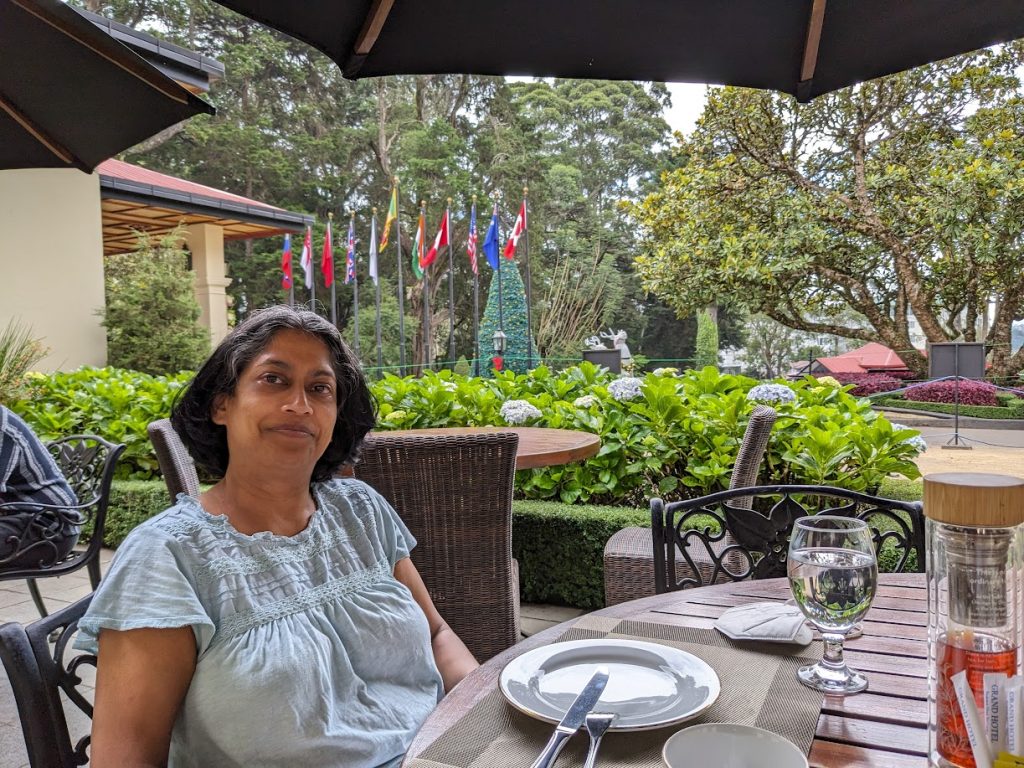
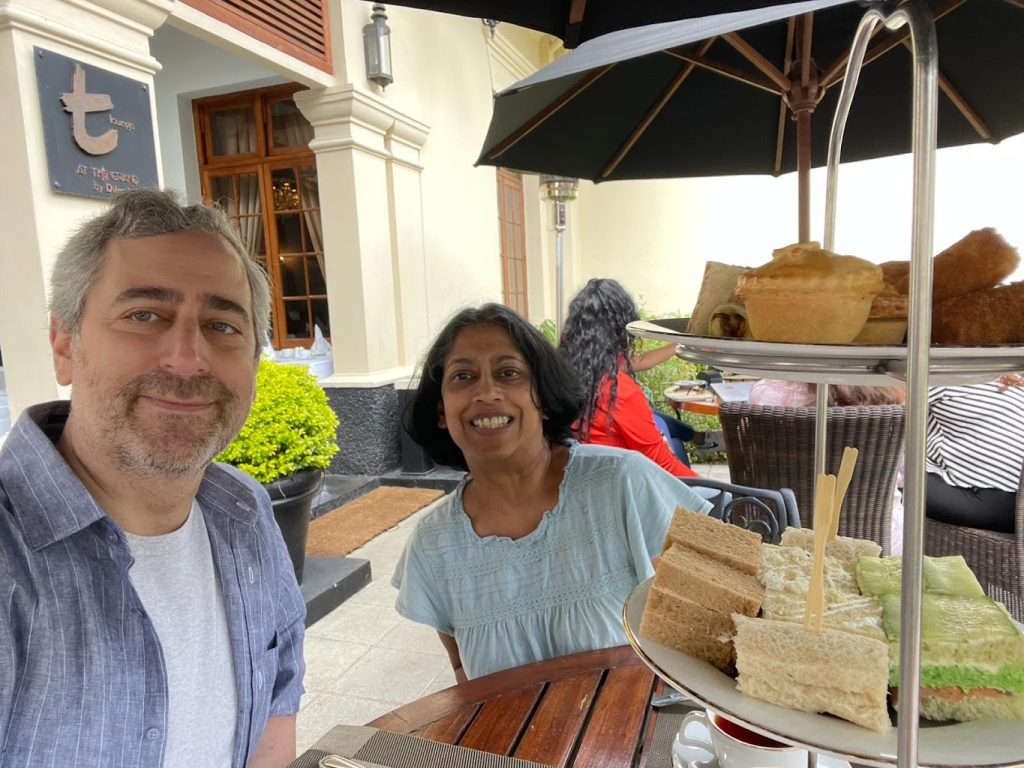
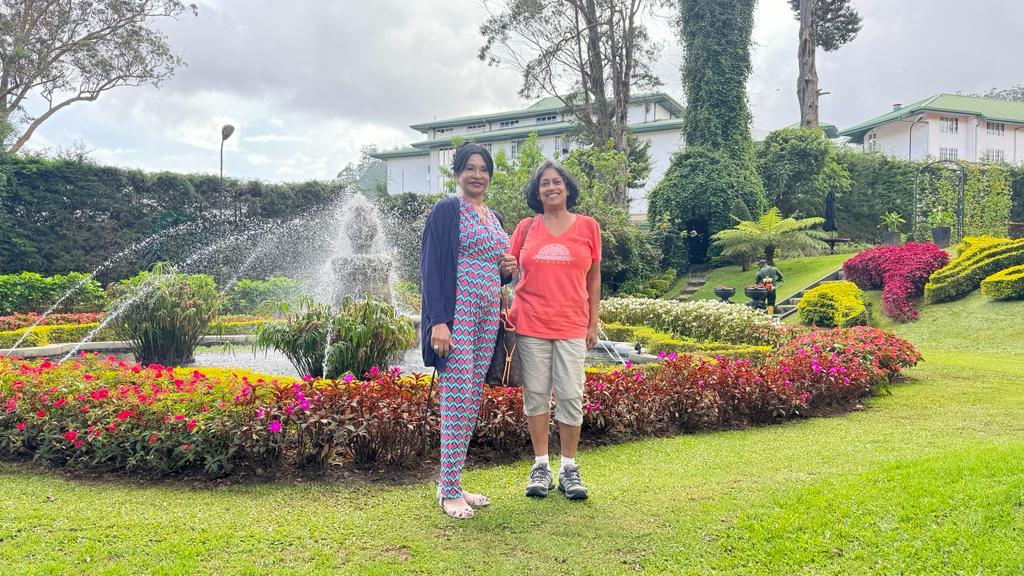
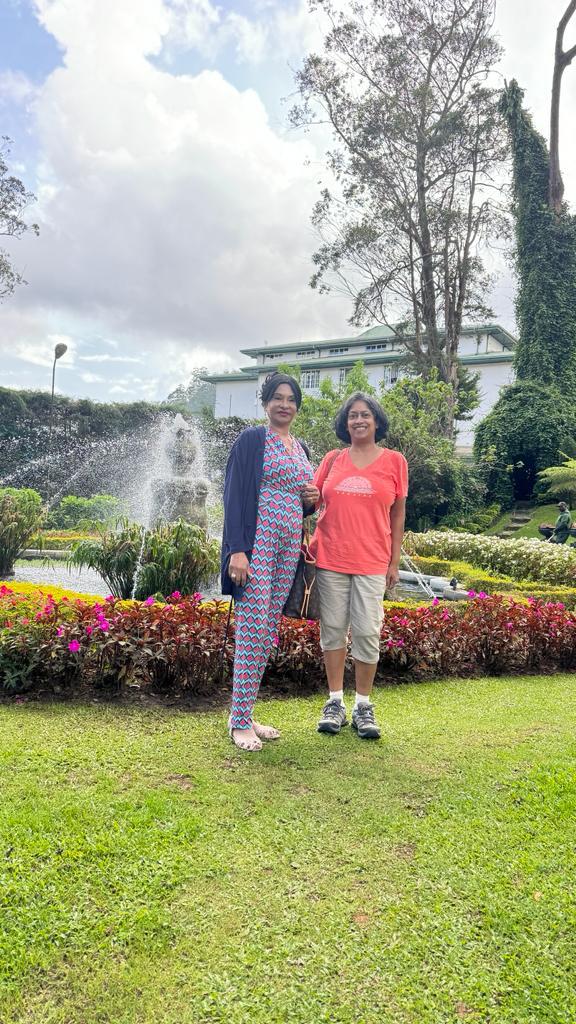
From Colombo, we traveled to Nuwara Eliya which is in the mountainous central region of Sri Lanka. There we stayed at another venerable colonial era 5-star hotel: The Grand (which, true to its name, is spectacular). The rooms are amazing, the grounds are beautiful, and the scenery is stunning. Nuwara Eliya is in tea country: the mountainous central part of Sri Lanka. Unlike Colombo (and much of the island where the climate is tropical), the mountains are delightfully cool and dry – a near perfect environment. The area around The Grand is known as “Little England” and is full of European-style architecture and the culture of the area is unique. We had high tea daily, visited a tea plantation and factory,
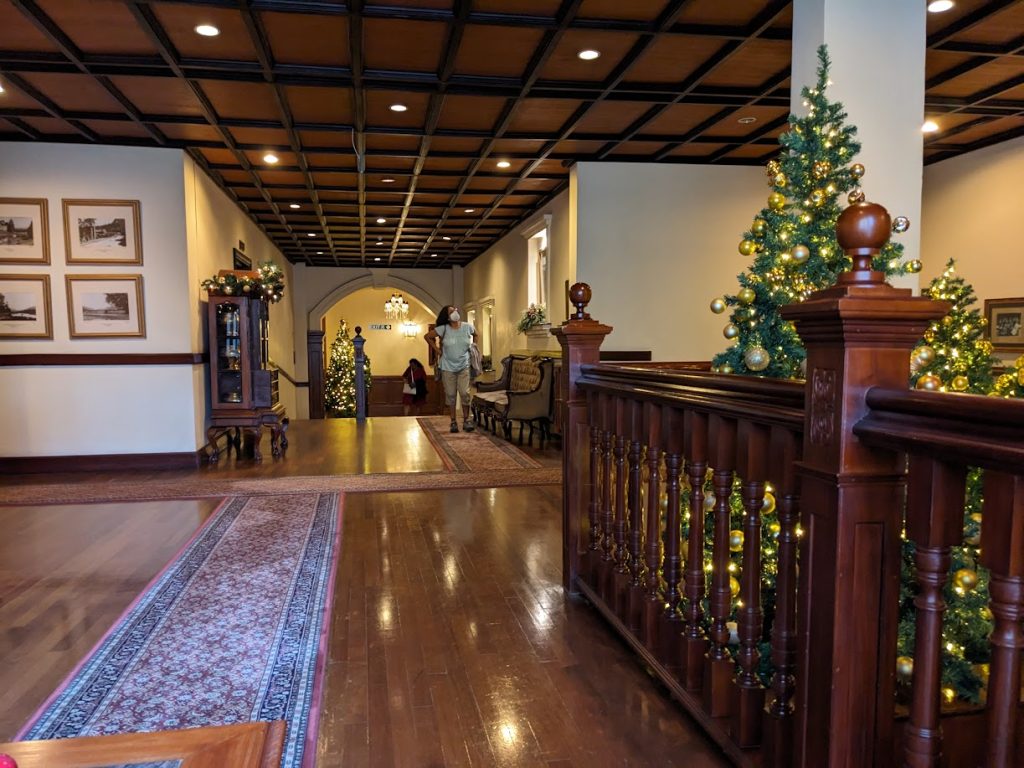
Spectacular GardensHigh TeaA random hall at The Grandkeepin’ it ‘muricanHigh TeaThe Grand Hotel in Nuwara Eliya
By coincidence, Subo was staying at The Grand at the same time and Deana was able to spend some time with her there. Did I mention how spectacular the gardens are?
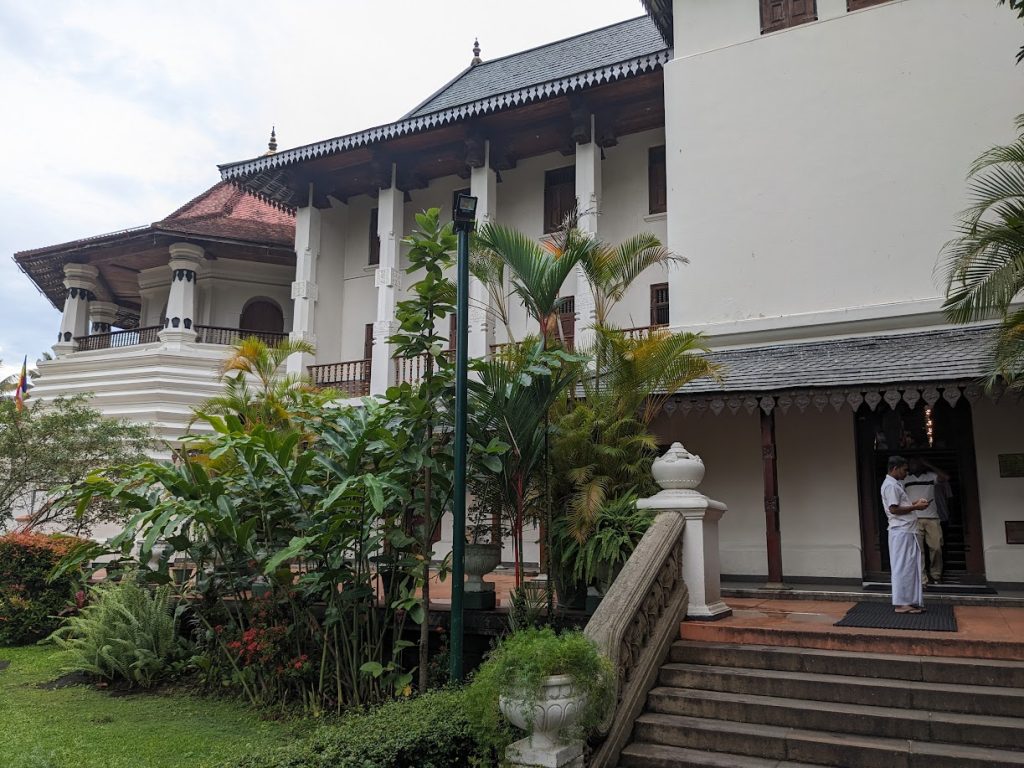
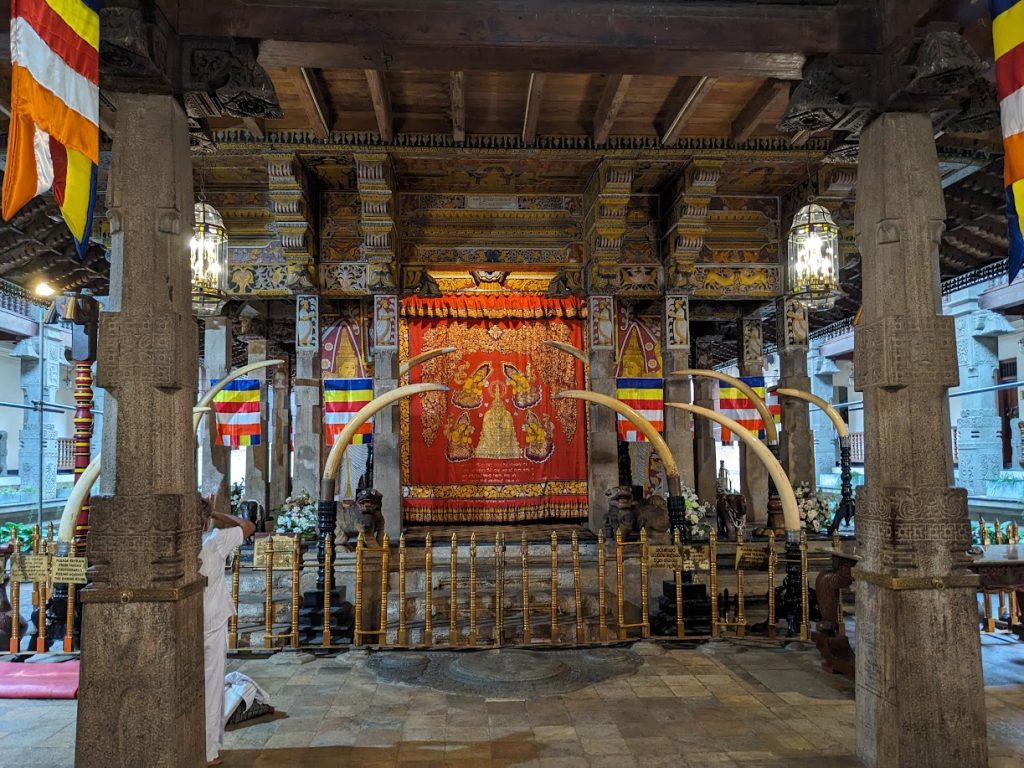
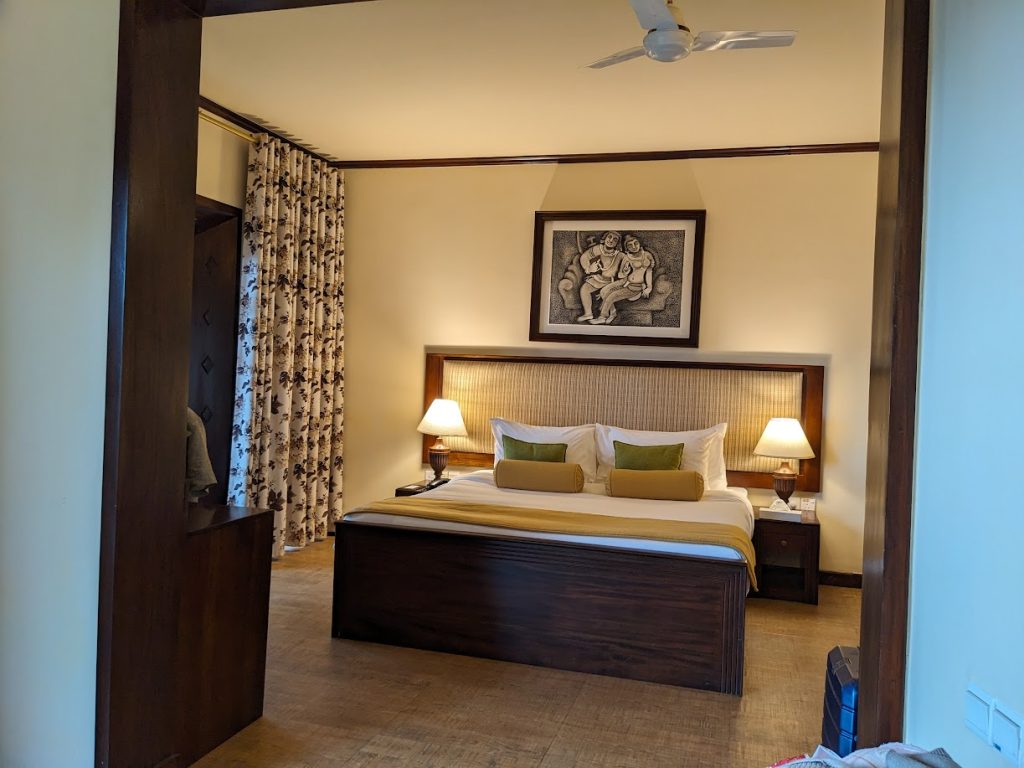
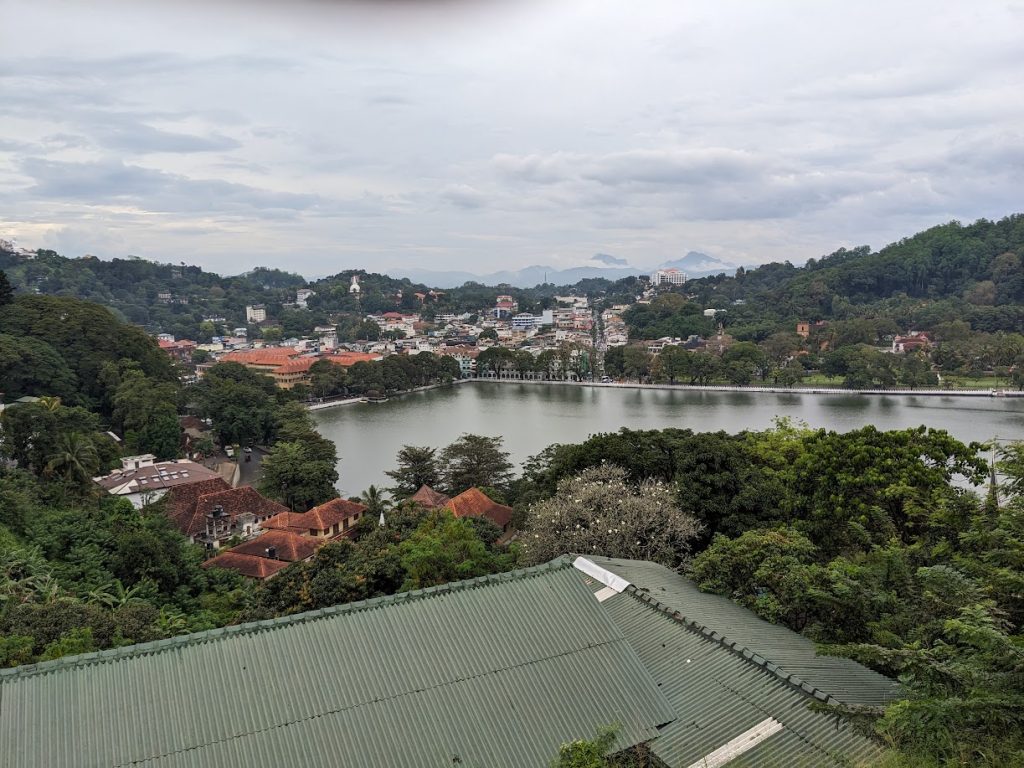
From Nuwara Eliya, we traveled to Kandy, Sri Lanka’s second city and religious center. At Kandy we visited the Temple of the Tooth (the holiest Buddhist temple) and went to a cultural show with traditional dances including an impressive display of fire dancing and eating. Kandy is spectacularly scenic. We stayed at the Amaya Hills (another 5-star hotel) which sported stunning rooms and incredible views. Coincidentally, Deana’s relative Subo and her husband Ram and his wife Kala whom we had been with at the wedding were also staying at The Grand at the same time so we got to meet with them there again.
Temple of the ToothTemple of the Tooth ShrineAmaya Hills roomKandy LakeAmaya Hills room view
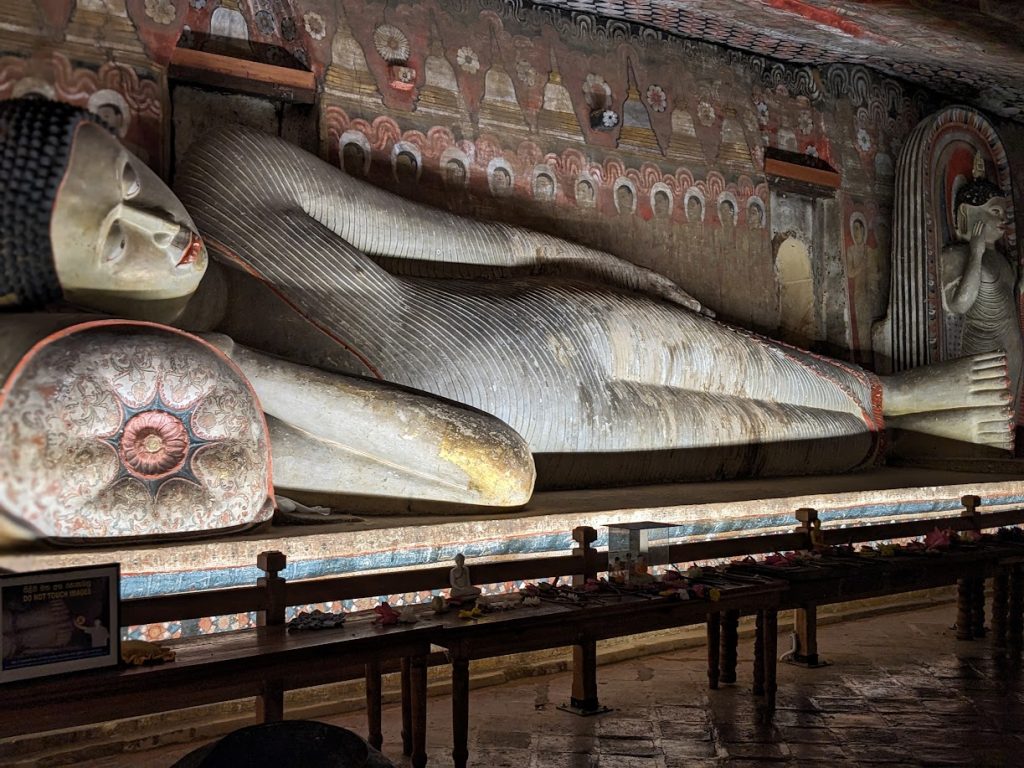
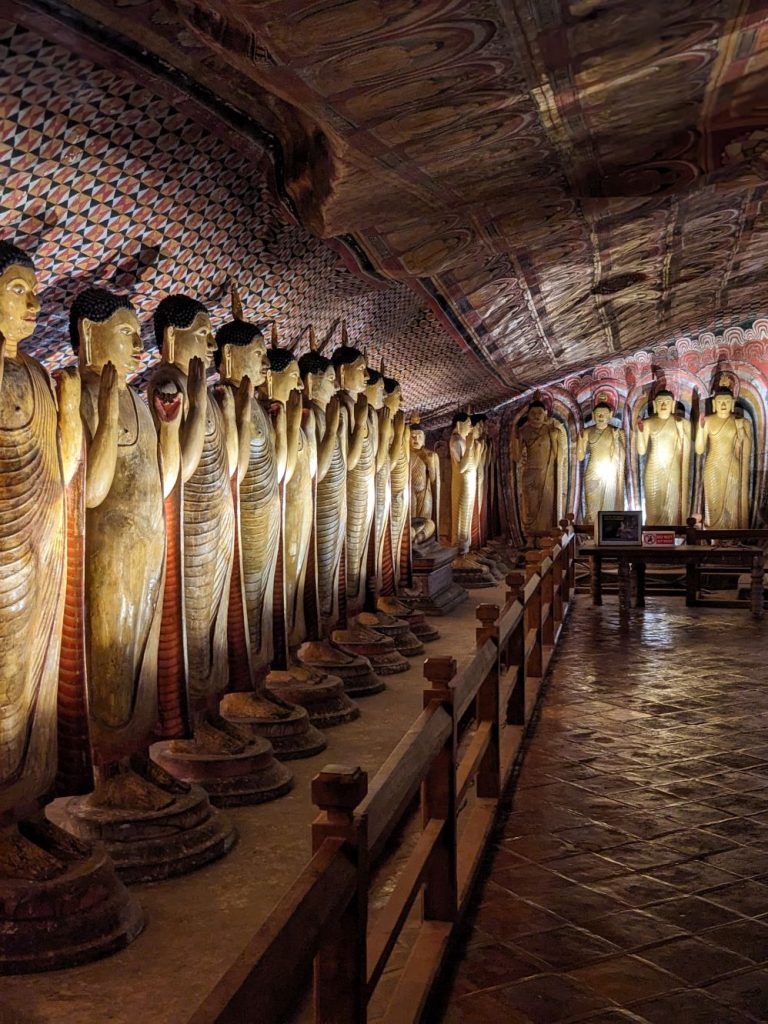
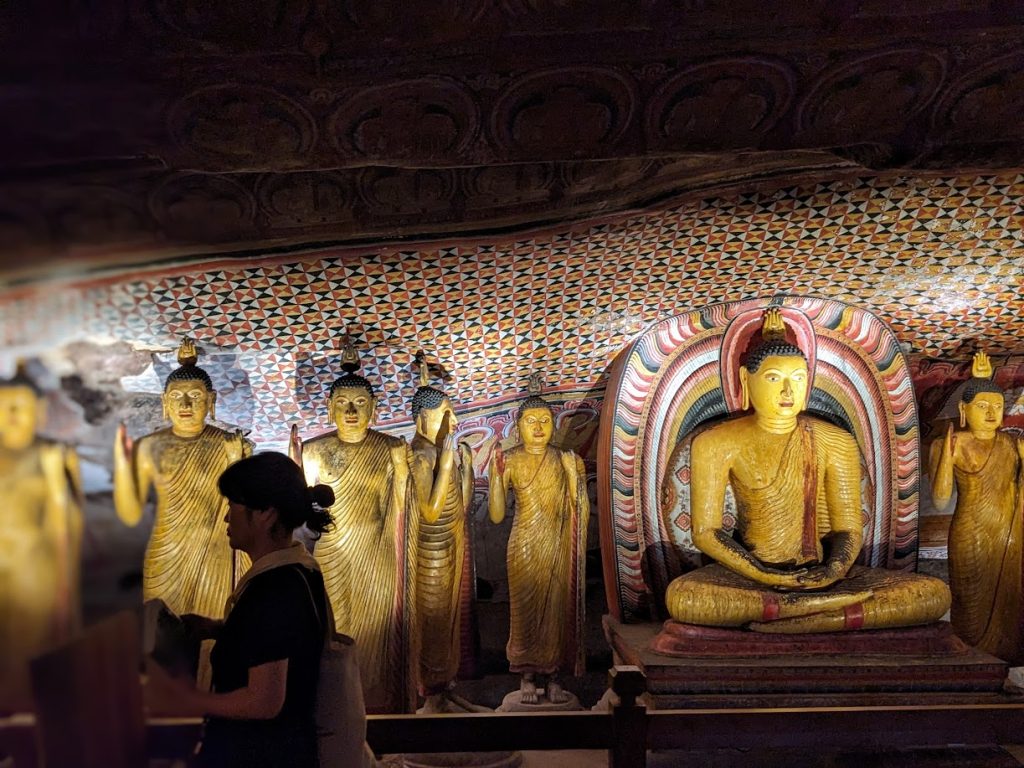
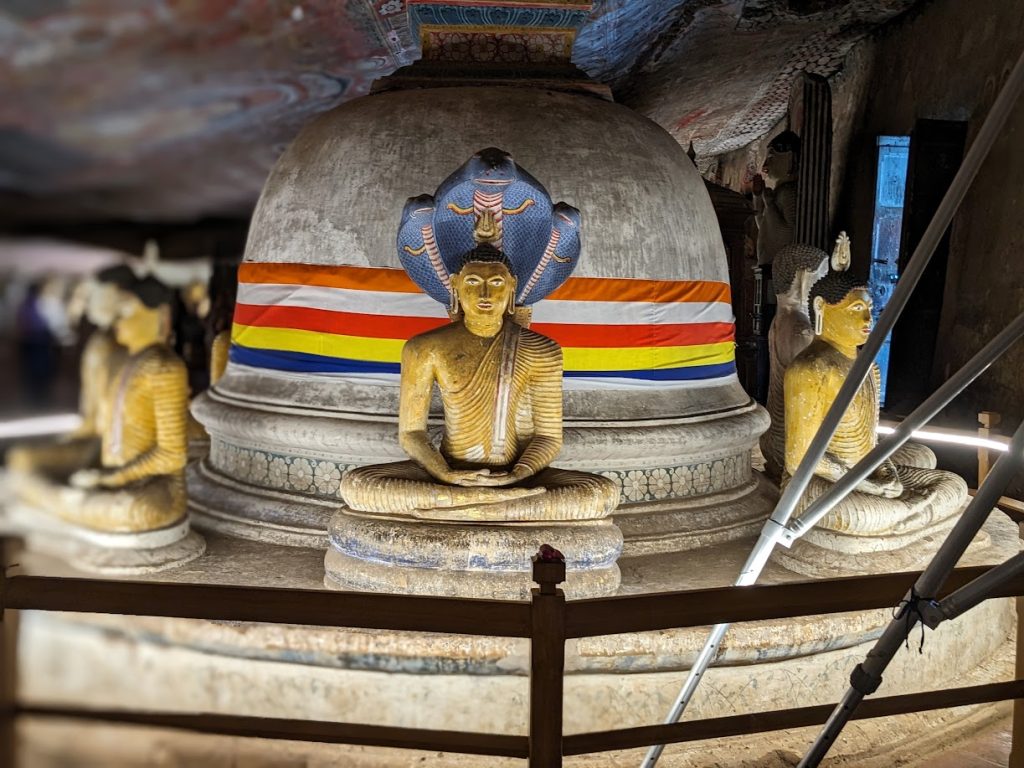
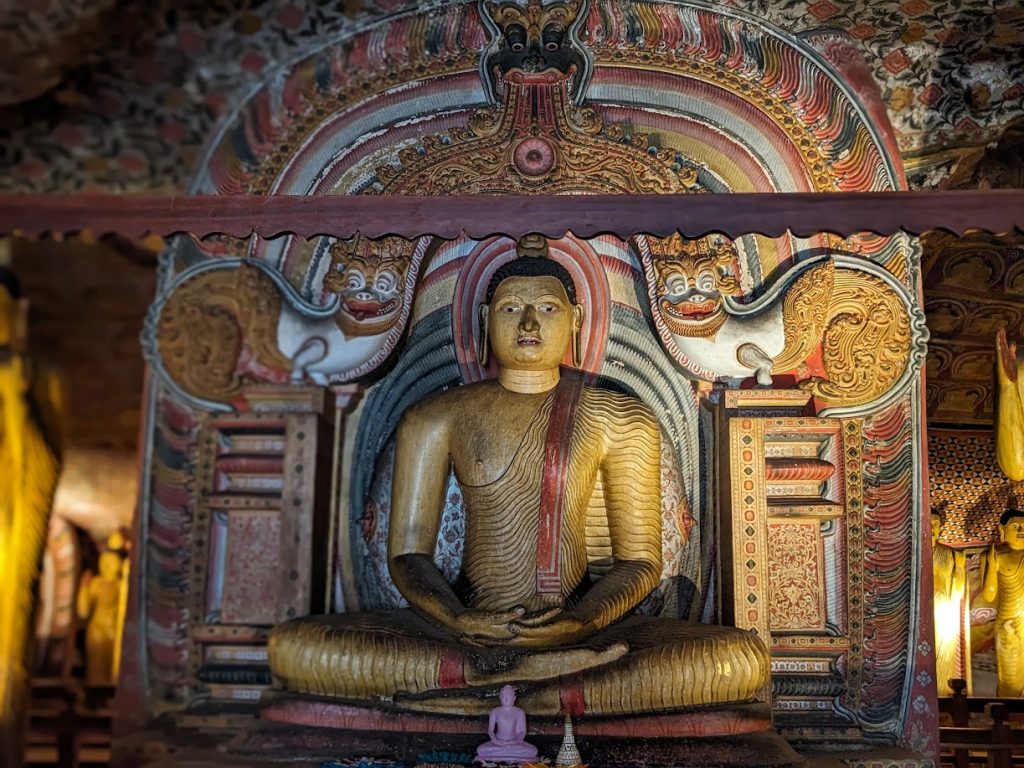
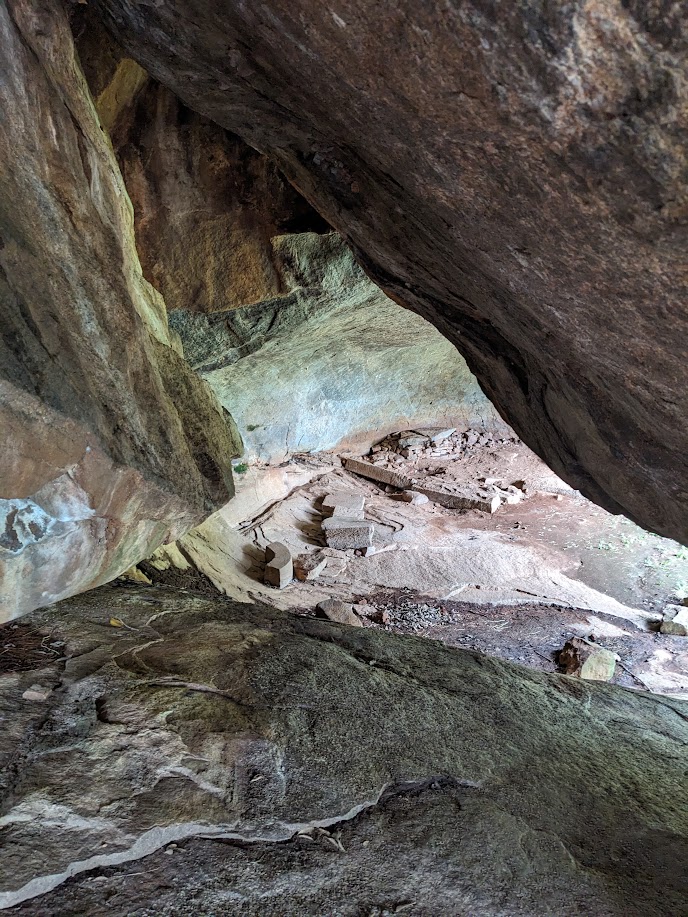
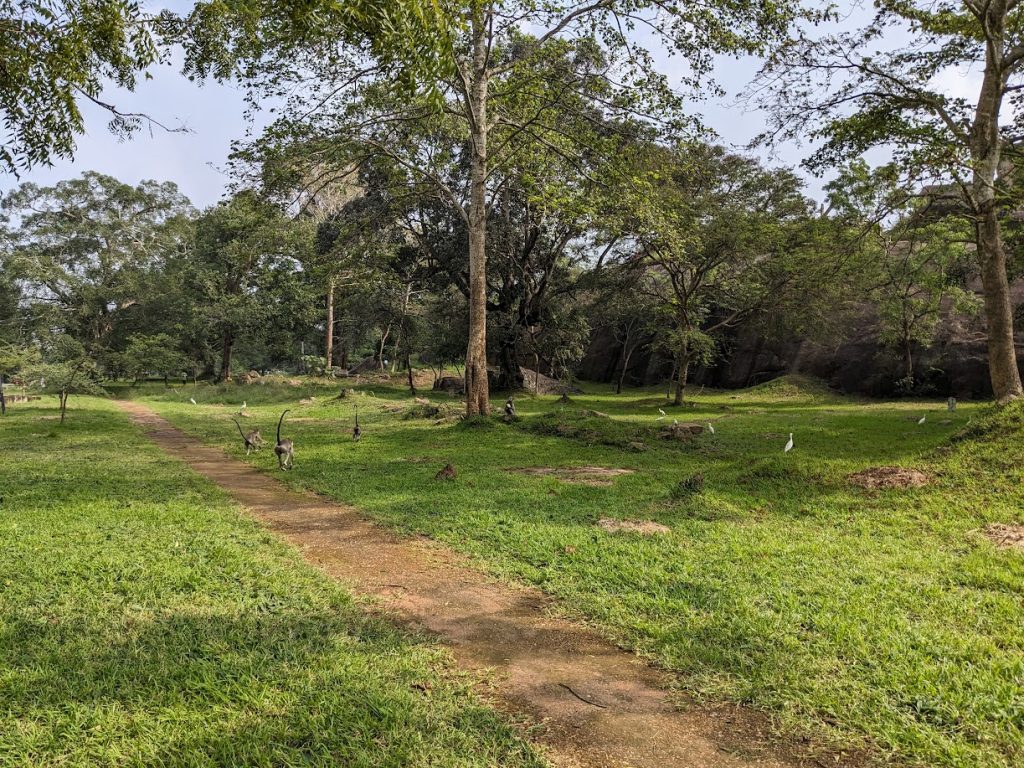
While staying in Kandy, we visited two ancient Buddhist temples; one was a UNESCO World Heritage sites: the 1st century BCE Dambulla Cave Temple. Both temples involve some climbing; Dambulla is built atop a 500′ rock so there are a lot of steps involved….but they’re worth it and somehow not nearly as difficult as the climb at Sigiriya (later). There are 5 caves at the top, each filled with massive ancient statues and every inch is intricately painted. Of the historic and religious sites we visited, I found Dambulla by far the most impressive. Note: there are a *lot* of monkeys at Dambulla.
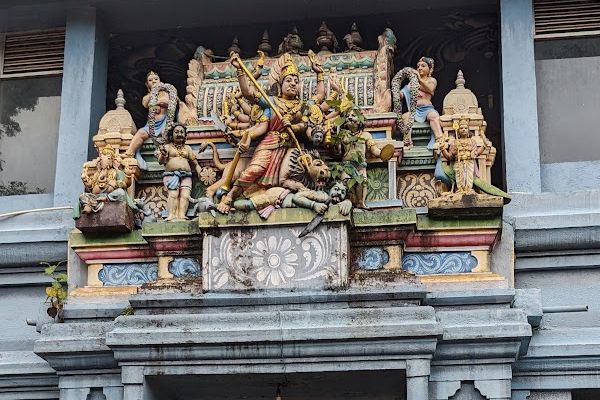
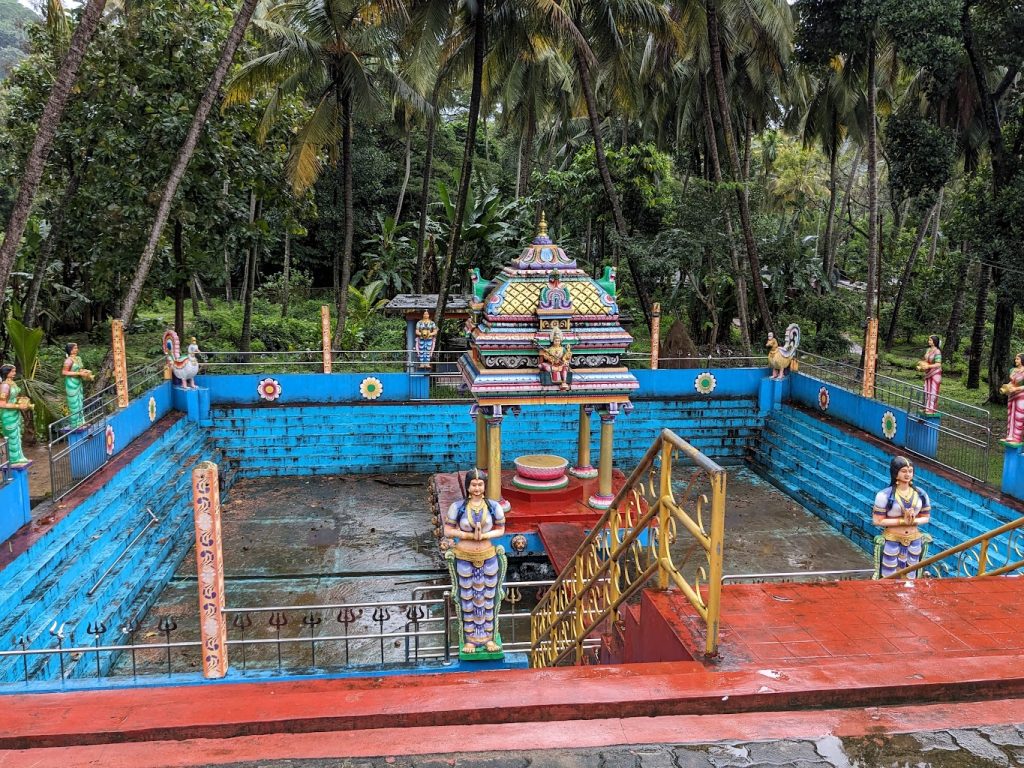
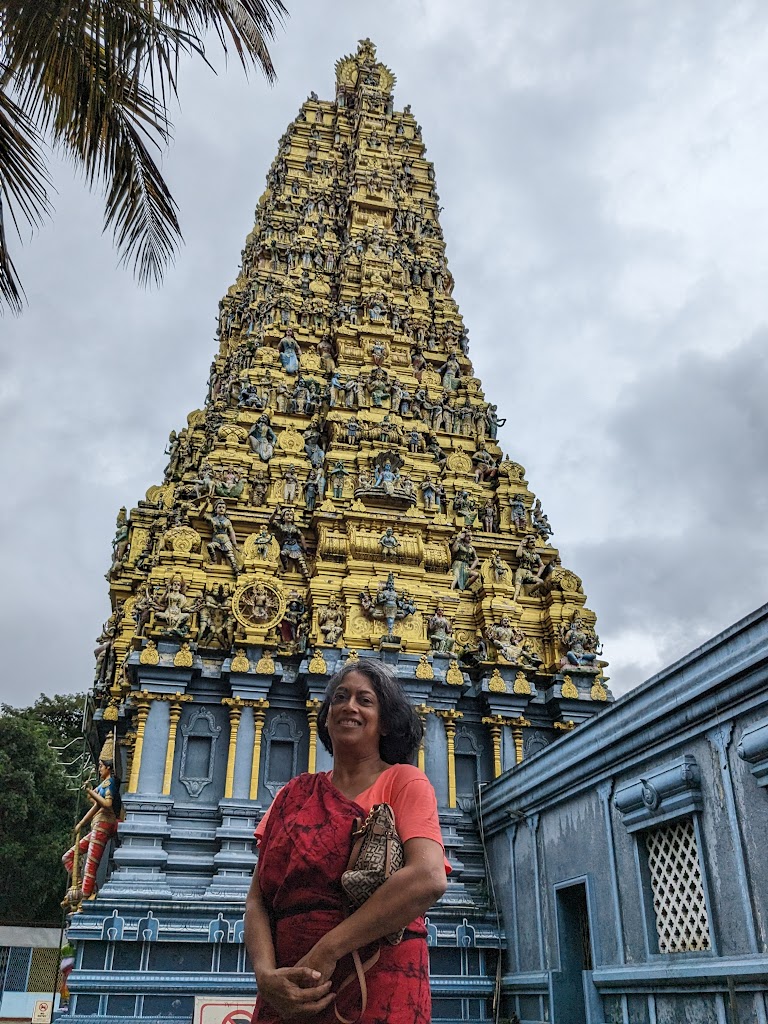
From Kandy, we traveled to Sigiriya. On the way we visited the Sri Muthumariamman Hindu Temple in Matale. This is a very old temple which is incredibly intricate
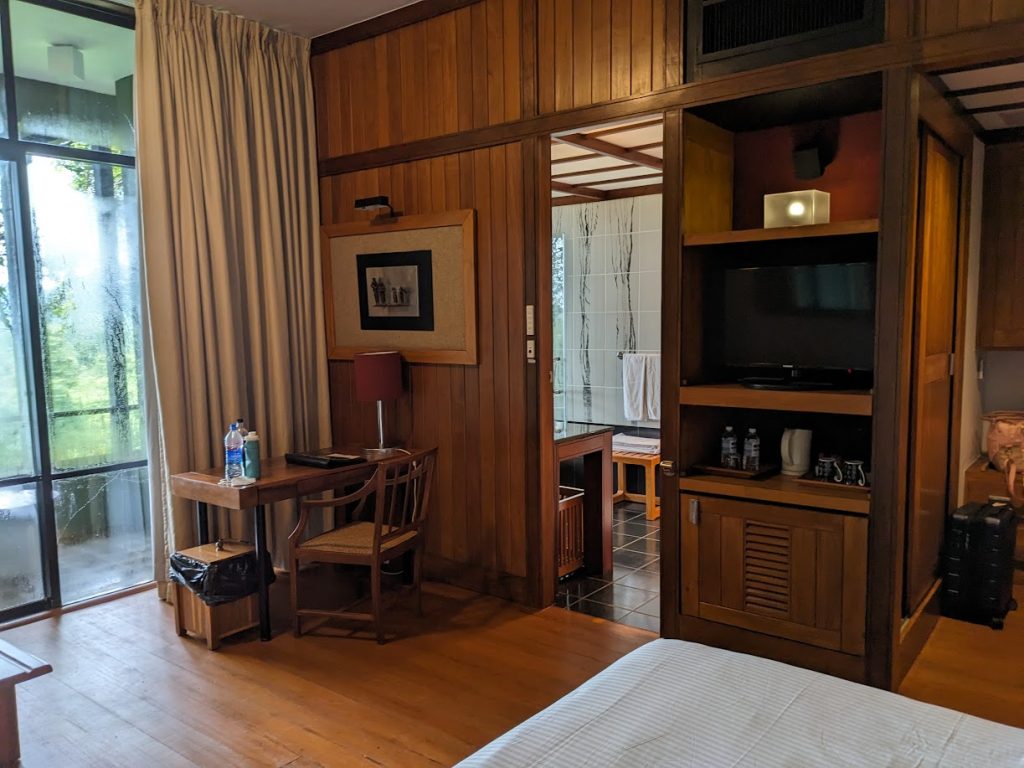
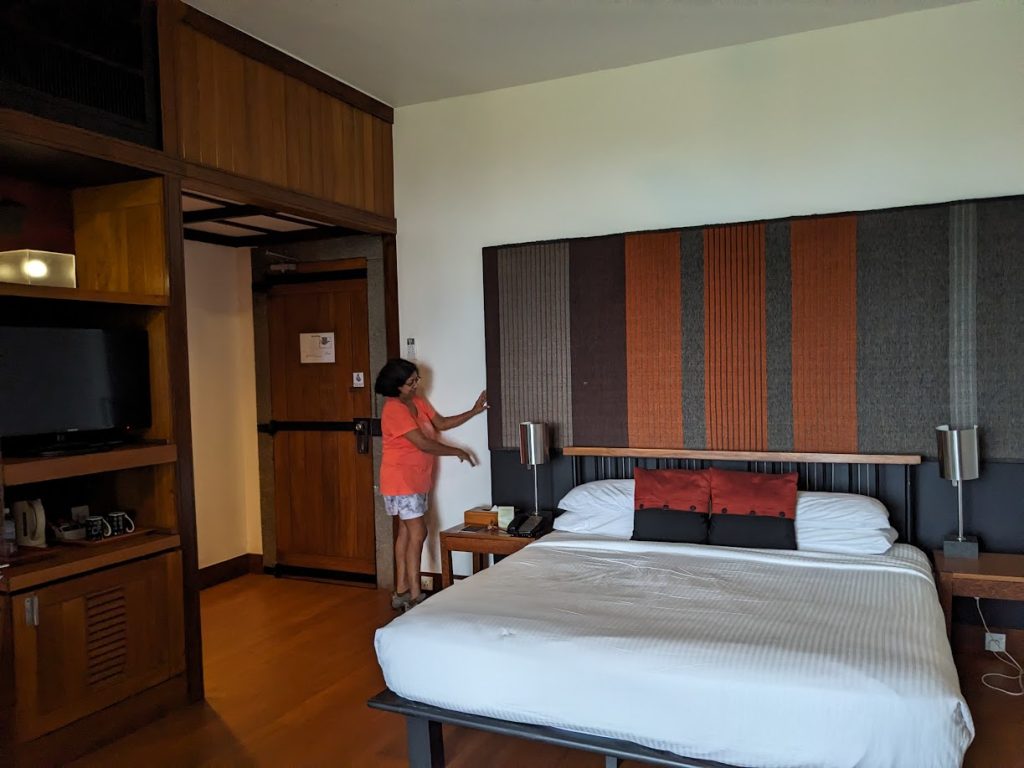
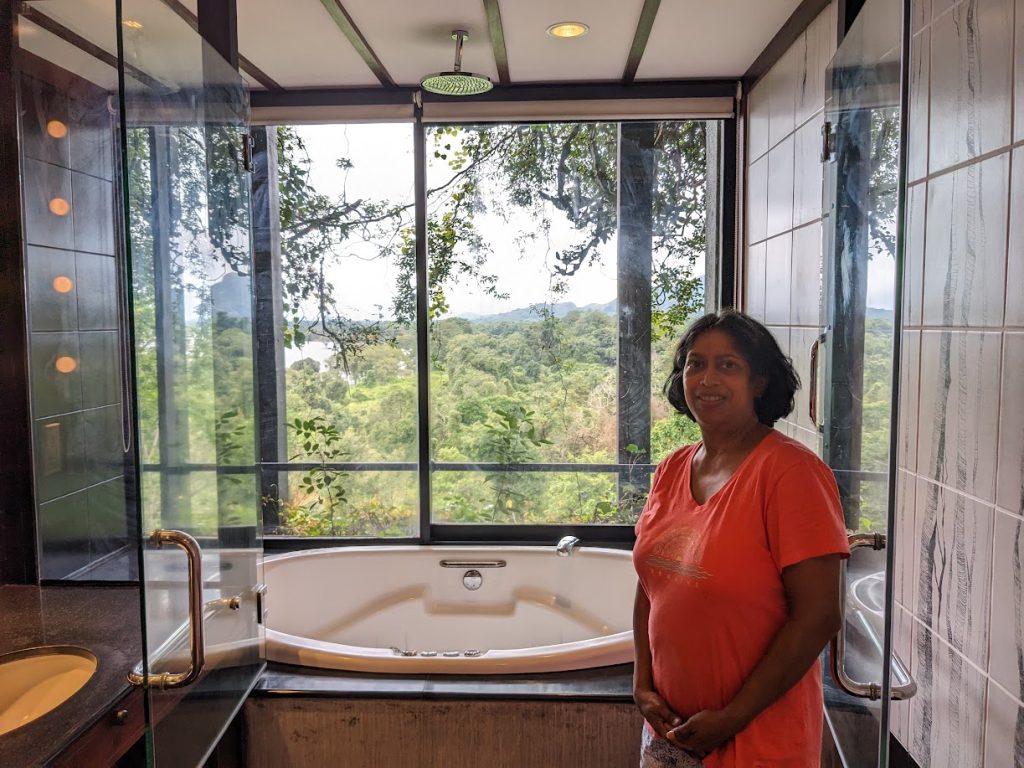
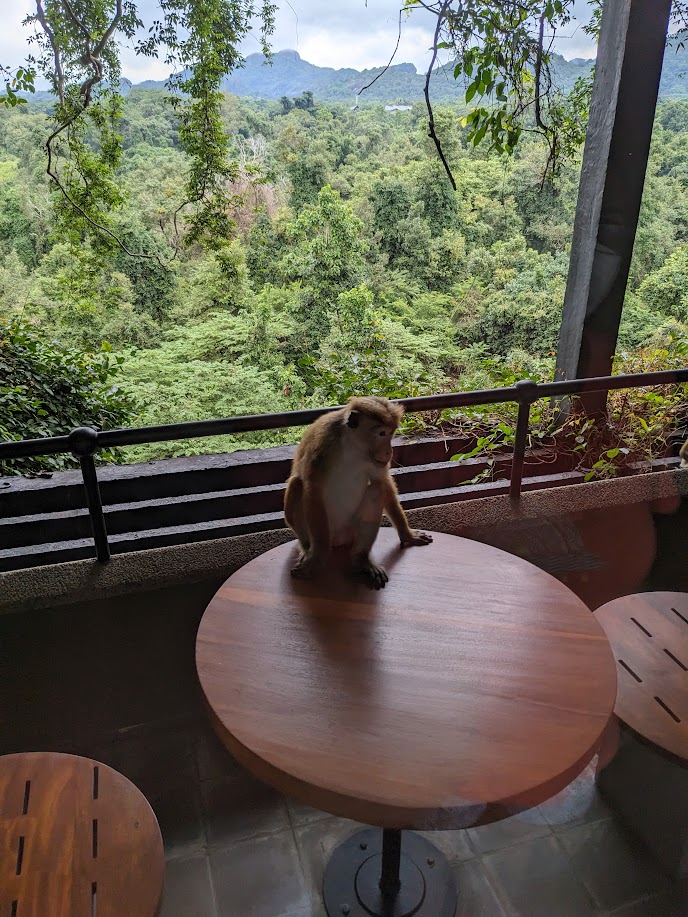
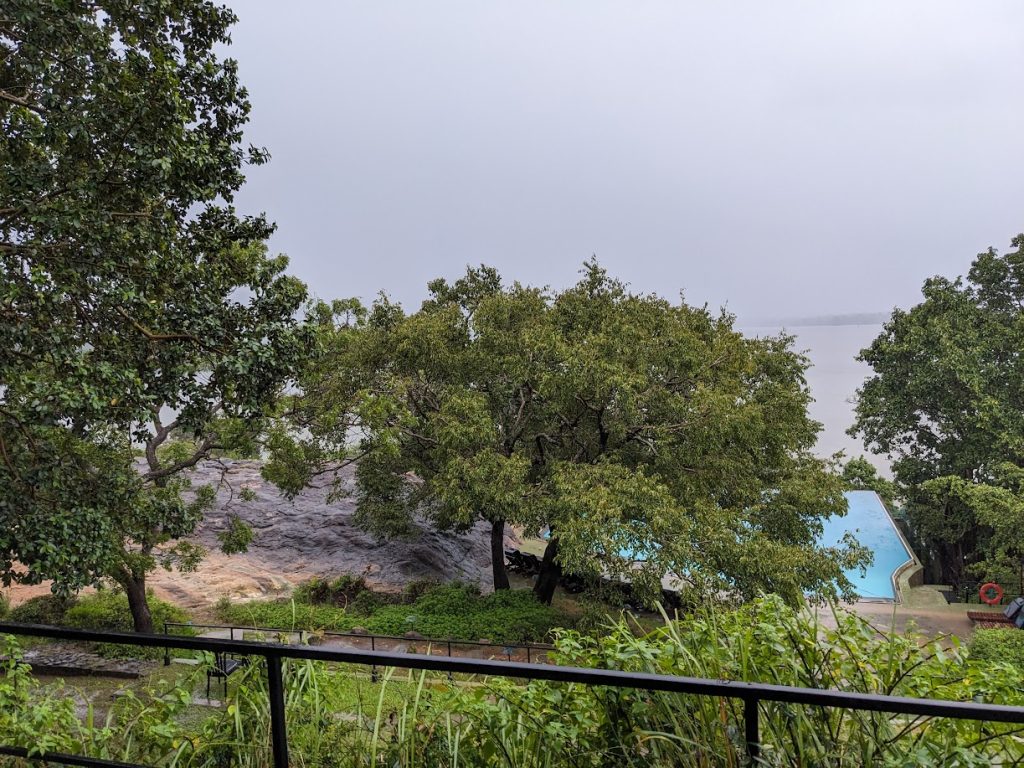
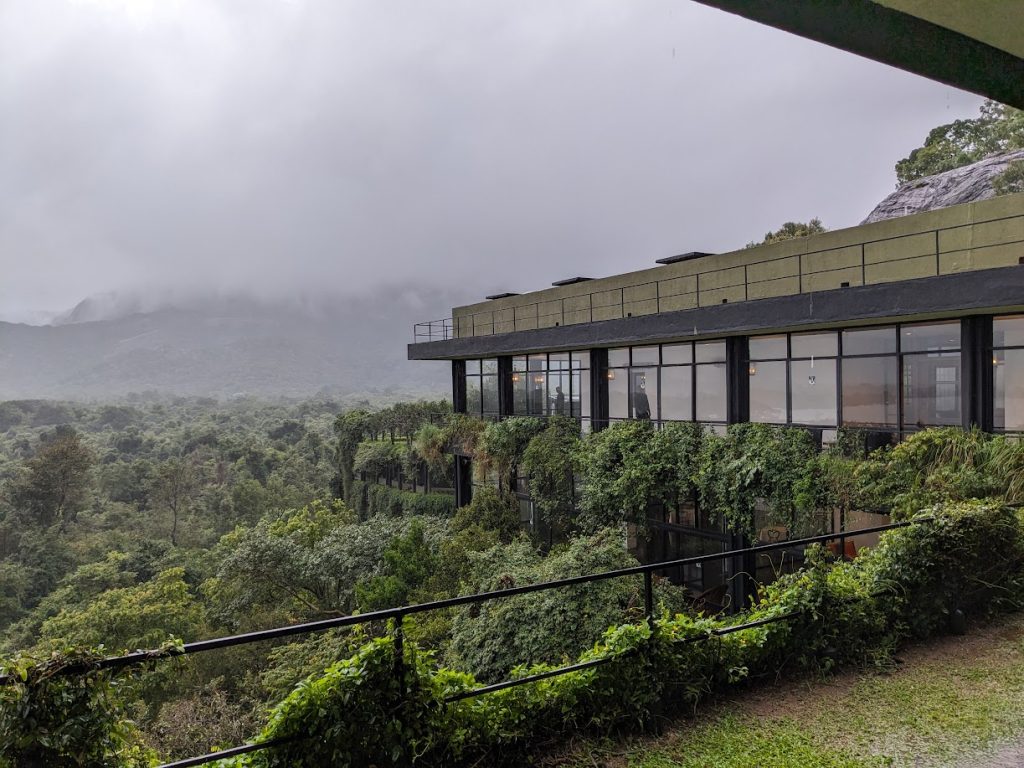
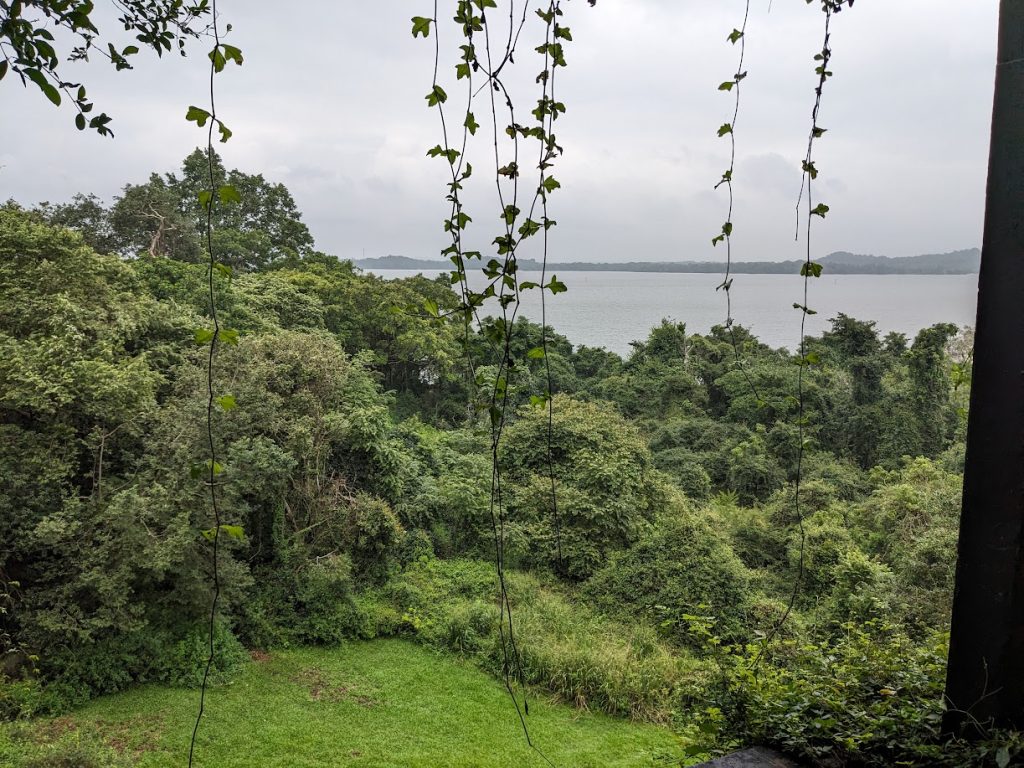
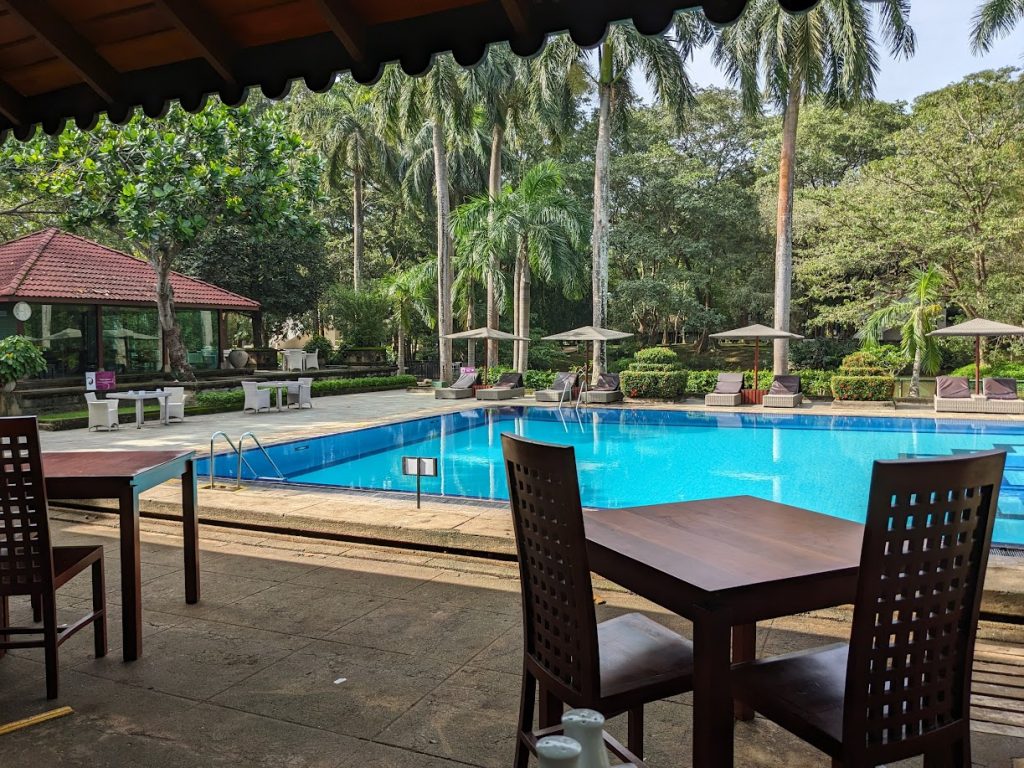
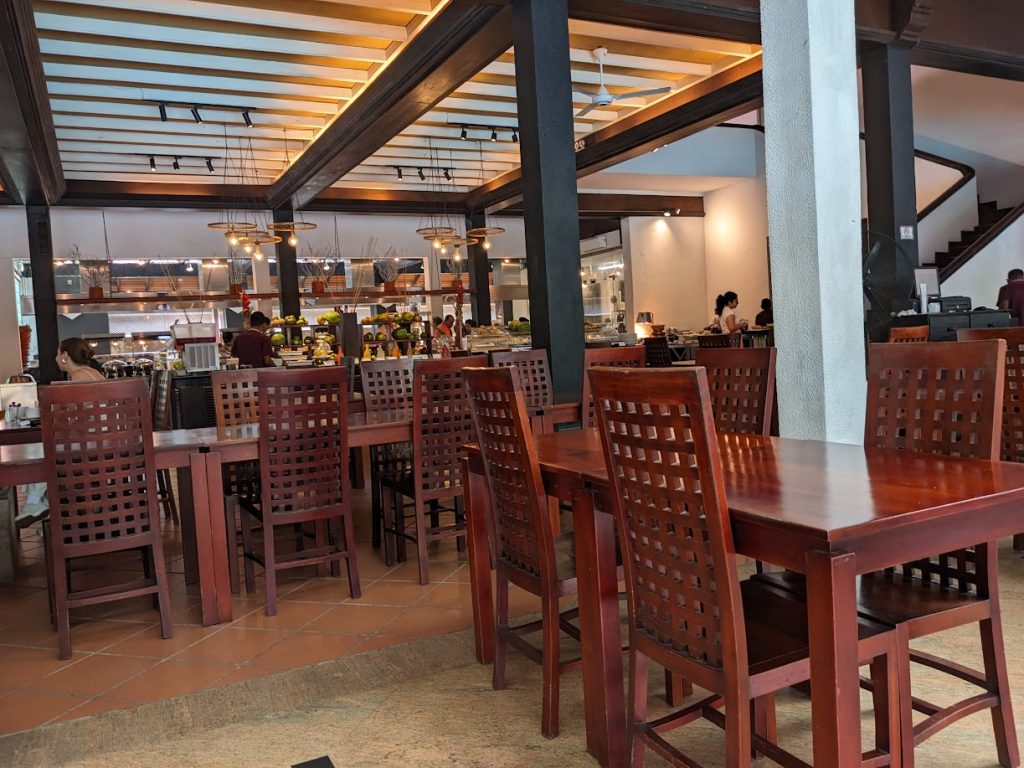
Once we reached the Sigiriya area, we stayed first at The Heritance Kandalama, an unbelievable eco-hotel located in the midst of a nature preserve. It’s really hard to overstate how amazing the Kandalama hotel is. We started in Colombo at a very impressive 5-star hotel and somehow each hotel kept getting better; the Kandalama was hands-down the best. The hotel was designed by a famous Sri Lankan architect (Geoffrey Bawa) and is simply perfect. It is integrated with its natural surroundings in ways reminiscent of Frank Lloyd Wright. From the moment you arrive at the hotel, it is apparent that it has been built to blend in with its surroundings. The hotel is on a lake deep in a nature preserve; wildlife is everywhere and you truly feel like you’re in the jungle. The first night, monkeys stole Deana’s coffee cup and when it rained, several families of monkeys camped out on our balcony. The night was filled with the sounds of birds, monkeys, elephants, etc.
The LobbyThe RoomsThe bathroom view!The room balcony and a visitorThe infinity pool looking out over the lakeMerged seamlessly with the environmentView of the lake from a hallway
Prema Cooray
While at Kandalama, we had a chance meeting with the former chairman of the board of the corporation that built the hotel (and a whole chain of similar hotels): Prema Cooray. We had tea with him and he spent quite a long time with us; he is retired, but sharp as a tack, charming, and regaled us with the stories of how the hotel was built, the obstacles it faced (financial, political,etc.and how they were overcome). While we were at Kandalama, we experienced our only rainy day (and it was a great place to experience it); we enjoyed the hotel and spent a good deal of time talking with a delightful young artist from Bahrain (Abdulla Buhijji).
Our plans changed a bit due to the rain, so from Kandalama, we traveled to a nearby hotel: the Cinnamon Lodge in Habarana. Cinnamon Lodge is another highly rated hotel, and if we hadn’t just come from such incredible hotels, would have been impressive. As it was, the lodge felt a bit dated and even though it was actually very pretty. We took a dip in the pool and chatted with two nice British pensioners and the food was quite good. The rooms were reasonably spacious, but were set up as bungalows some distance from the main hotel; like many more traditional Sri Lankan settings, the rooms were air conditioned, but the bathroom was open to the air and overall, it just couldn’t compete with Kandalama.
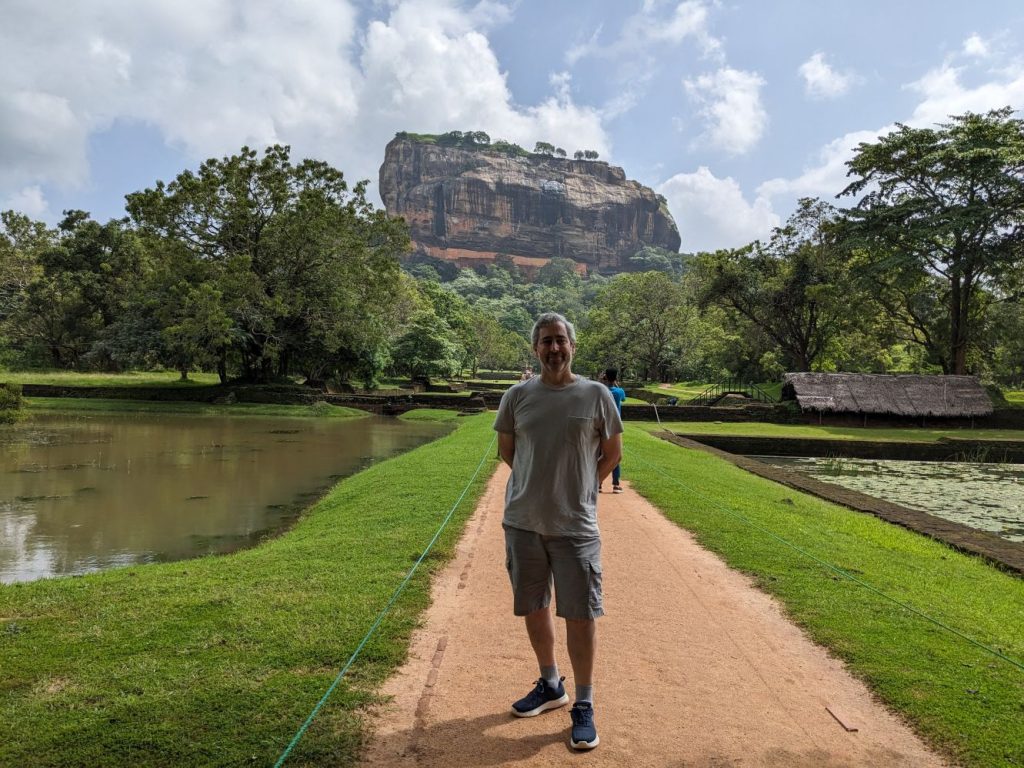
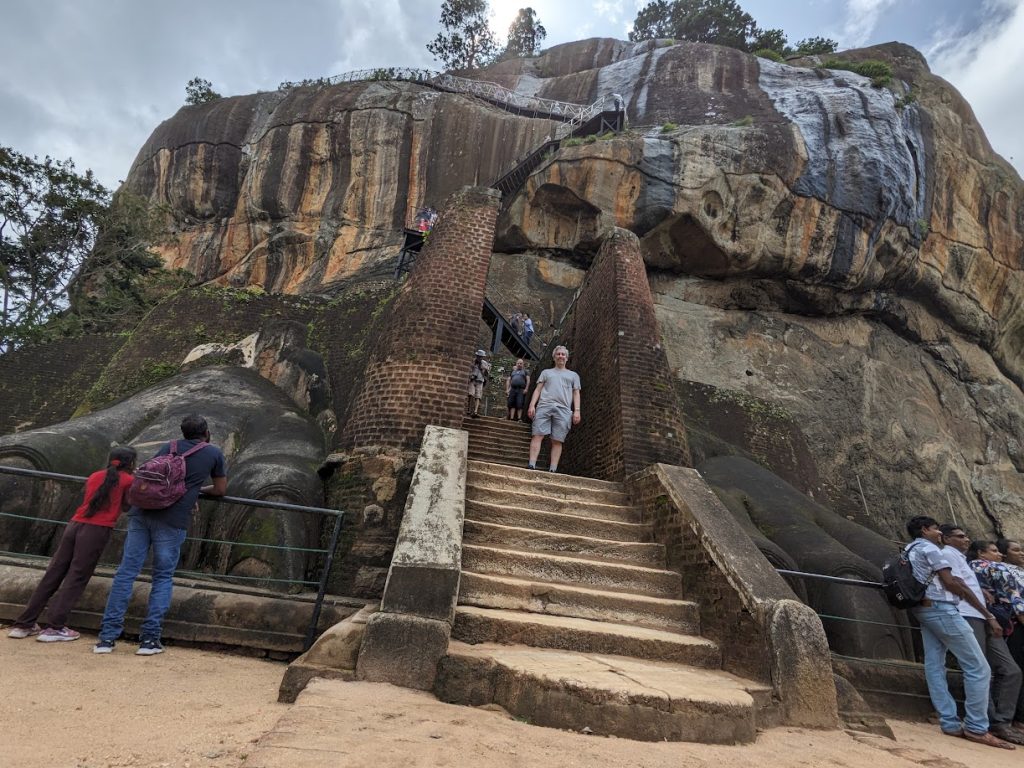
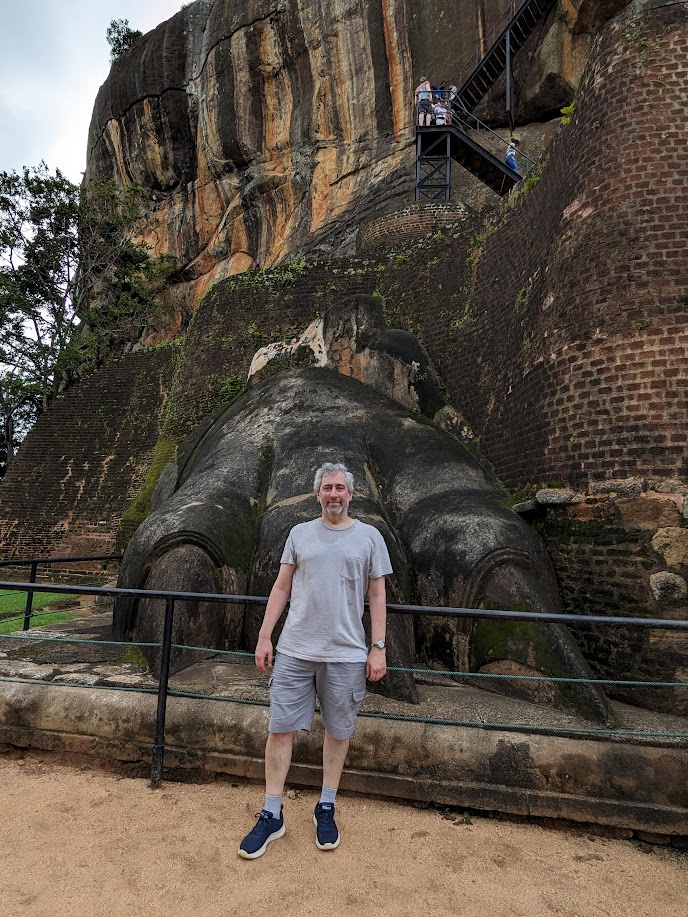
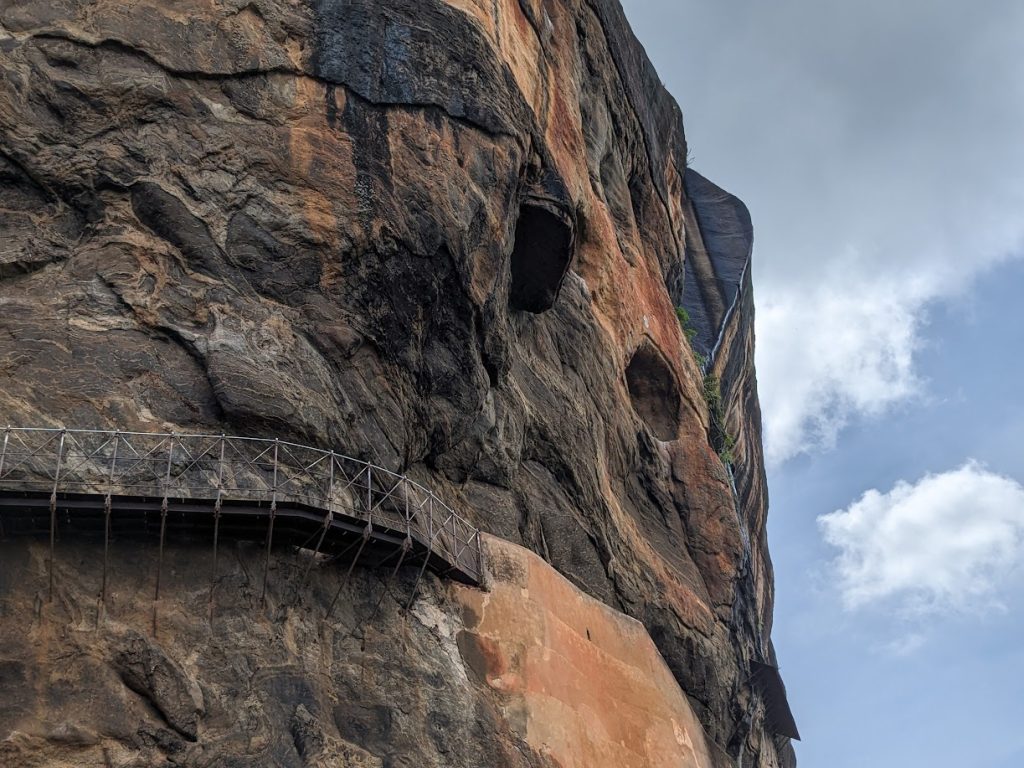
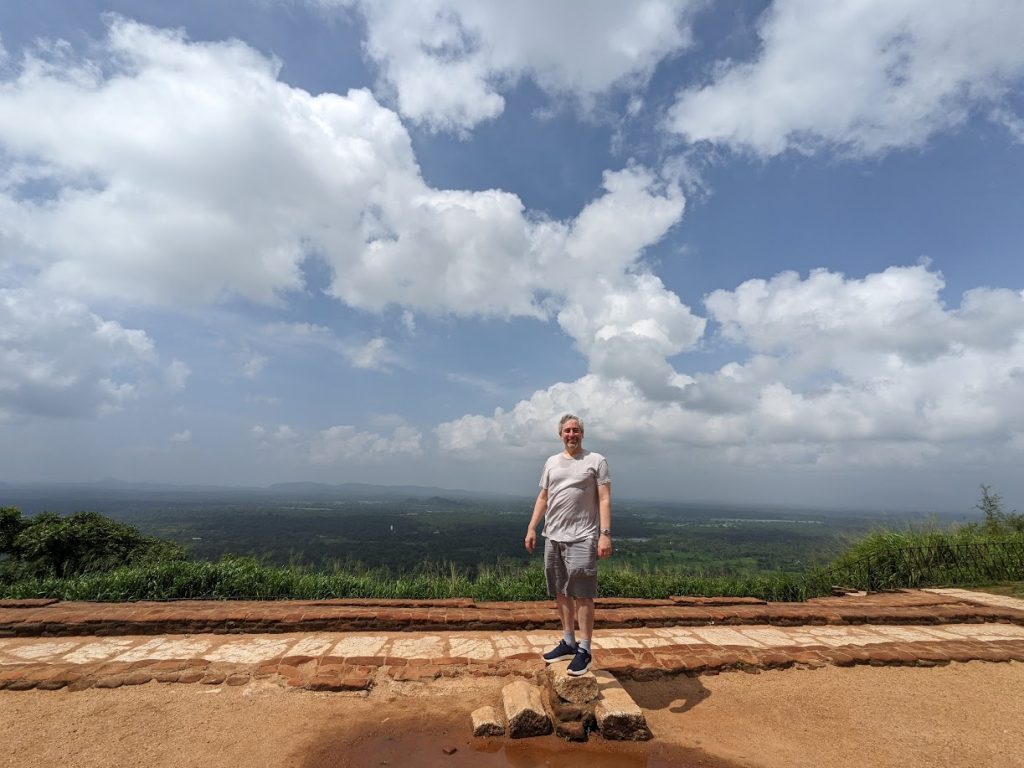
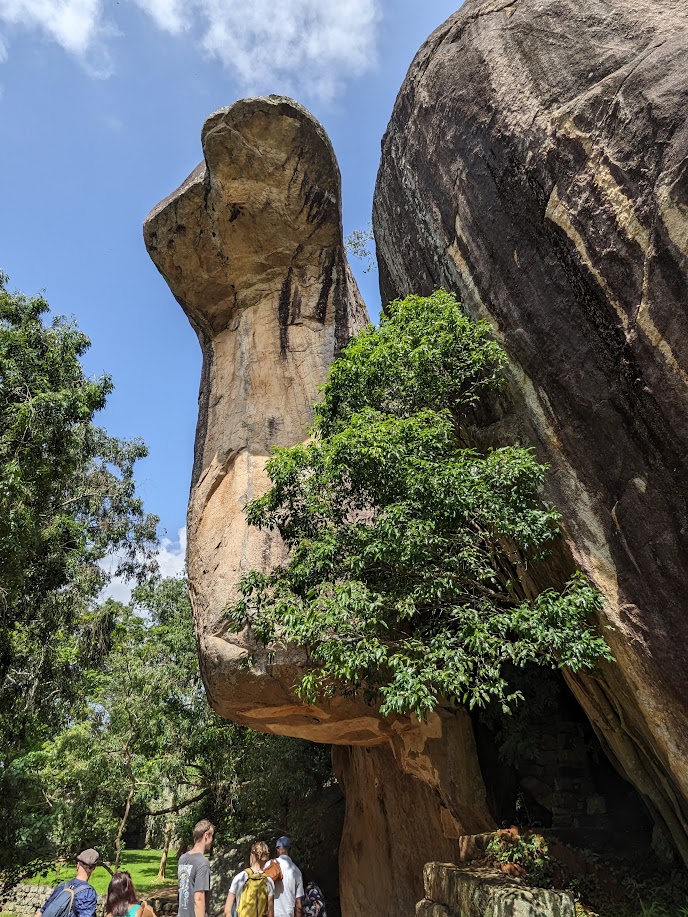
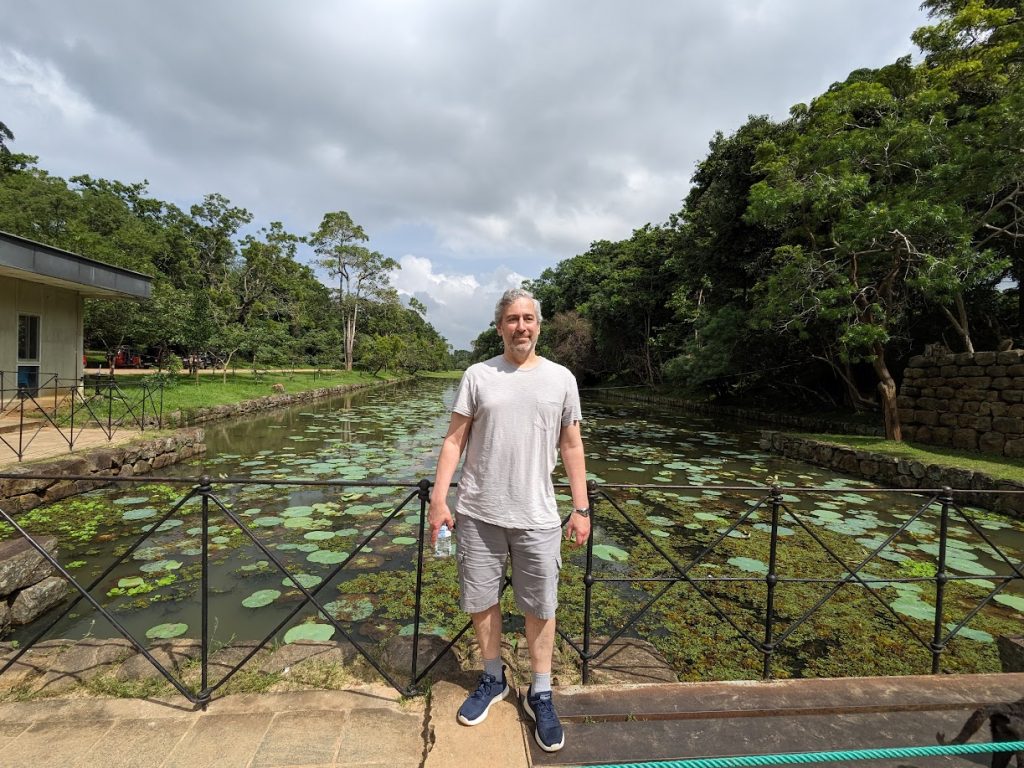
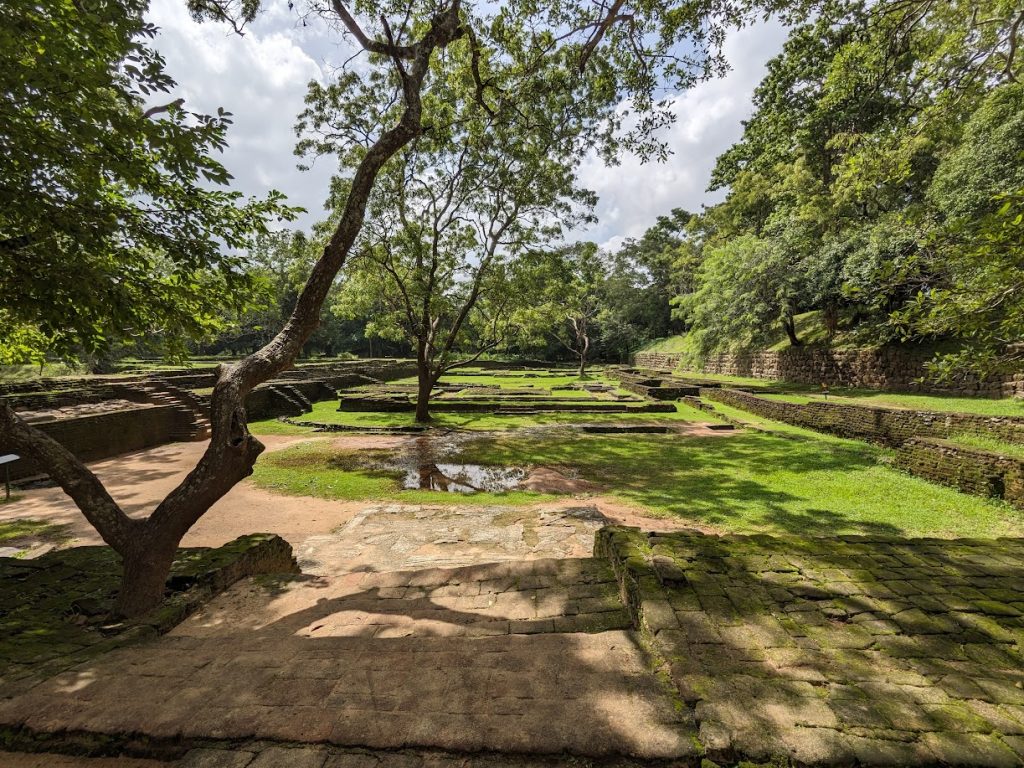
From Habarana, we visited Sigiriya, another UNESCO World Heritage Site. This too was spectacular: the site of an ancient palace built atop a massive rock surrounded by water gardens. The gardens around Sigiriya are still being excavated, but they are both beautiful and amazing feats of ancient engineering. The earliest activity at Sigiriya was 3rd century BCE and the palace was built in the 4th century CE. As was recommended, I paid (a very small amount) for a guide who was knowledgeable and explained the detailed history of the site as we traveled through it. He was extraordinarily patient with me as I trudged up the 1200 steps (foolishly having gone around noon when it was pretty warm), having to stop several times. The guide does the climb several times a week and was a cardio-god, not even breaking a sweat. The climb is 590′ (59 stories) pretty much straight up…so it will give you a workout. It’s also not great for anyone with even a slight fear of heights. There are several important sites on the climb that did not permit photography including the famous maiden frescoes and mirror wall.
Yep, gotta climb that rockNear the TopWhat’s left of the giant LionLookout caves near the topThe top (steps 1201,1202)The Cobra RockBaths/pools at the topSpectacular viewsWater Gardens at the bottomWater Gardens
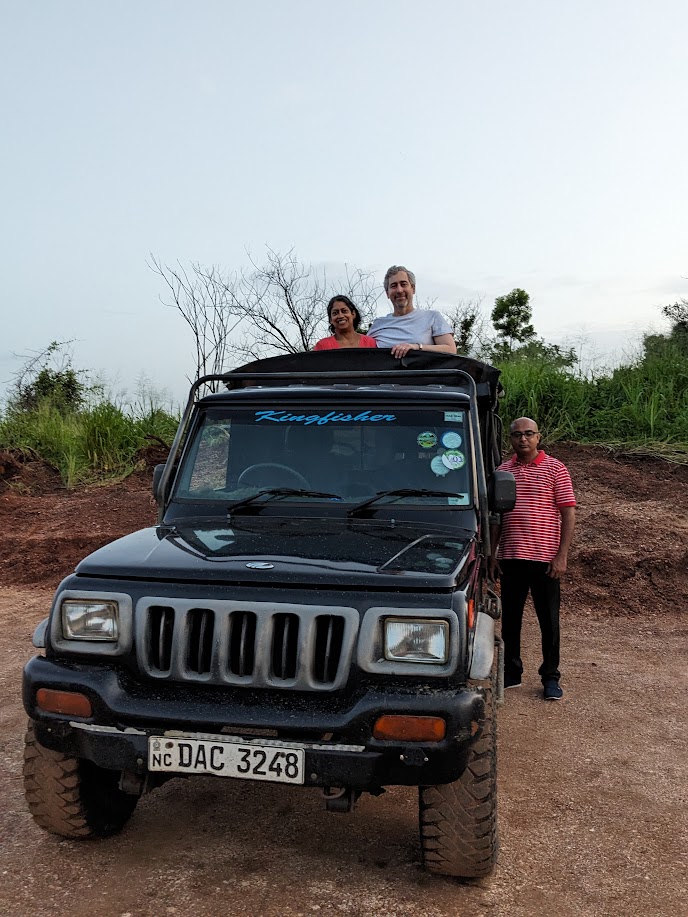
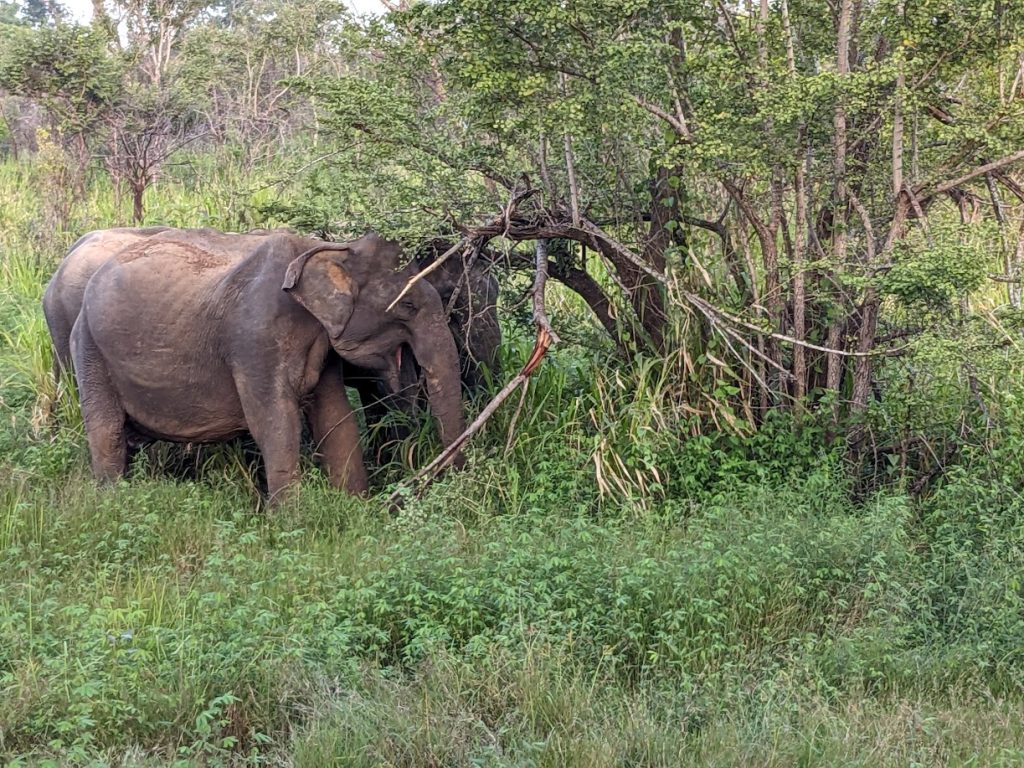
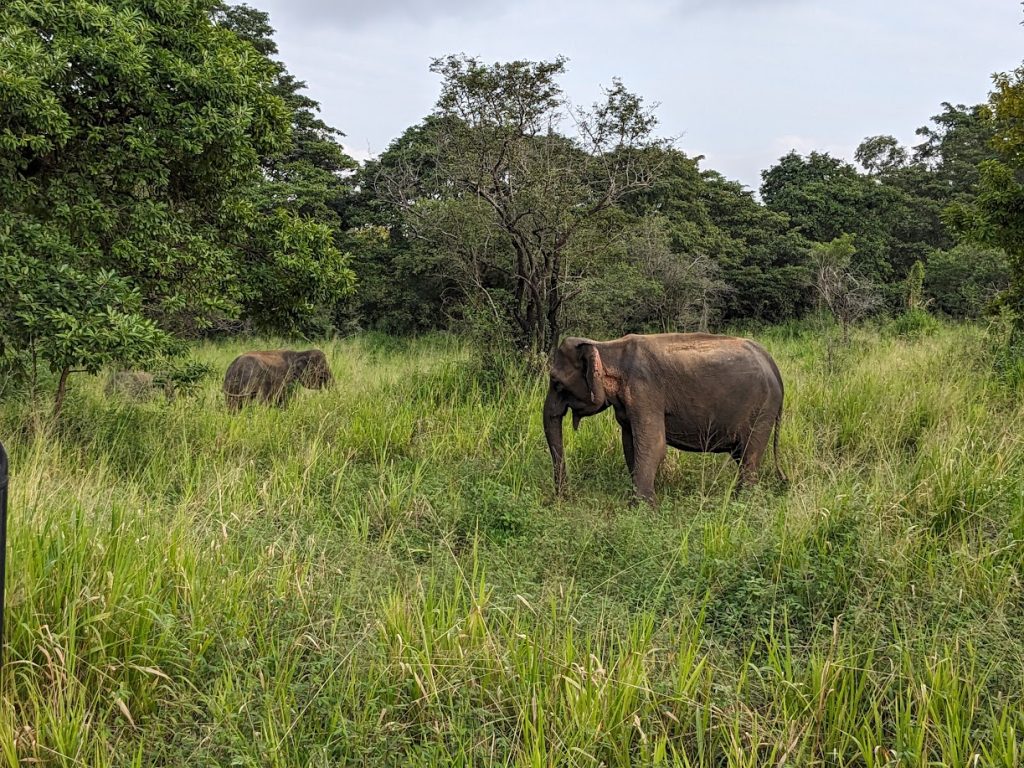
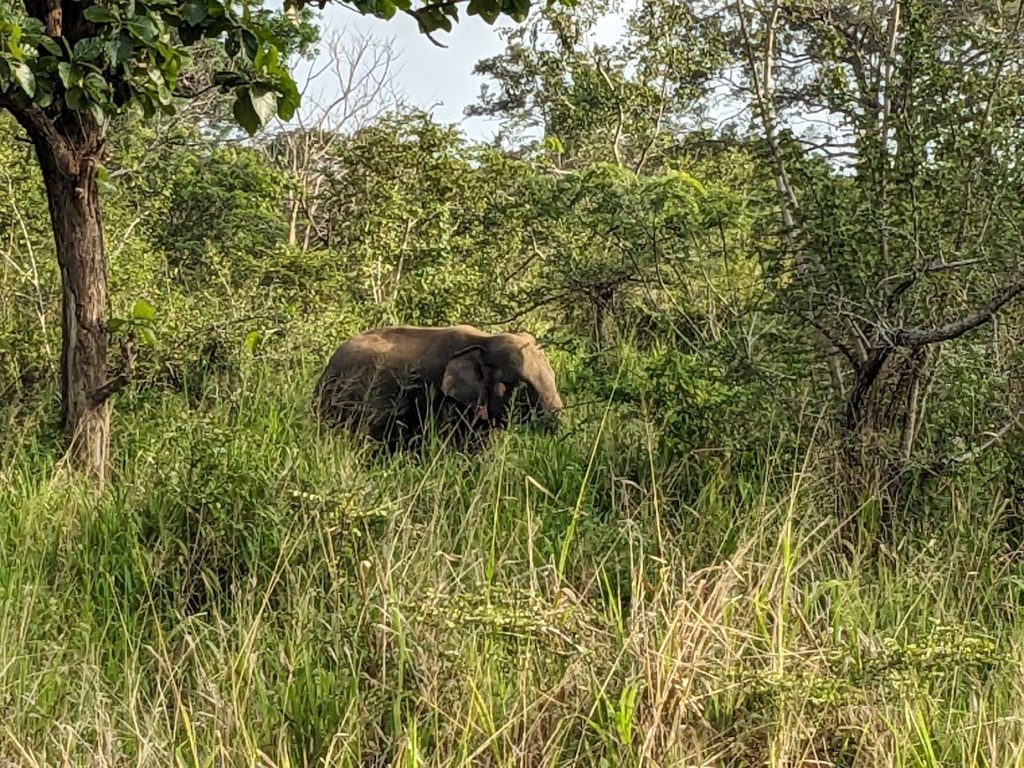
After Sigiriya, Amal arranged a safari through a nearby nature preserve the objective was to see elephants and it very much delivered. It’s hard to convey just how beautiful the scenery is in Sri Lanka.
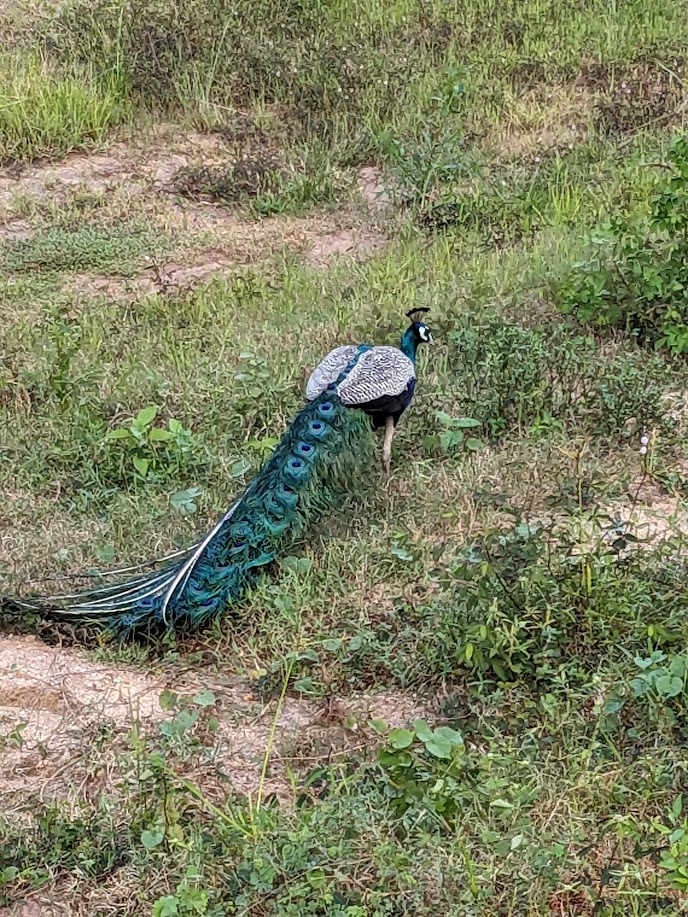
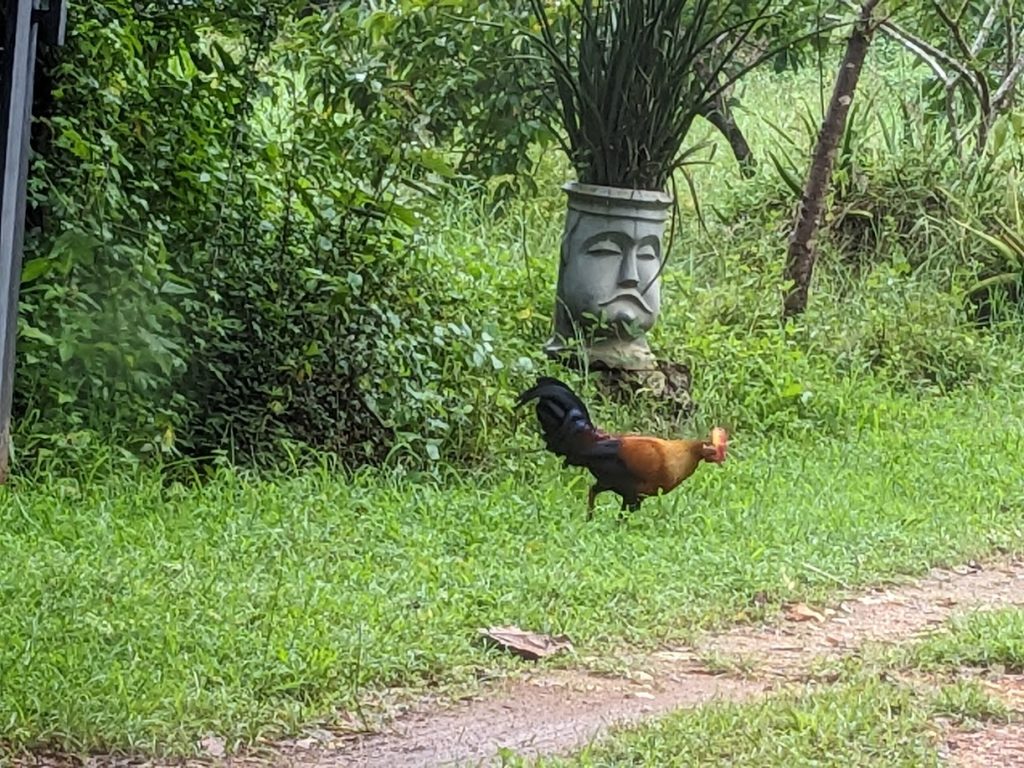
Safari with AmalNature PreserveStunning ViewsLots of PeacocksMonitor Lizard (~2′)Jungle Fowl (National Bird)…and elephantsLots ‘o ElephantsIncredible views
…and I will never again complain about deer in the road; this is what a road hazard looks like in Sri Lanka and it is not uncommon. I think the safari was one of the high points for Deana; we saw a ton of wildlife. Like so many things, the safari was arranged on very short notice by Amal. Having a private driver is like traveling with your own travel agency. Everywhere we went, Amal knew the hotels, sites, people, and could arrange whatever we wanted at a moment’s notice, usually for much less than we would have paid if we booked them ourselves.
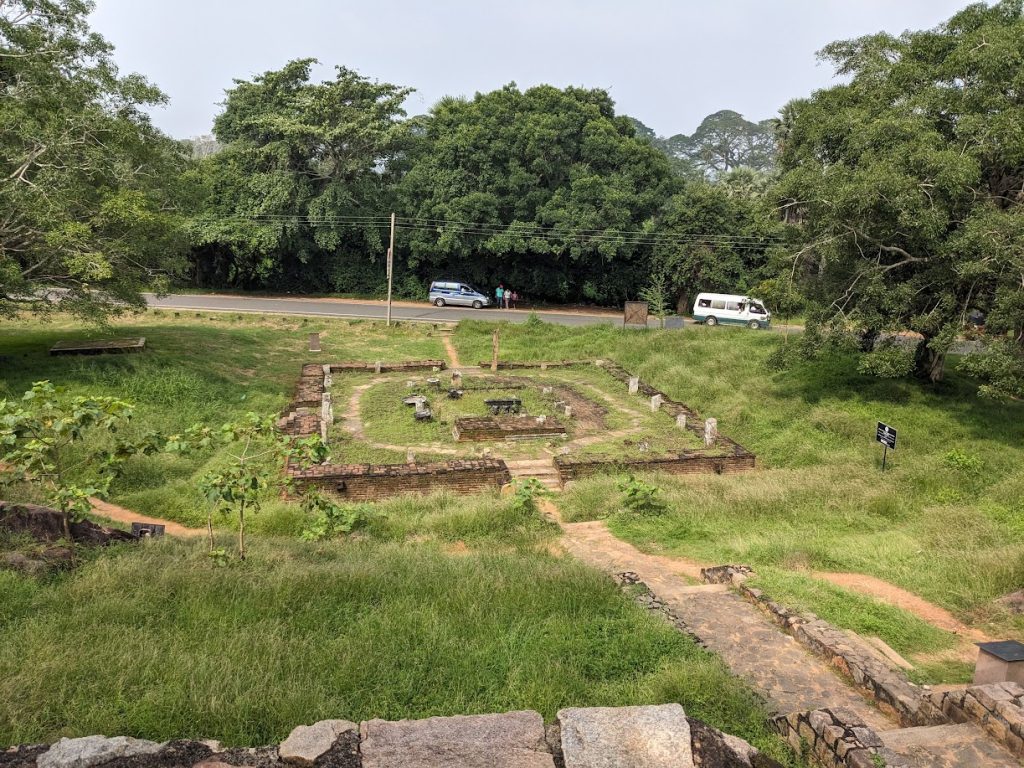
From Habanara, we moved on to Anuradhapura, one of the 3 ancient capitals of Sri Lanka (along with Kandy and Polonaruwa). Unfortunately, we didn’t get to Polonaruwa due to rain and concerns that some roads might have been flooded.
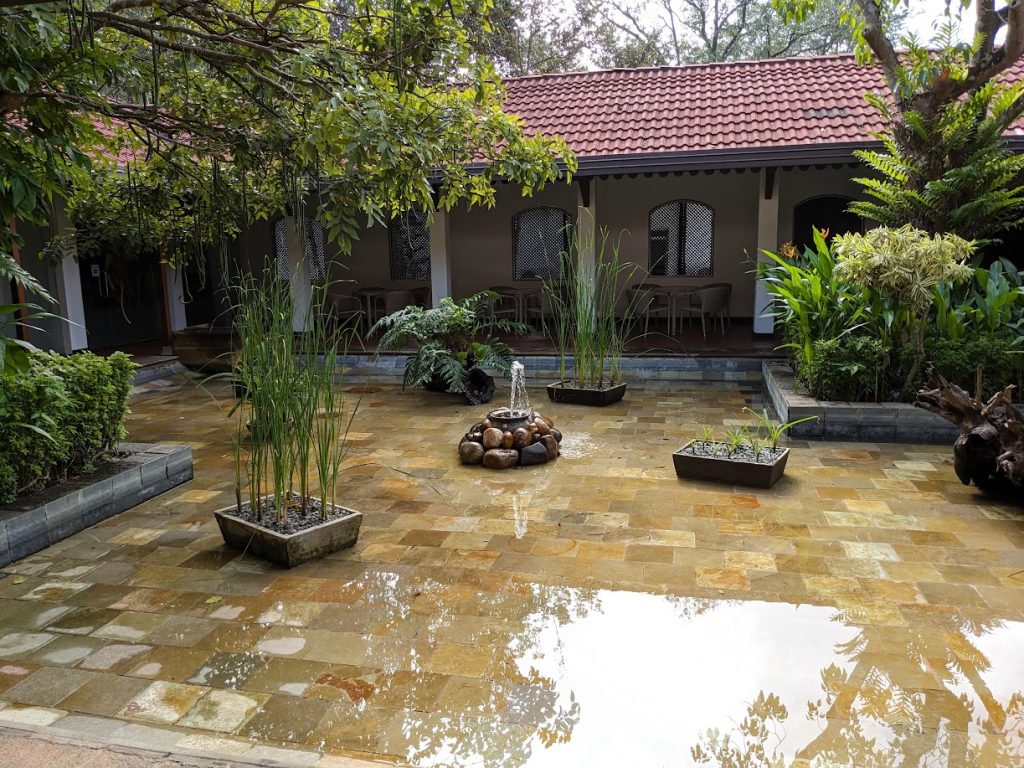
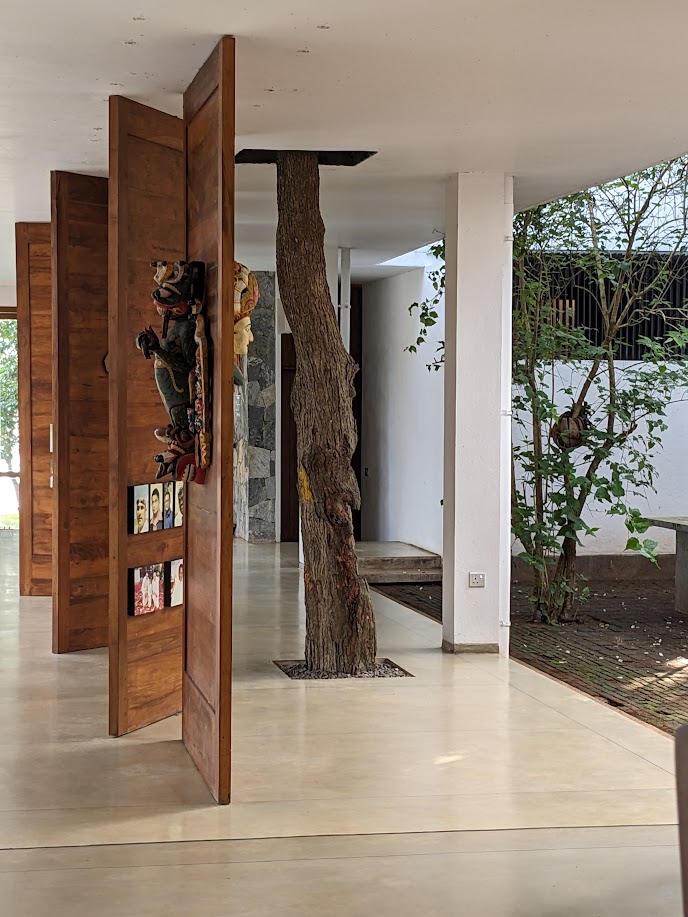
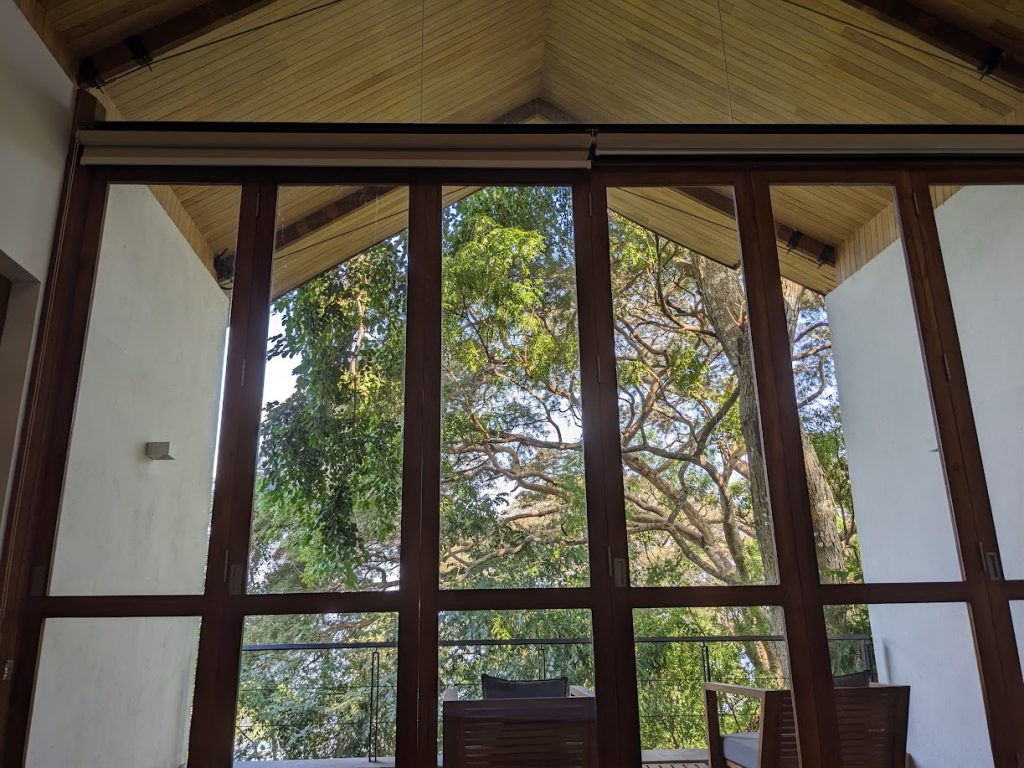
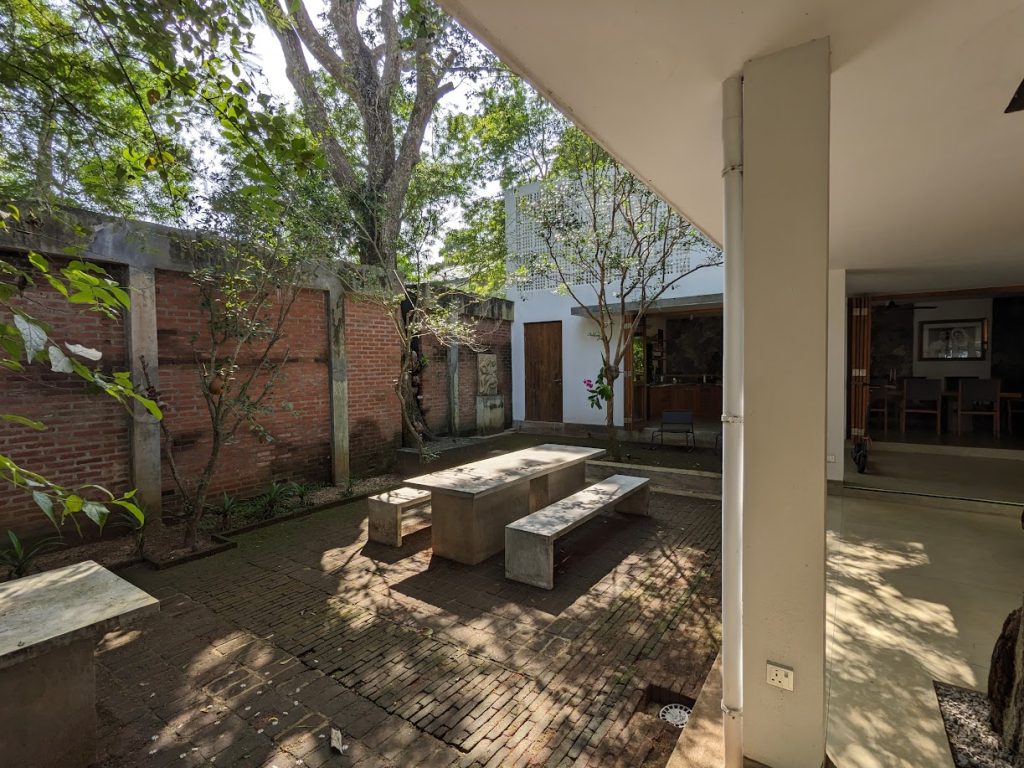
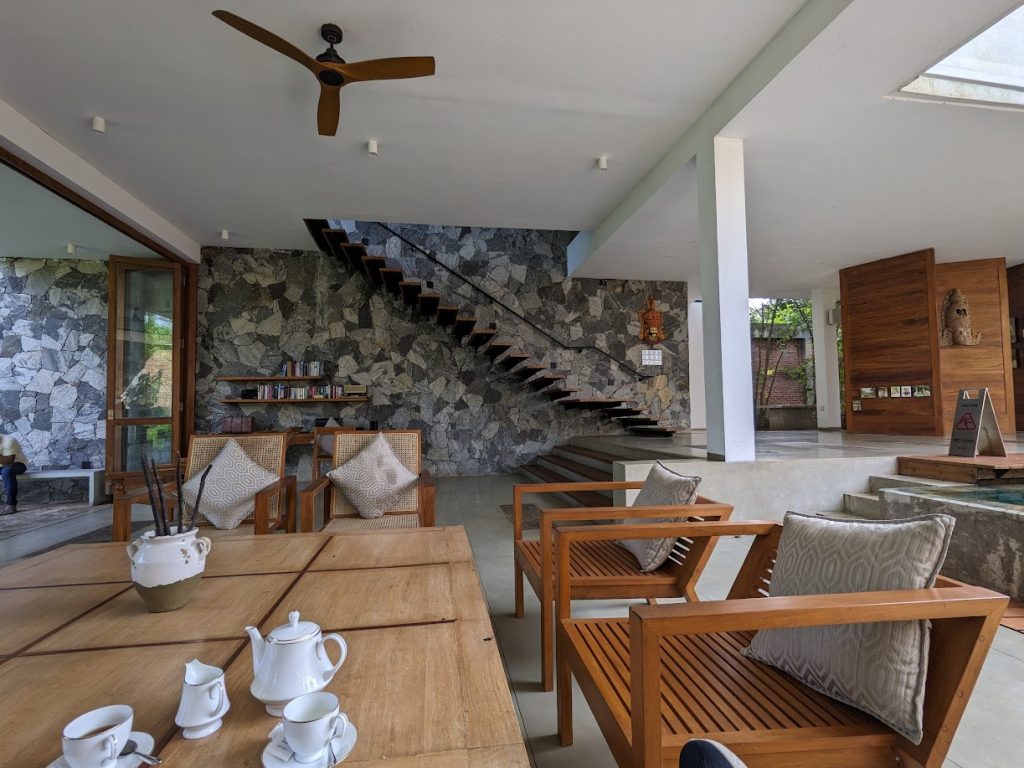
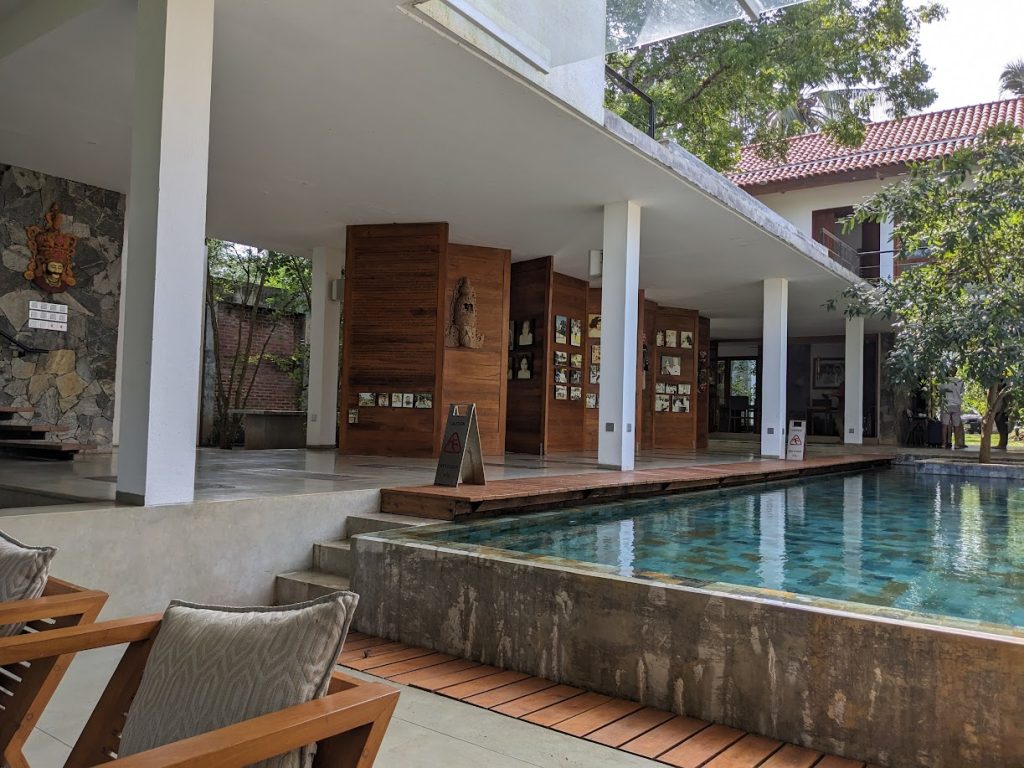
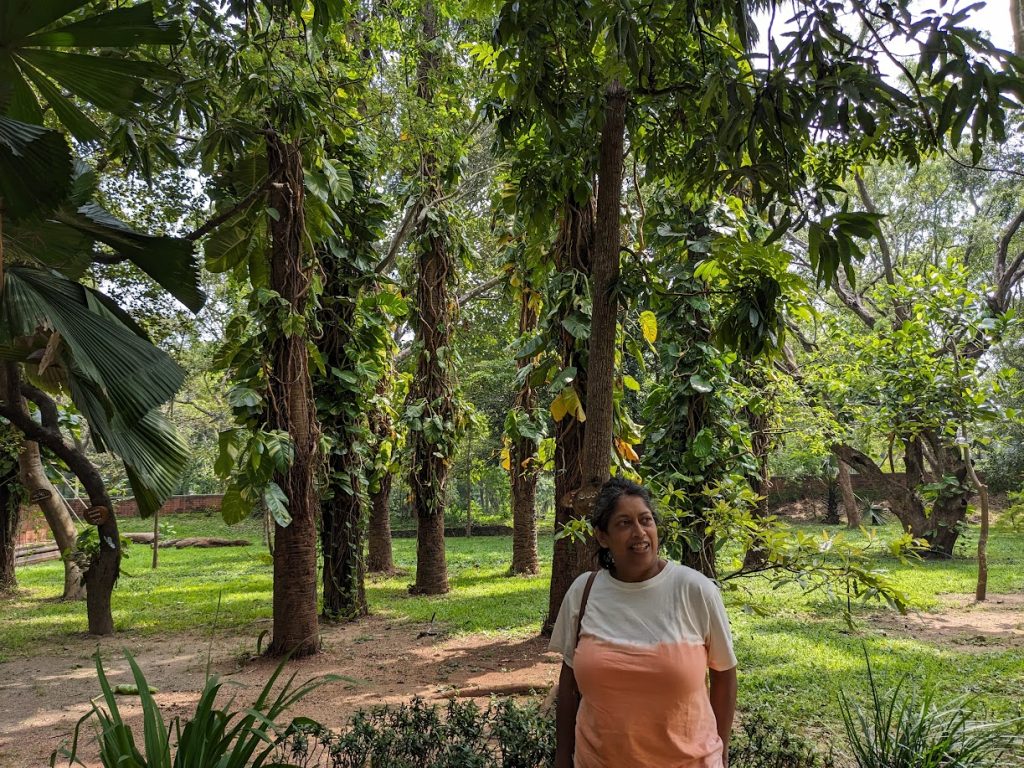
In Anuradhapura, we stayed at very different lodging: the Arachchi Heritage. This is a private home with two separate, private guest suites and a staff that makes it effectively a boutique hotel. The house is spectacular, like something out of Architectural Digest. It is on a lake and its design, in many ways, reminded us of Kandalama: tightly integrated with nature. The positioning and design of the house capture a constant breeze so even though many parts of the house are open to the outdoors, they remain cool even on a hot day. The house won a Geoffrey Bawa design award. The owners: Chandrika and Siri were charming and wonderful hosts. The food was outstanding, every bit as good as the 5-star hotels and made to order!
View from our roomSiri and Deana on a rooftop patioindoor and outdoor dining roomsmodern yet traditionalView of the lake
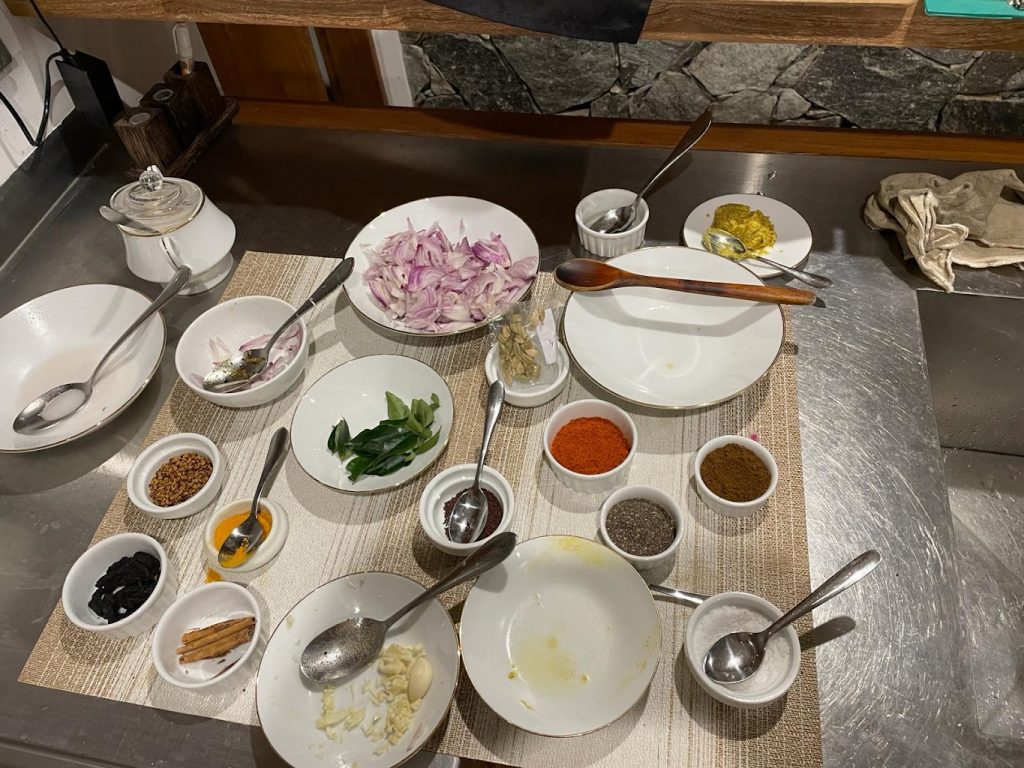
While staying at Arachchi, Deana took a cooking lesson given by Chandrika and the in-house cook. The food was really delicious and I couldn’t believe how many dishes were prepared each meal for just two guests. The food at all of the hotels was just amazing; I had hoppers for breakfast every day, often along with pittu and idli. For lunch and diner I had Sri Lankan roti and all sorts of curries: dal, banana blossom, beet, snake gourd, and more.
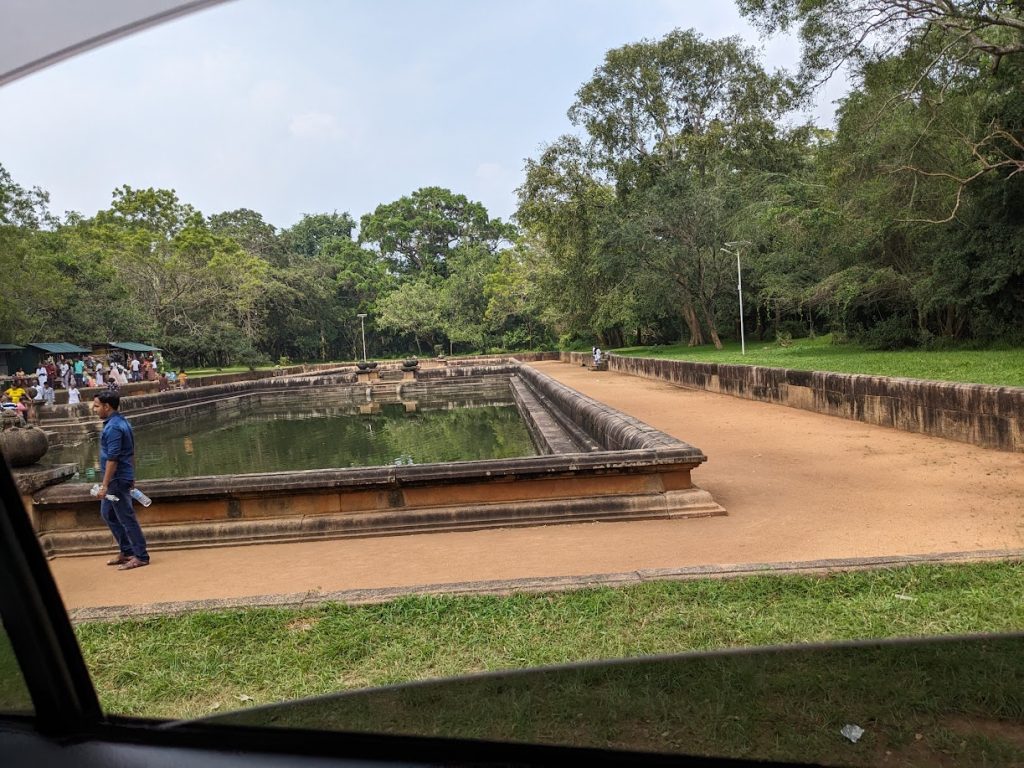
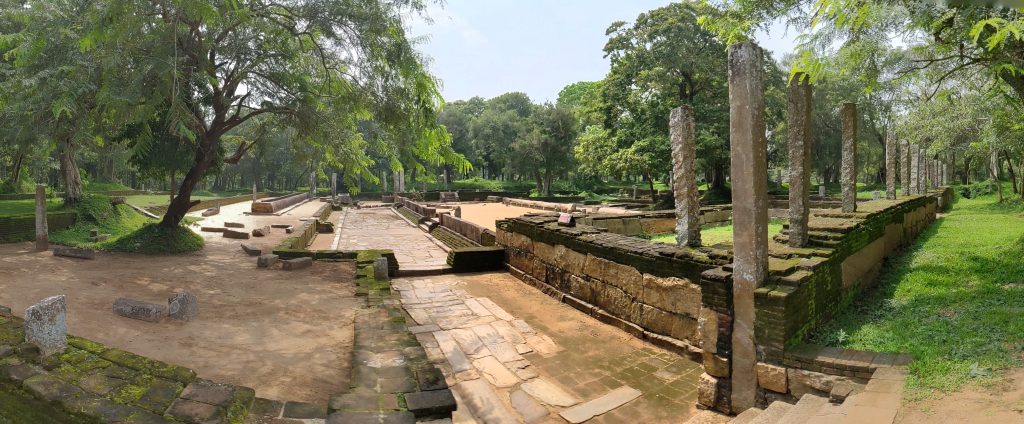
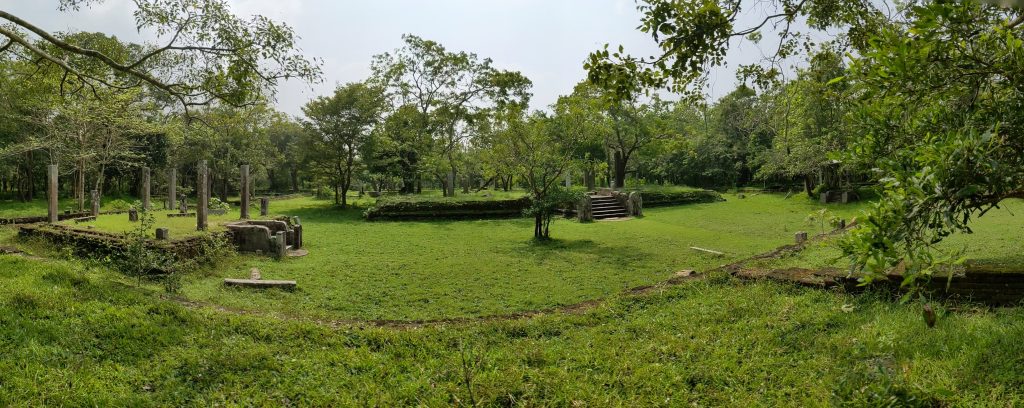
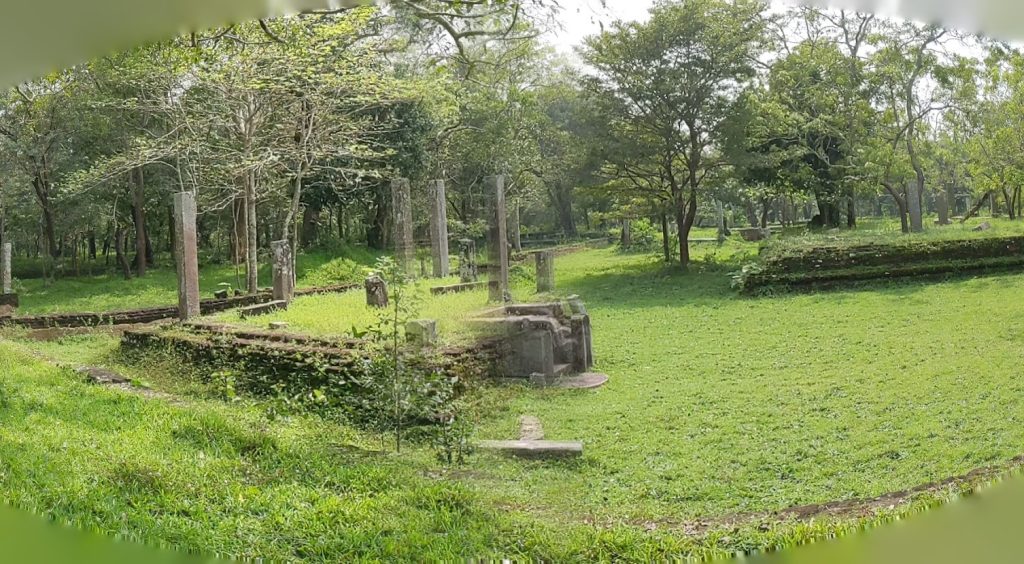
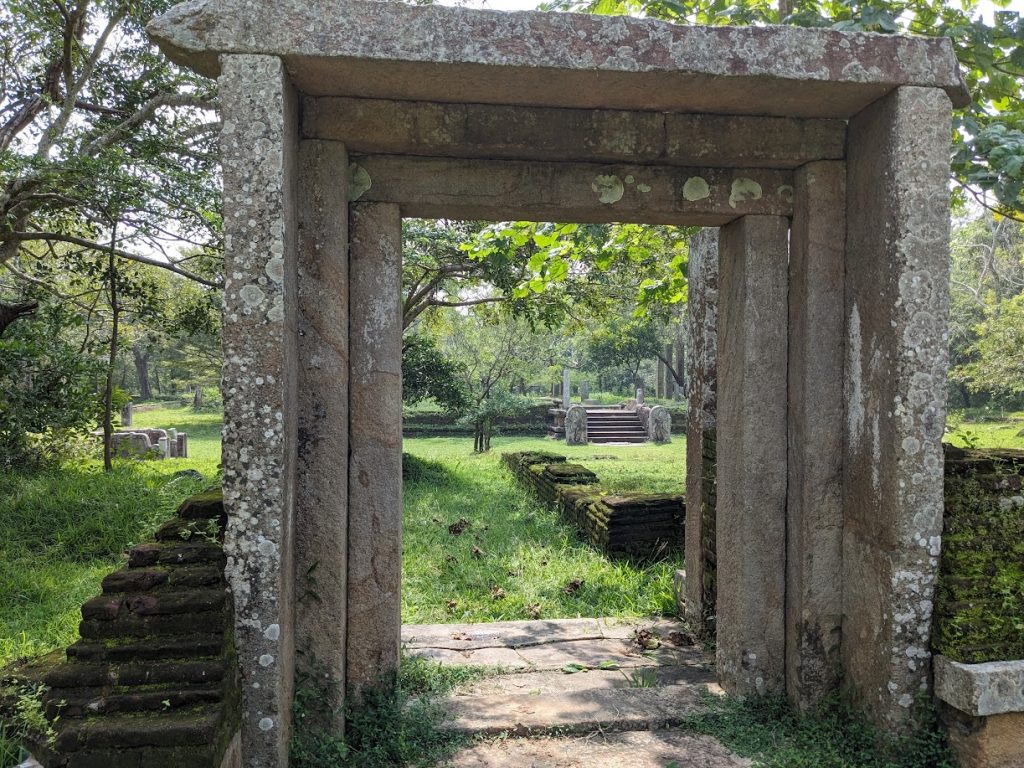
We visited the extensive Anuradhapura archeological sites and museum. This was the site of an ancient capital and center of education and monastic knowledge. 5000 monks lived on 500 acres with extensive housing, baths, dining, sanitary systems, and remarkable feats of ancient engineering. Our guide (also arranged by Amal) was a young man named Jagat who was knowledgeable, extremely fluent in English, and very enthusiastic about Sri Lanka and its history. We had lunch with Jagat and Amal at the Aliya Resort Hotel in Sigiriya; their website doesn’t do them justice; it was incredibly beautiful and if we visit again we will try to stay there. In general, although Anuradhapura is worth seeing for its historical significance, I didn’t find it as impressive as sites like Sigiriya or Dambulla.
We returned to Colombo from Anuradhapura a day early because Deana had been making plans with relatives and family friends throughout the trip and we needed more time. We stayed at the Kingsbury hotel for the rest of our time in Sri Lanka. It was another 5-star modern hotel with impressive restaurants and facilities. My only complaint about the Colombo hotels is that they frequently host weddings and other events and the parties go on *late*; it wasn’t uncommon for the music outside to go on until 11:30pm or midnight. Sri Lankans like to party.
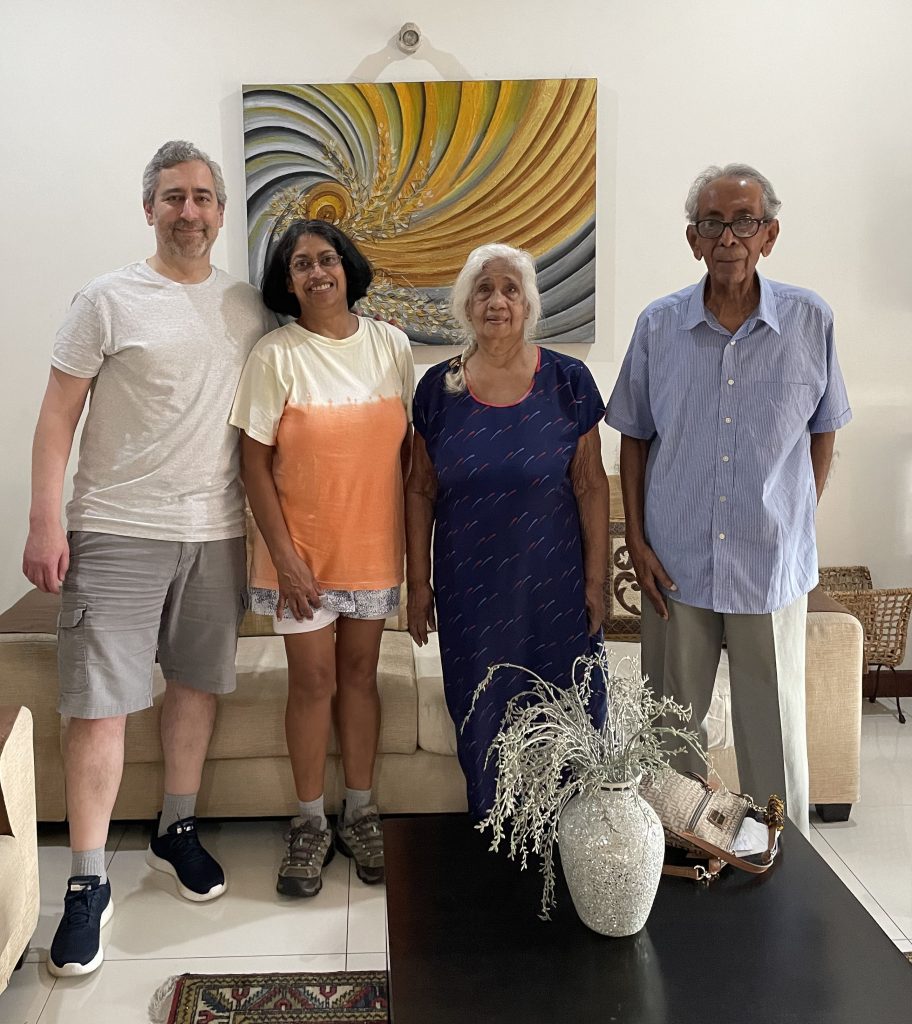
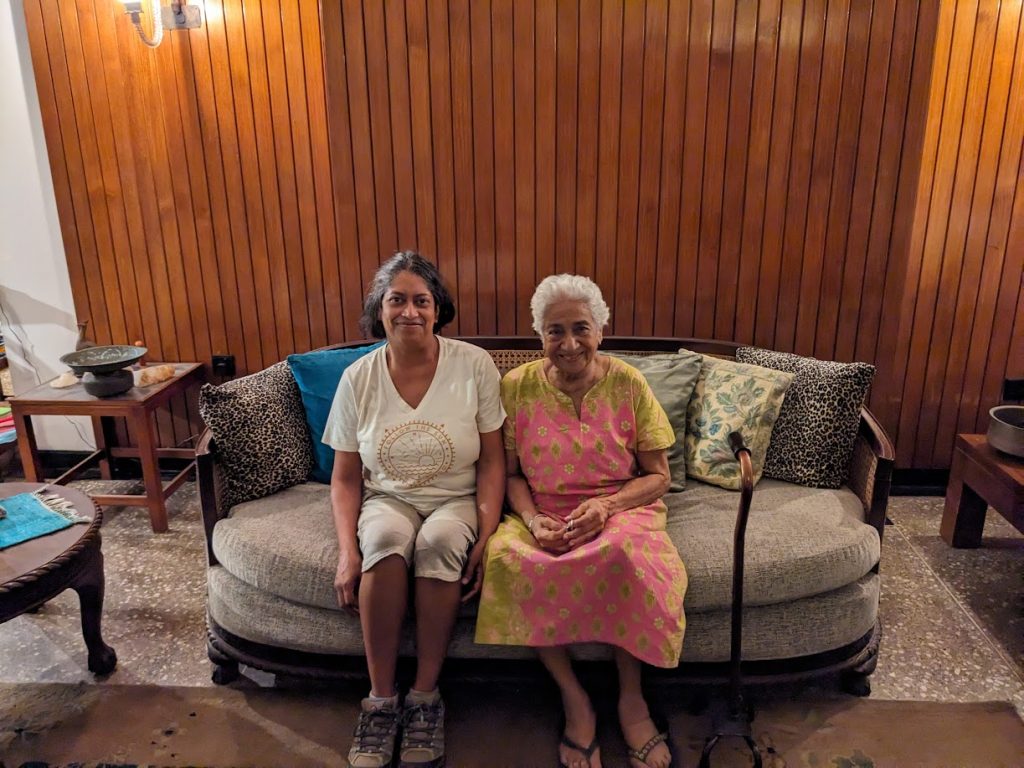
We visited with Aunt Amithi (Deanas mother’s closest friend); her husband had been an architect and her house was quite beautiful. I wish I’d taken more photos. Amithi herself was lovely and sharp as a tack.
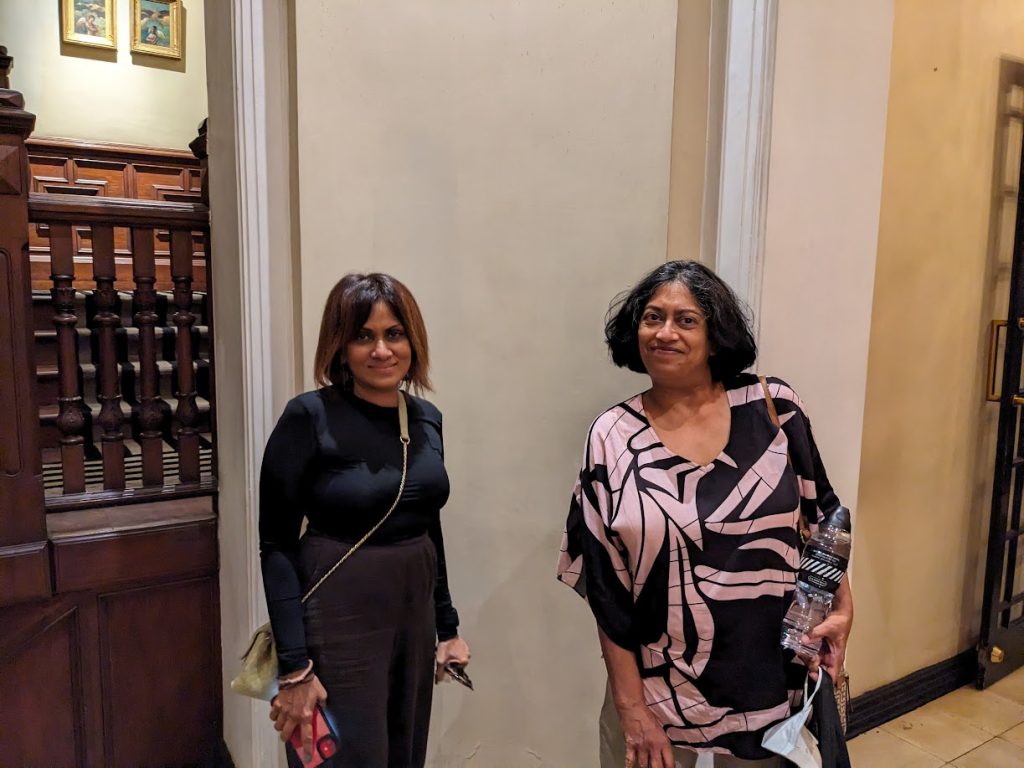
We met Deana’s grade-school (St. Bridget’s Convent) friend Jaish for tea at the Tintagel, another impressive Colombo hotel. Jaish is now a fashion designer and was delightful.
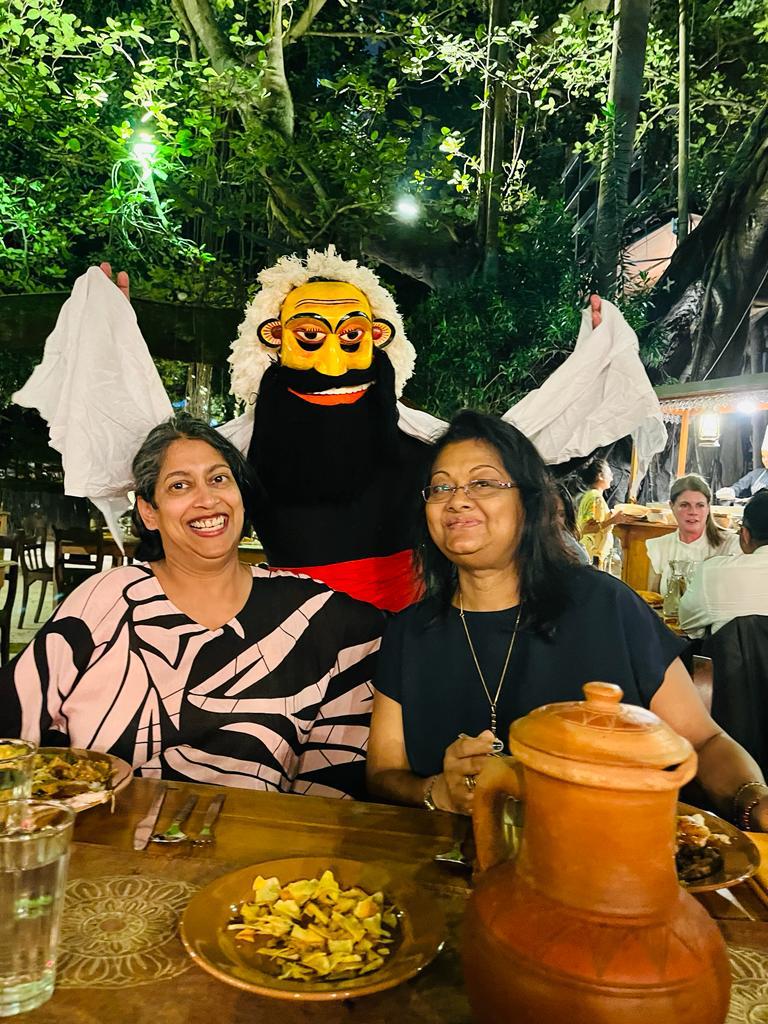
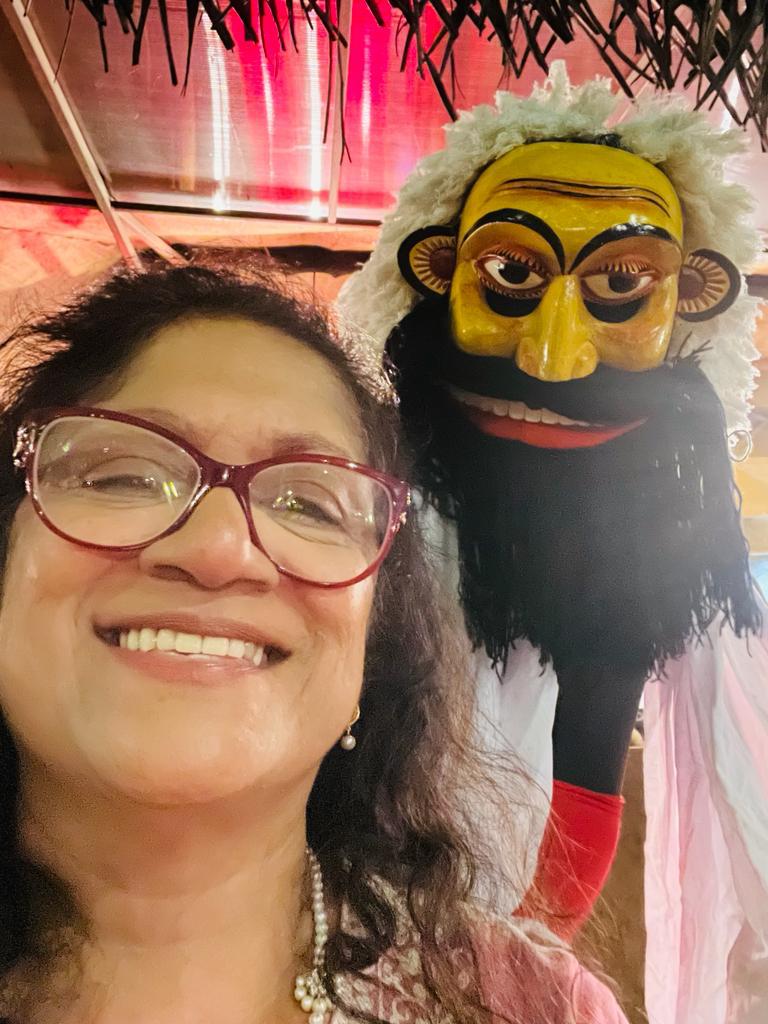
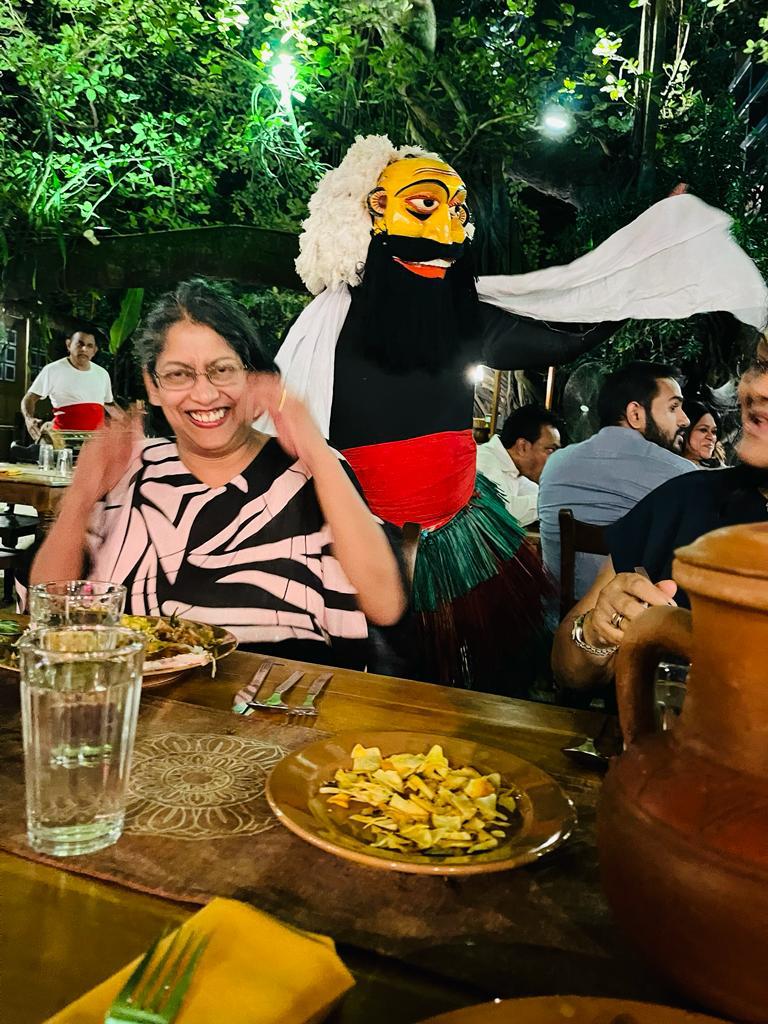
We spent time with Deana’s cousins Janthy and Vilo and Janthy’s husband Dehan who took us to Nuga Gama; a restaurant in the middle of a swanky cosmopolitan hotel that had been created to give them feel of a rural village. At various times there were dancers and other entertainers such as this traditional comedic “devil-dancer”.
We visited Deana’s cousin Punya, her husband Dil, and their daughter Pulisticka (Puli) Jayathilake and her daughter RIddhi near her old house on Kinsey Road. It was neat that Riddhi represented the 5th generation from her family at St. Bridget’s Convent school in Colombo 7.
Deana’s father’s best friend’s son Dev Devendra and his wife took us to lunch at the beautiful Royal Colombo golf club. They are an awesome couple; their daughter lives in relatively nearby Reston, VA and Deana has already been in touch with her.
Dev w/Ranil Wickremesinghe (Sri Lanka President)
We had dinner with Deana’s cousin Prabha and her husband at the very nice Chinese restaurant in the Kingsbury hotel.
There’s a lot more to write, but I’m out of gas on this marathon post. It was an amazing trip and one I hope we’ll do again soon. The people were wonderful, the country is beautiful, and we had the benefit of traveling at a time when the exchange rate worked very much in our favor (1USD = 320 LKR). Tourism is a key business for Sri Lanka and it suffered badly during the pandemic. They really want tourism to return which makes for great synergy: tourism dollars and amazing value for tourists; so it is a *great* time to visit Sri Lanka; I highly recommend it!
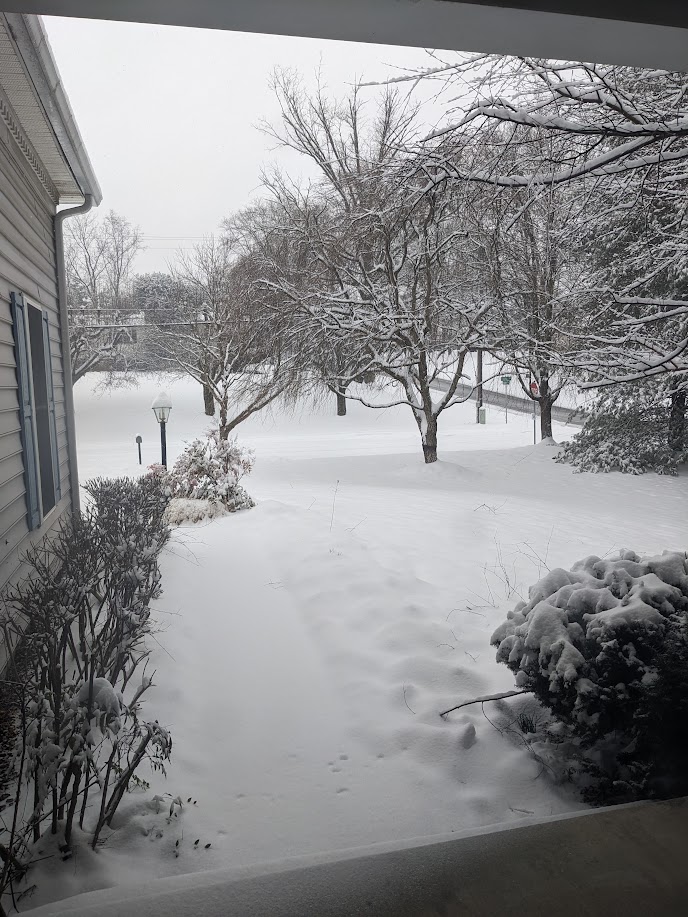
The day after we returned home…
The back yardTime to shovel…
Fortunately, Maryland and climate change being what they are, it was 70F the following week…
To help with your next game of six-degrees of separation:
I used to like the Kindle platform and between Deana and I, we have purchased quite a few of them. Unfortunately, over the years, Amazon’s greed has ruined it and today, I’m done with the Kindle.
eBooks should be amazing. The zero-power persistence of eInk combined with cheap flash storage, wifi, and powerful microcontrollers should have made it possible to have an entire library in your pocket. The hardware is great, electronic distribution saves natural resources and, by nearly eliminating printing and distribution costs, eBooks should be able to lower book prices and give authors a higher share of sales.
The problem is that Amazon got greedy. Kindle editions now cost as much or even more than a real physical book, but much worse is that you can’t really buy a book for Kindle at all anymore, you can only rent it. I say you’re renting the book because you don’t own it in any meaningful sense: you can’t lend it or gift it to a friend when you’re done with it; amazon retains full control. Would you buy a car or a house that you couldn’t sell when you were done with it?
DRM – Digital Rights Management – is the technology that allows amazon to retain full control of a book that they’ve ostensibly sold to you.The solution might be to only buy books in the .epub format which does not include DRM (so you actually own what you’ve bought). You can read more about that here. Fundamentally, the issue is a legal concept called “first-sale doctrine“; you can read more about the eBook problem in this very good article.
Over time, Amazon has gradually raised prices and limited what you can do with a book you’ve “bought” until Kindle eBooks no longer make sense to me. It’s a great example of how monopolies hurt consumers: amazon owns more than 2/3 of the eBook market. Shame on amazon for ruining a good thing.
Everyone uses cloud storage these days, but I still find local storage useful, especially for large files like photos, videos, music and such. For local storage, I use network attached storage (NAS): a black box with redundant hard drives that is connected to my network. Anyone on the network can access the storage (assuming they have the appropriate permissions).
The NAS box should have at least 2 drives configured as RAID1 or 3 or more drives configured as RAID5 so that there is redundancy: if a hard drive fails (and it will), the information is mirrored on the other drive(s); this allows you to replace the failed drive with no loss of data. The NAS is always online making it a convenient place to backup the drives of desktops/laptops.
Note: it’s important to use hard drives designed for NAS storage (always on) such as the Western Digital Red NAS series or Seagate Exos series.
Although you can make any Linux computer a NAS, I’ve found dedicated NAS boxes to be very useful; they typically use little power, take little space, are quiet, and are meant to operate continuously for years. I’ve had quite a few NAS boxes made by D-Link starting with their DNS-321 and have now moved to a QNAP NAS.
QNAP TS-464
As of November 2024, I moved to using a QNAP TS-464-8G (see: datasheet). There was nothing wrong with the old DNS-320L which is still an amazing NAS, but I wanted something faster. The TS-464 is 10 years newer and is simply better in every dimension:
Celeron N5095 quad-core up to 2.9GHz
8GB DDR4 RAM (expandable to 16-64GB)
Dual 2.5GbE Ethernet (can support 10GbE via expansion card)
Should reach 280MB/s+ using a single 2.5GbE port (with a 2.5GbE switch)
I’ve outfitted the NAS with:
16GB of DDR4 RAM (it came with 8GB and I added a spare 8GB SO-DIMM)
3x Seagate Exos X16 ST14000NM005G 14TB hard disk drives (configured as RAID5 yielding roughly 25TB of net storage)
A spare Samsung Evo 970 Plus 1TB NVMe drive
Poor support for SFTP. although QNAP runs a custom linux variant, it is somewhat locked down and is missing some surprising things. For example, I use proxmox VMs for most of my server functions (and even some virtual workstations). Proxmox is awesome. Among other things, it makes it easy to make backups of any VM that you can easily restore, even to another machine (backups live in /var/lib/vz/dump). With my old NAS, I would create the VM backup(s) and have the NAS (which is in my secure network) sftp to the proxmox VM (which might be outside my secure network if it runs servers exposed to the internet) and download the backup file(s). Bizarrely, the QNAP NAS doesn’t come with an sftp client; instead they want you to use a package called QuFTP which only supports FTPS (which is less secure than sftp). It supports an sftp daemon (you can sftp into the NAS) – you’ll need to enable ssh access via the GUI and your user account in /etc/ssh/sshd_config (add it to the AllowUsers line). However, I don’t want the insecure machine to have ssh access to the secure machine and the sftp access seems problematic (it often drops the connection mid-transfer).
Drives
For the first time ever, I bought used (factory re-certified Seagate Exos) drives because they were considerably less expensive and RAID5 should provide protection against any one drive failing. They are warrantied for 5 years by the vendor and I plan to rotate them out for use as permanent backup drives before their end of warrany. I bought the drives from goharddrive.com for $130 each (total: $390 including tax, shipping, and 5 year warranty). The drives arrived well packed; I ran the full SMART test (which took 12+ hours) and they checked out OK; their date of manufacture was mid 2021 (about 3 years old). We’ll see.
The NAS (without drives) cost $469+tax from amazon on black Friday. The NVMe drive and extra 8GB were spare hardware I already had. The HDDs cost $390 so, in total, I spent $859 for this 25TB of RAID 5 storage. If the drives hold up well, I’ll order a few more for use as a cold spare and for backups.
DNS-320L In 2024, I retired my beloved DNS-320L which was released in 2012 but is still perfectly usable (thanks to Alt-F firmware…see below). I’d installed two WD Red 4TB drives and still have loads of storage left over. It’s getting a little long-in-the-tooth, and the performance is a bit lacking (36MB/s read vs. theoretical 100MB/s maximum on GbE) but for most of my purposes it was still fine.
Alt-F Firmware The DNS-320L is ancient and the software that it comes with is hopelessly out of date for a range of reasons. Fortunately, you can replace the stock firmware with the open-source Linux-based Alt-F firmware. This completely replaces the D-Link firmware and provides the core functionality you need (web interface, modern SAMBA file shares, etc.). The project is available from Sourceforge and offers good performance on a variety of older DLink NAS platforms (see performance comparison)
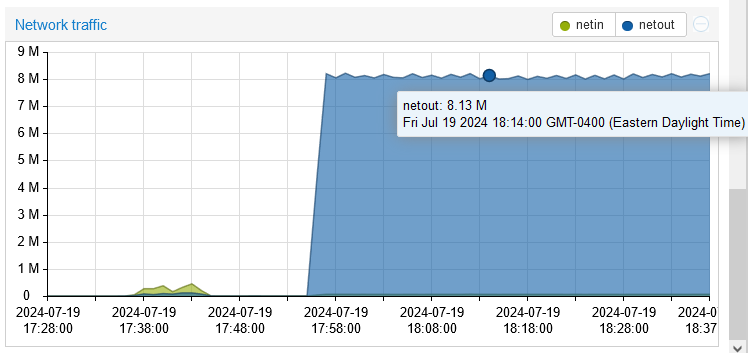
SFTP throughput When copying files to the NAS via SFTP from my server nodes, I only get about 8MB/s throughput:
This is odd because when using SMB to transfer files from the NAS, I get a sustained 36-40 MB/s, so it appears to be a problem with the SFTP implementation.
Low power, low cost graphical displays are super useful for many embedded systems. My applications generally use them to provide status and a basic UI; high speed is not required. I am particularly fond of displays that can use the ubiquitous I2C communications bus since that doesn’t consume extra uC pins. I2C also makes it easy to retrofit peripherals into existing designs; I always bring the I2C bus + power and an interrupt line out to an expansion port.
I’ve used small (1.3″) OLED displays with I2C interface in several designs and they work great, but the screen is fairly small (albeit high contrast), OLEDs consume a lot of power, and you can’t leave ’em on all the time without burning them out (OLEDs have a limited number of on-time hours). So I decided to try an I2C LCD display.
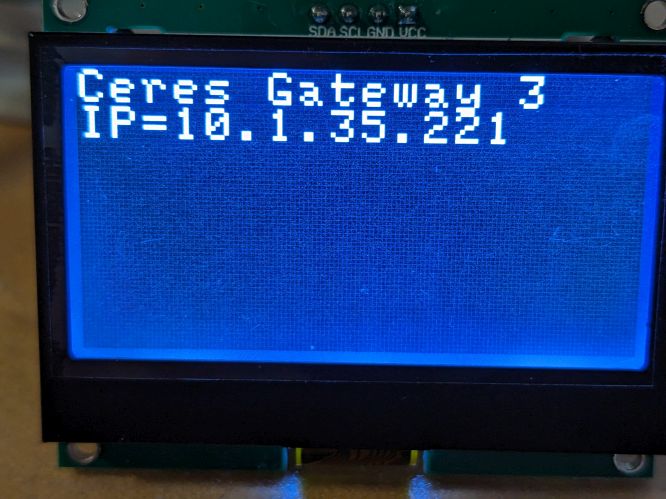
The GM12864-59N by TZT is a 128 x 64 pixel LCD display with LED backlight. It comes in blue, gray, and black. It is available for $3.30 in qty 1 on AliExpress (if you’re only buying a few, this vendor has lower shipping cost). It combines the popular Sitronix ST7567S LCD controller (datasheet) with a 128×64 LCD display with 10+2 flexible connector. It comes with a pre-installed 1×4 0.100″ connector (3v3, GND, SCL, SDA) on a PCB with 4 corner mounting holes.
It’s almost perfect; the display works great and the ST7567S is both well supported with libraries if you don’t want to roll your own (e.g. U8G2 and U8G8 or this one derived from here) and provides a great deal of flexibility. The only problem is that the LED backlight (side light) is hard-wired to power (you can’t turn it off) which is fine for AC-mains powered applications, but a real bummer for battery-powered devices (where LCD displays are normally so attractive).
GM12864-59N LCD display with backlight
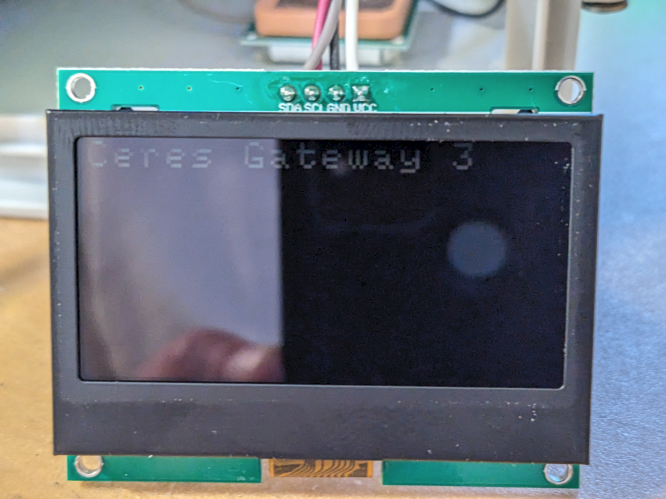
I tried disconnecting the backlight (remove the 100R current limiting resistor R5), but the LCD contrast is then so poor that it is unusable. It’s actually much worse than the picture below suggests which benefited from the optimal camera angle and the more sensitive camera sensor; for mere humans, the display is completely unusable without the LED backlight.
GM12864-59N without backlight
So this display might make it into my next AC-powered design, but for battery powered devices, I need something that lets me control the backlight.
For decades, lab-grade test equipment came from either HP or Tektronix. There were other providers in niche areas (R&S, Anritsu, IFR, etc.), but nearly all lab-grade gear was too expensive for mere mortals. With few alternatives, hobbyists and small businesses scrounged eBay and corporate liquidations to find used gear from these manufacturers.
Times have changed and while those companies still make great test gear, the competition from China has steadily improved and in many (most?) cases, it makes more sense to buy new gear from a budget Chinese manufacturer than 20-40 year old big-name gear.
I’ve bought (and liked) products from Rigol and Owon, but my budget manufacturer of choice is, increasingly: Siglent. My recent purchases include:
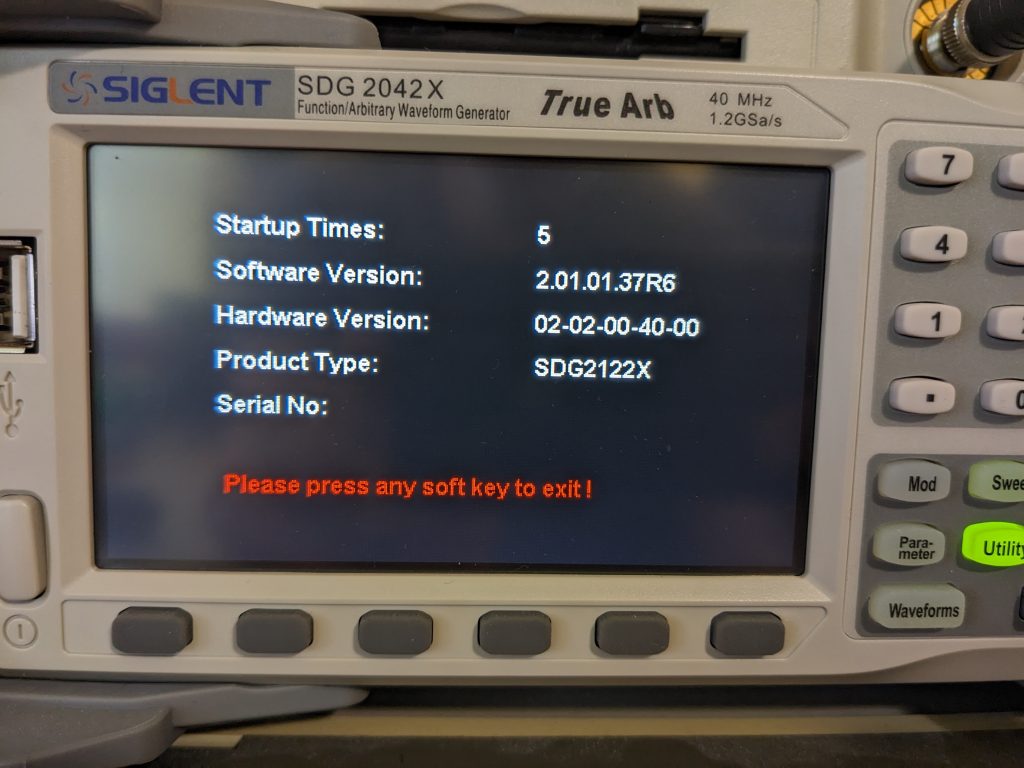
SDG2042X – 40MHz Arbitrary Waveform Generator hacked to SDG2122X (120MHz)
SSA3021X+ – 2.1GHz spectrum analyzer hacked to SVA1032X (3.2GHz SA + VNA)
Siglent (like Rigol) sells gear that is easily hacked to add functionality including bumping a lower-end model up to a higher model in the same line. This is smart marketing: it lets them get higher prices from larger companies that won’t hack while still providing very attractive price points to hobby and small business users who couldn’t otherwise afford the higher models, but are willing to hack the lower models.
For the most part, I’m quite pleased. The Siglent gear always seems to meet or exceed its specifications and the specs are quite decent. There is a huge community supporting them in places like eevblog with in depth reviews of SDS1104X-E, step-by-step guides to hacking the SDS1104X-E as well as usage, repair, and enhancement tips.
I buy much of my new test gear from Saelig and TEquipment, both of which have provided excellent service and I recommend. If you’re thinking about buying new bench gear, you might give Siglent a look!
I do a lot of IoT development involving battery-powered wireless devices. These devices must have very low average power consumption to facilitate long battery life. They typically spend most of their time in a low-power sleep mode, drawing a few uA or even nA and then wake periodically to take measurements, operate controls, and transmit and receive messages. Transmitting can draw hundreds of mA.
So the dynamic range of current draw can span 5 orders of magnitude! Moreover active periods are often very brief (sometimes just tens of uS). Measuring that sort of highly dynamic power consumption with fast transient events is a big challenge.
Current is generally measured by measuring the voltage drop across a shunt resistor. Unfortunately, a shunt resistor large enough to allow measuring a few uA will introduce unacceptable voltage drop if trying to pass 500mA. So measurement devices must have many shunts and measurement circuits and be able to switch them in/out of line very rapidly while sampling the voltage drops across the shunts very fast.
My go-to device for this sort of dynamic power analysis is the Joulescope which is simply phenomenal. It has 1.5nA-1mA resolution (depending on the measurement range), samples at 2MS/s (250kHz BW) and switches shunts as fast as 1us. The software is excellent too. The only problem is: it’s expensive (around $1K), so it’s not something I can put on every bench or easily design into test fixtures.
Hence my latest tool: the Nordic Power Profiler Kit II (PPK2) which is sort of a poor-man’s Joulescope. It has many of the Joulescope’s features, but all are spec’d significantly worse. It’s also 1/10 the price. It also has one feature that the Joulescope lacks and is quite useful. The PPK2 is a credit-card sized device, powered by one or two micro-USB cables (depends on how much current you need…in my case, one is usually enough). It samples much slower (100Ks/s max) and is limited to 5V; resolution varies from 100nA to 1mA depending on the shunt range, it doesn’t measure voltage at all (so you can’t use it to observe voltage drop), and the software (oddly named nRF Connect) is significantly less mature. It looks like a bare board, but the components are actually covered/protected by a clear acrylic shield so it’s bench/desk safe.
On the plus side it has a built in programmable power supply that can output 0v8 to 5v0 (drawn from the USB supply). That by itself is an incredibly handy feature. With the Joulescope, I need it and a bench power supply to power the DUT. The ability to power a 3v5 DUT *and* monitor its dynamic power behavior while only tying up one USB port and the bench space needed for a credit-card-sized device is super-cool. It also has 8 digital inputs you can use as a poor-man’s logic analyzer to correlate digital events (e.g. turn on transmitter) with power consumption. The Joulescope has such inputs too.
So far, I like it. The measurements match my Joulescope nicely – except for very fast transient events where the Joulescope shines and the PPK2 suffers. The built-in programmable supply is awesome. The software needs some work. Most critically, the data logger needs a continuous mode where it fills the RAM buffer and then wraps; the software currently fills the buffer and then stops, requiring a manual restart to keep monitoring current consumption and resetting all counters. This is particularly bad when what you want to do is measure average power consumption over a long period (e.g. a day or a week). At 100Ks/s, the RAM buffer fills very quickly so you can’t monitor the DUT at high speed for more than 500s. At 1Ks/s you can monitor for 13h, but fast events will be missed or improperly measured which defeats the purpose of such devices. What’s needed is a continuous mode that wraps when the RAM buffer is full but keeps accumulating average, max, and total power used. (Nordic are you listening?)
Overall, I’m pleased with the PPK2 so far and expect to buy more for use on benches and in test fixtures. If you can’t afford a Joulescope (or just want a super-compact USB-powered variable supply), the PPK2 seems like a great choice.
Update 2025-Nov: I liked the SDG2042X so much I bought another used unit and hacked it to 120MHz as well…both units are great and I use the frequency counter extensively. Something worth noting about these that I had not realized before is that they have a fairly good time-base; much better than the SDG1000 series. It is advertised variously as 1ppm or 2ppm, so clearly a TCXO; I tested the new unit against a DOXCO and it was better than 1ppm, showing only 0.7ppm time-base error.
I purchased a used Siglent SDG2042X which is a 40MHz arbitrary waveform generator with bonus 200MHz frequency counter to replace my aging 25MHz arbitrary waveform generators. Test gear from Chinese manufacturers like Siglent and Rigol has steadily improved over the years and is now quite competitive. Despite my appreciation for the amazing quality of old HP/Agilent gear, in many cases, it makes more sense to buy something new from Siglent.
It turns out that the hack does indeed work and is easy to do; see results below. I don’t know if manufacturers intentionally leave these hacks available to make them attractive to hobby users while still selling the higher priced models to businesses who would be less prone to hack them, but either way, it’s much appreciated (and is a very nice signal generator)…thanks Siglent!
Note that the scope in the pic below is also easy to hack to 500MHz at 5Gs/s and moderately easy to hack to enable all optional functions.
The bonus frequency counter works quite nicely too, providing details like min/avg/max, sdev, duty, and frequency deviation in ppm relative to a reference frequency you specify. It needs about -10dBm (200mV) of signal at 200MHz, but lower levels at lower frequencies (e.g. it works at -20dBm ~= 63mV at 35MHz). Because the SDG2042X can be slaved to an external 10MHz standard, the generated frequencies and counter measurements can be very accurate; I usually keep it and other gear slaved to an external DOCXO standard.
There are three things every STM32 developer wants from a debug dongle:
Power (3v3, 1v8)
SWD
UART
So I was excited when ST released their next gen debug interfaces (STLinkV3) and had included support for 1v8 targets and a UART. Was third time a charm? Unfortunately, not. Although the UART and support for lower-voltage targets is a welcome addition, ST made three unfortunate moves with the MINIE that are hard to fathom:
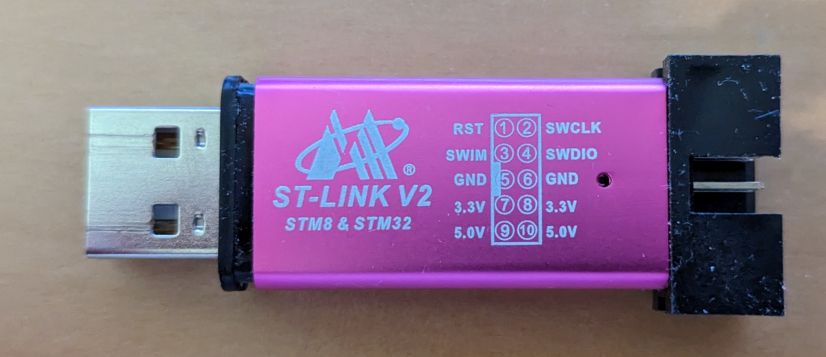
Most notable was their attempt to force use of the STDC14 connector by *only* providing a 0.050 pin header for connections to the target via a fairly fragile connector. It would have been *much* better for it to have a shrouded 2×5 0.100″ pin header (like the “aluminum shell” STLinkV2 clones show below). These would allow use with the ubiquitous Dupont jumper wires that litter every developer’s desk. A tiny PCB with an SMT 2×5 female 0.100 on one side and STDC14 male on the other could have easily adapted to STDC14 when desired, but it’s much harder to go the other direction.
It can’t power the target. Even the sub $3 STLinkV2 clones can power targets at 3v3 and 5v. This is incredibly useful, adds virtually no cost (5V is available from the USB i/f and there’s already a regulator on the STLink for its own uC). An STLink that has SWD, UART, and Power is exactly what every STM32 developer wants…now you need the MINIE and an external power supply!
Finally, there’s the USB-C female connector. Even new laptops have very few USB-C ports (but many USB-A ports); the desktop situation is even worse. The interface itself is only USB 2.0 and the board and can’t supply power to the target, so I can see no rational reason for this choice. I suspect some PLM who has never done any development decided this would be “forward looking”.
The sub-$3 “aluminum shell” STLinkV2 clones nail the mechanical design. They can also power 3v3 and 5V targets. It’s only missing a UART and 1v8 support to be perfect.
So what to do?
You can keep using STLInkV2s, but as designs increasingly move to 1v8, that becomes a problem, requiring a high-speed voltage converter…The STLinkV2 runs an STM32F103 which only runs to 2v0 so you can’t just replace the regulator…and the STLink V2 lacks a UART.
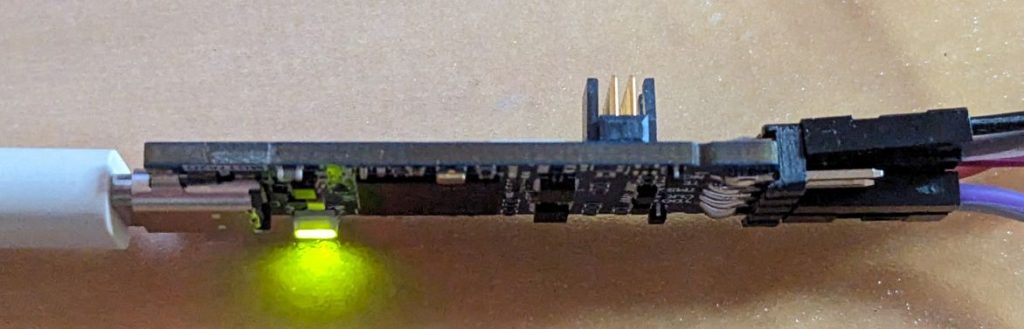
There are adapter boards to convert STLink V3 STC-14 connector to 0.100 pin headers; I covered these in an earlier post discussing the STLink V3-PWR (which does supply power and is a single device solution for most STM32 development/debugging). However, the adapter boards just add another set of wires to clutter your bench and come loose at inopportune times. Fortunately, ST provided an edge connector on the V3MINIE for an imagined board-to-board configuration, and although they spaced the pads at 2mm, you can make them work for a 2.54mm pin header.
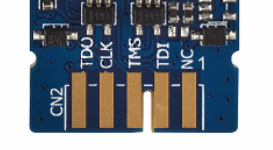
The JTAG/SWD pins map to SWD as:
TMS = SWDIO
CLK= SWCLK
TDO = SWO (which I rarely use)
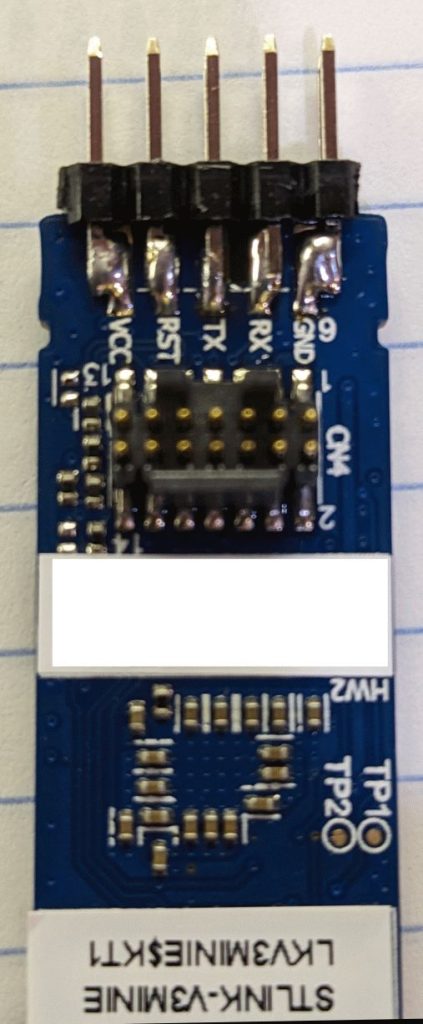
It’s easy to solder a 2×5 0.100″ (2.54mm) pin header onto the 2mm pads; just center the middle pin on the middle pad and the other pins are close enough that you can easily make it work.
The soldering here is sloppy, but it shows the concept. The 2×5 pin-header is rock solid when mounted and provides access to all of the pins I use. The UART-side pins (shown to the left) are obvious.
Next time I’ll use a shrouded connector, to prevent accidental contacts and also to have a place to put a small label for each pin (you can’t see the silkscreen for the edge connector contacts when the board is in the 3D-printed enclosure)
ST has also kindly placed an STL file for a 3D-printable case on the product page (under CAD Resources). If you’re using Cura to slice the model, you’ll also need to uncheck the “Union Overlapping Volumes” box in the Mesh Fixes section of the print settings or it will fill in the STDC14 opening. Otherwise, it’s a very nice, compact enclosure with an excellent snap-fit and it holds the PCBA securely.
The original version of the enclosure posted on ST’s product page had the opening for the STDC14 connector slightly shifted and so you had to cut it a bit to make room for the connector. Within a day or so of reporting this to ST (8/2/2023) they had fixed the issue and sent a new STL file to test and it fit perfectly. I expect it will replace the original version shortly.
Go ST!
Next up:
Figure out how to get the SWD functionality working from the 0.100 header pins
Find a solution for powering the target. If you know of any, please let me know!
ST: if you’re listening, PLEASE give us a nice compact dongle like the V3MINIE but with a USB-A connector, pads for 0.100 pin headers, and 3v3 and 1v8 power outputs.
Update 5/1/2025
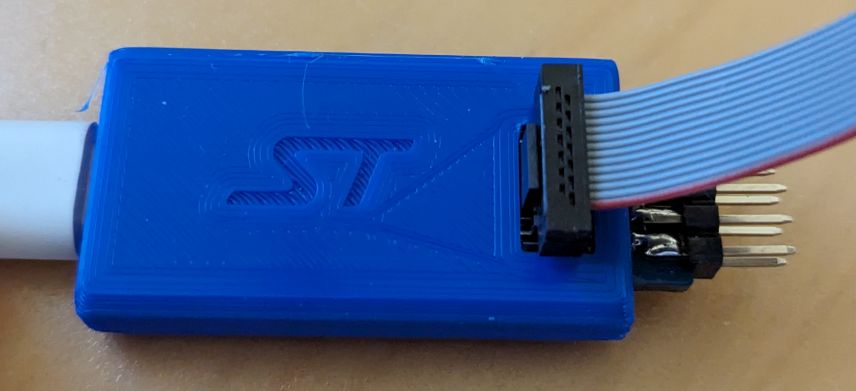
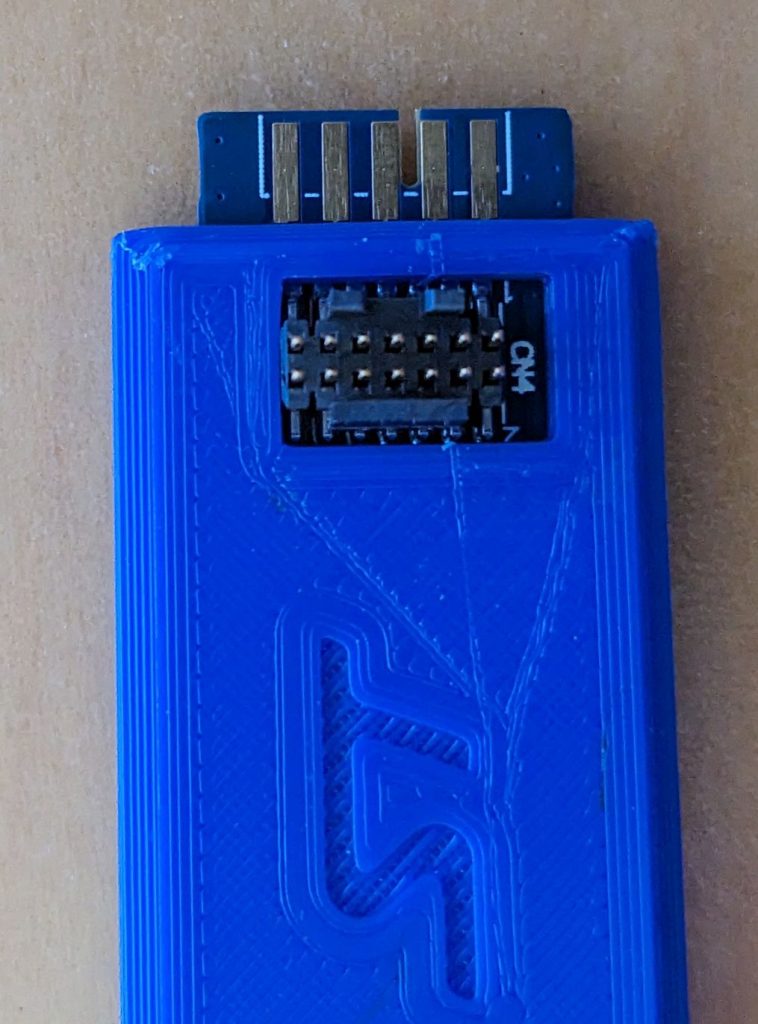
Because both the 0.050″ STDC14 connector and 0.100″ flying leads are a pain, I spun a quick 2-layer adapter PCB with a 0.050″ connector (CNC Tech 3221-14-0100-00) that connects via ribbon cable to the MINIE and a more robust 5×2 pin 0.100″ connector (Sullins SFH11-PBPC-D05-RA-BK) that plugs directly to my STM32 target. The SWD connections (DIO and CLK) can be disconnected via jumper so the UART alone can be used.
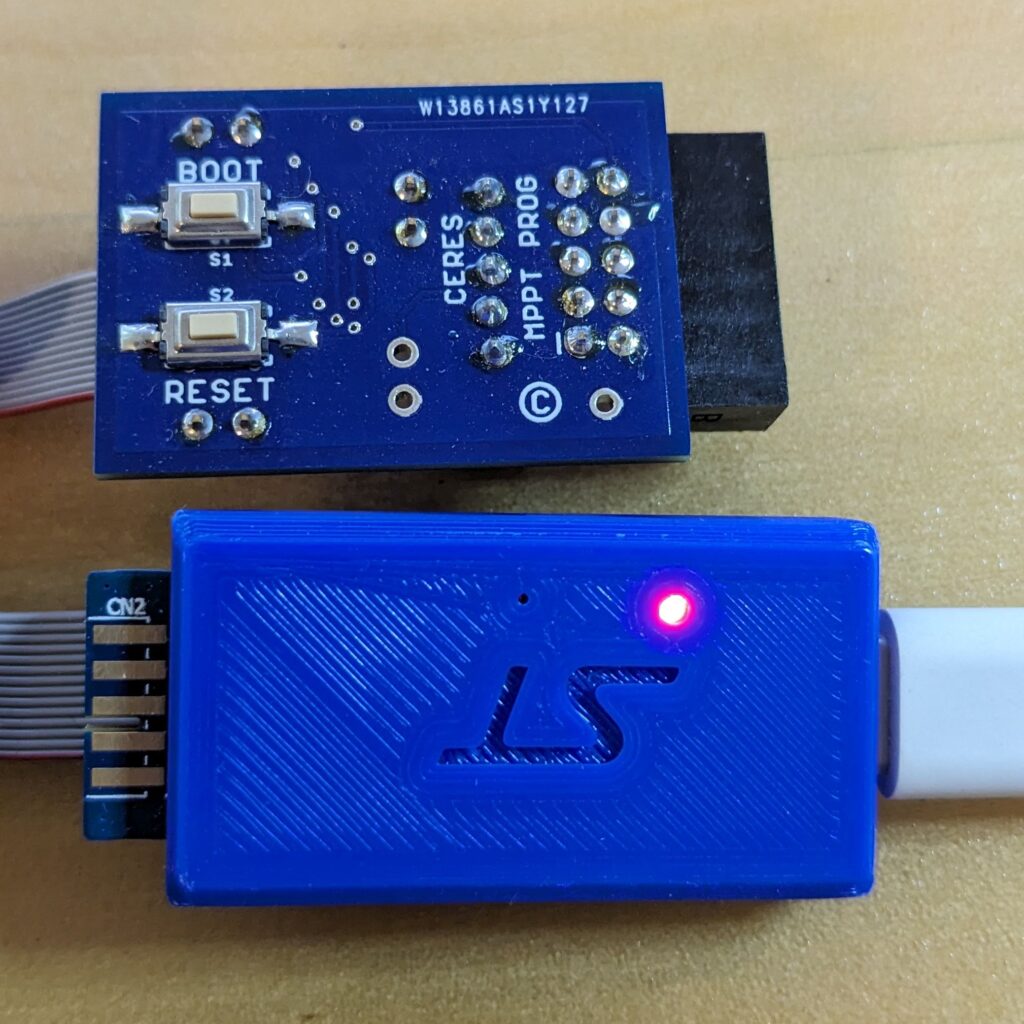
On the bottom of the board, tactile switches make it easy to manually reset the target and/or to put it in the DFU bootloader mode.
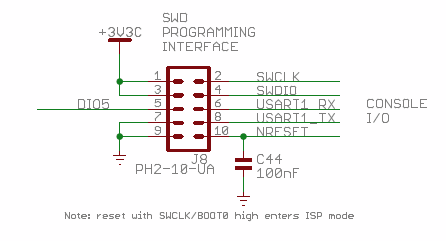
The target connector is a super-cheap 2×5 keyed 0.100″, shrouded pin header that brings out all of the signals needed for factory programming and calibration as well as development and debugging.
Aluminum Shell serial dongle
The adapter board also has a 1×5 locking header (Molex 0705430004) to support a straight-through, locking cable (Molex 216270-1053) to allow use with the ubiquitous low-cost “aluminum shell” USB-to-TTL UART dongles. Those can then be used in place of the MINIE if only serial comms with the target are needed. These adapters can supply power as well which is often handy during development or debugging. When used with these dongles, the adapter includes a jumper to disconnect power or to allow measuring target power consumption.